Back in 2008 the roguelike platformer Spelunky was released. In Spelunky you play as an unnamed spelunker who is exploring ancient caves looking for treasure, rescuing damsels, and ultimately trying to find a way to escape. While Spelunky shared a lot of things in common with your traditional platformer, the one unique element in the game is that every cave in the game is procedurally generated meaning that every time you play the game the experience is different.
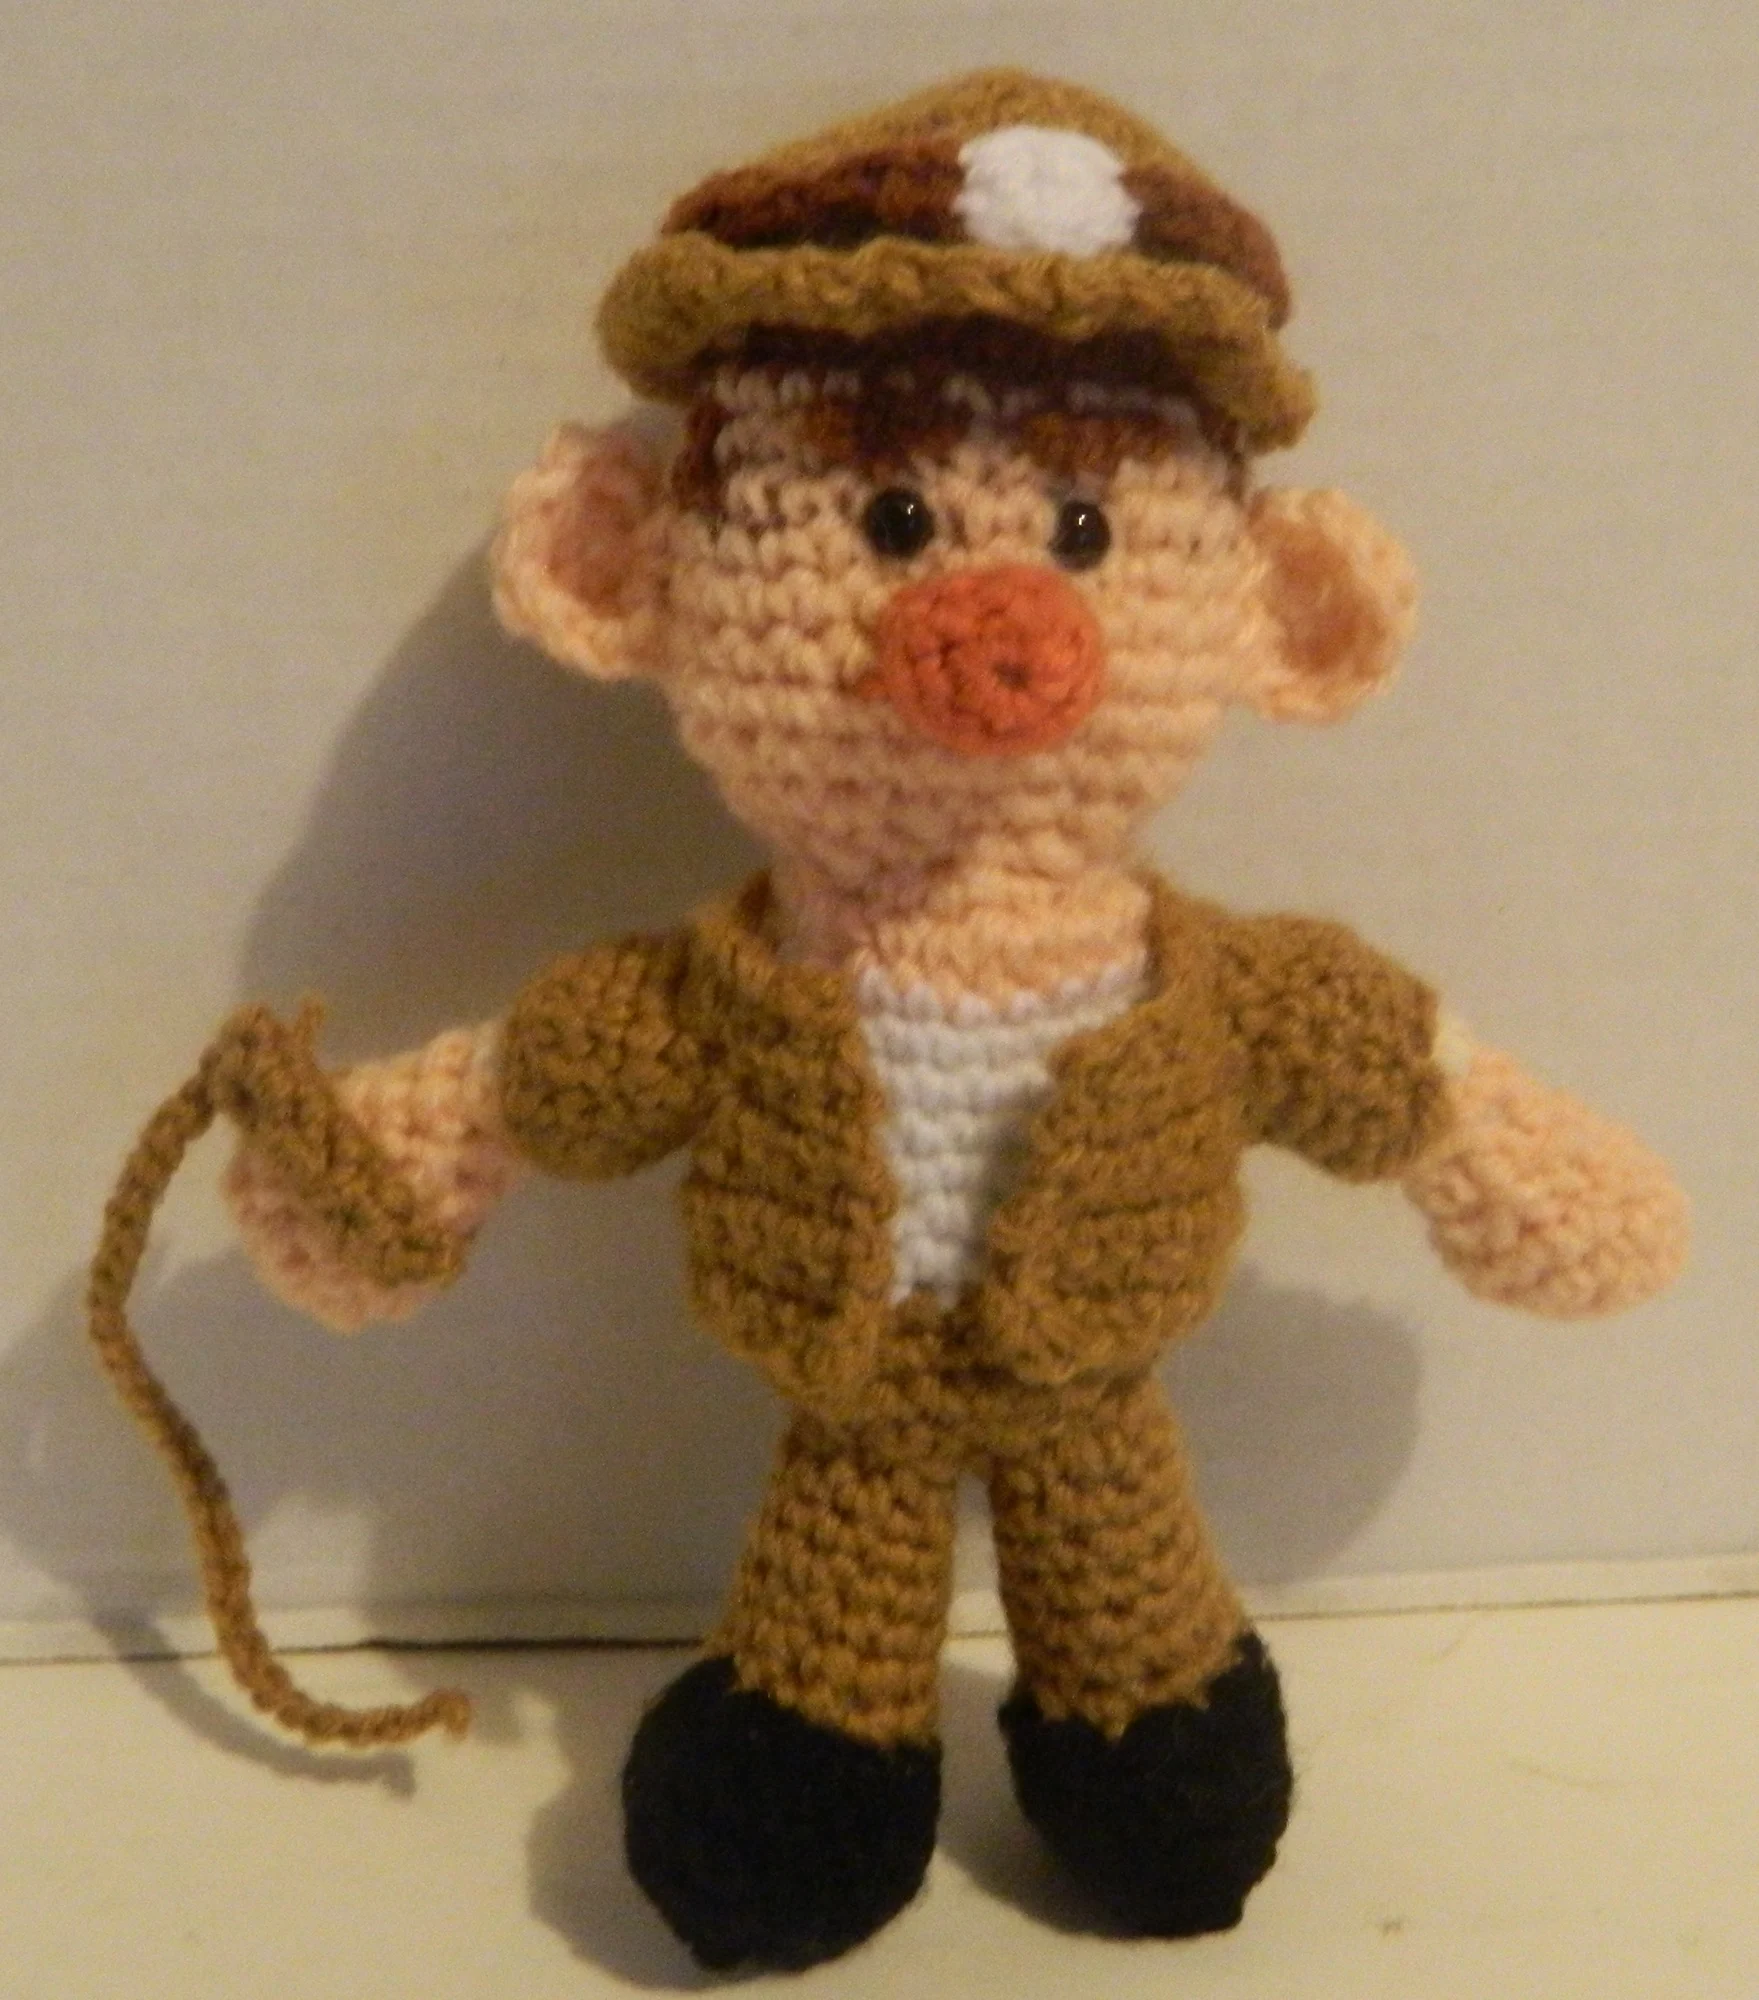
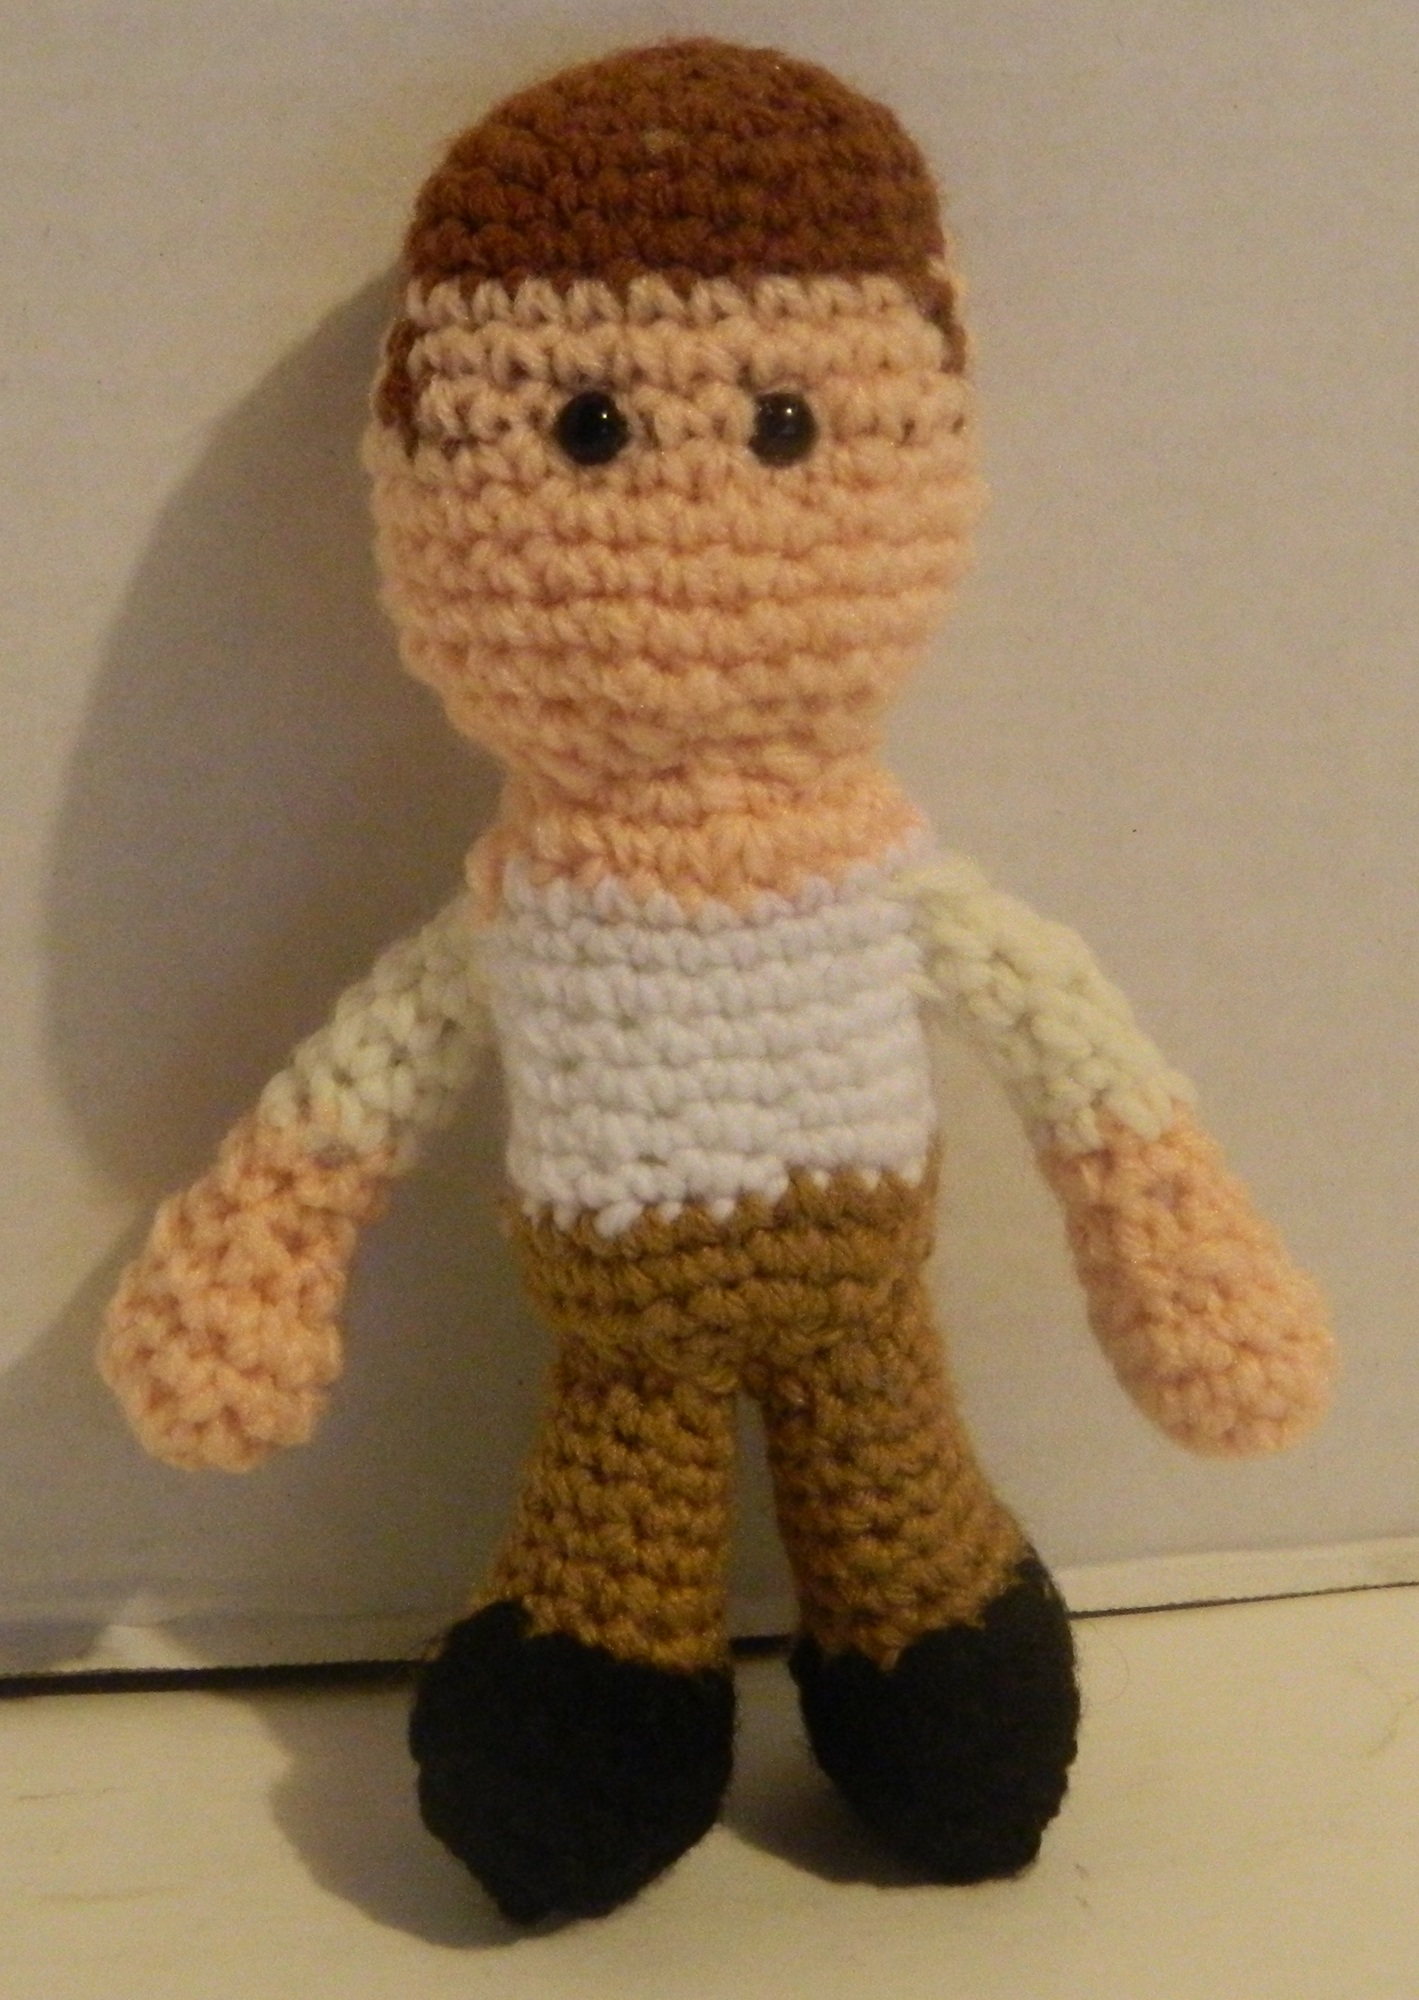
This week’s pattern is for the unnamed main character of Spelunky. This pattern creates an amigurumi that is around 8.5-9 inches tall. I would classify this pattern as moderately difficult due to the number of components you need to create to complete the project.
Note: This pattern is provided for free so I would appreciate that it not be used for commercial use. You may not copy this pattern and then try to sell it. I would appreciate that this pattern not be copied and posted in its’ entirety on other websites. Feel free to post images of your completed works wherever you want but a link back to this page would be appreciated.
What Do You Need to Know
Difficulty: Moderate
In order to follow the Spelunky pattern you will need to know how to do the following:
- Slipknot | Tutorial
- Chain Stitch (CH) | Tutorial
- Single Crochet (SC) | Tutorial
- Increase (INC) | Tutorial
- Decrease (DEC) | Tutorial
- Slip Stitch (SL) | Tutorial
- Fastening Off | Tutorial
- Changing Colors | Tutorial
What You Need
- Peach Yarn Buy on Amazon
- Dark Brown Yarn Buy on Amazon
- Light Brown Yarn Buy on Amazon
- White Yarn Buy on Amazon
- Black Yarn Buy on Amazon
- Pink Yarn Buy on Amazon
- Two 9mm Safety Eyes Buy on Amazon
- Stuffing Buy on Amazon
- E/4 3.50 MM Crochet Hook Buy on Amazon
- Yarn needle Buy on Amazon
- Stitch markers Buy on Amazon
Pattern
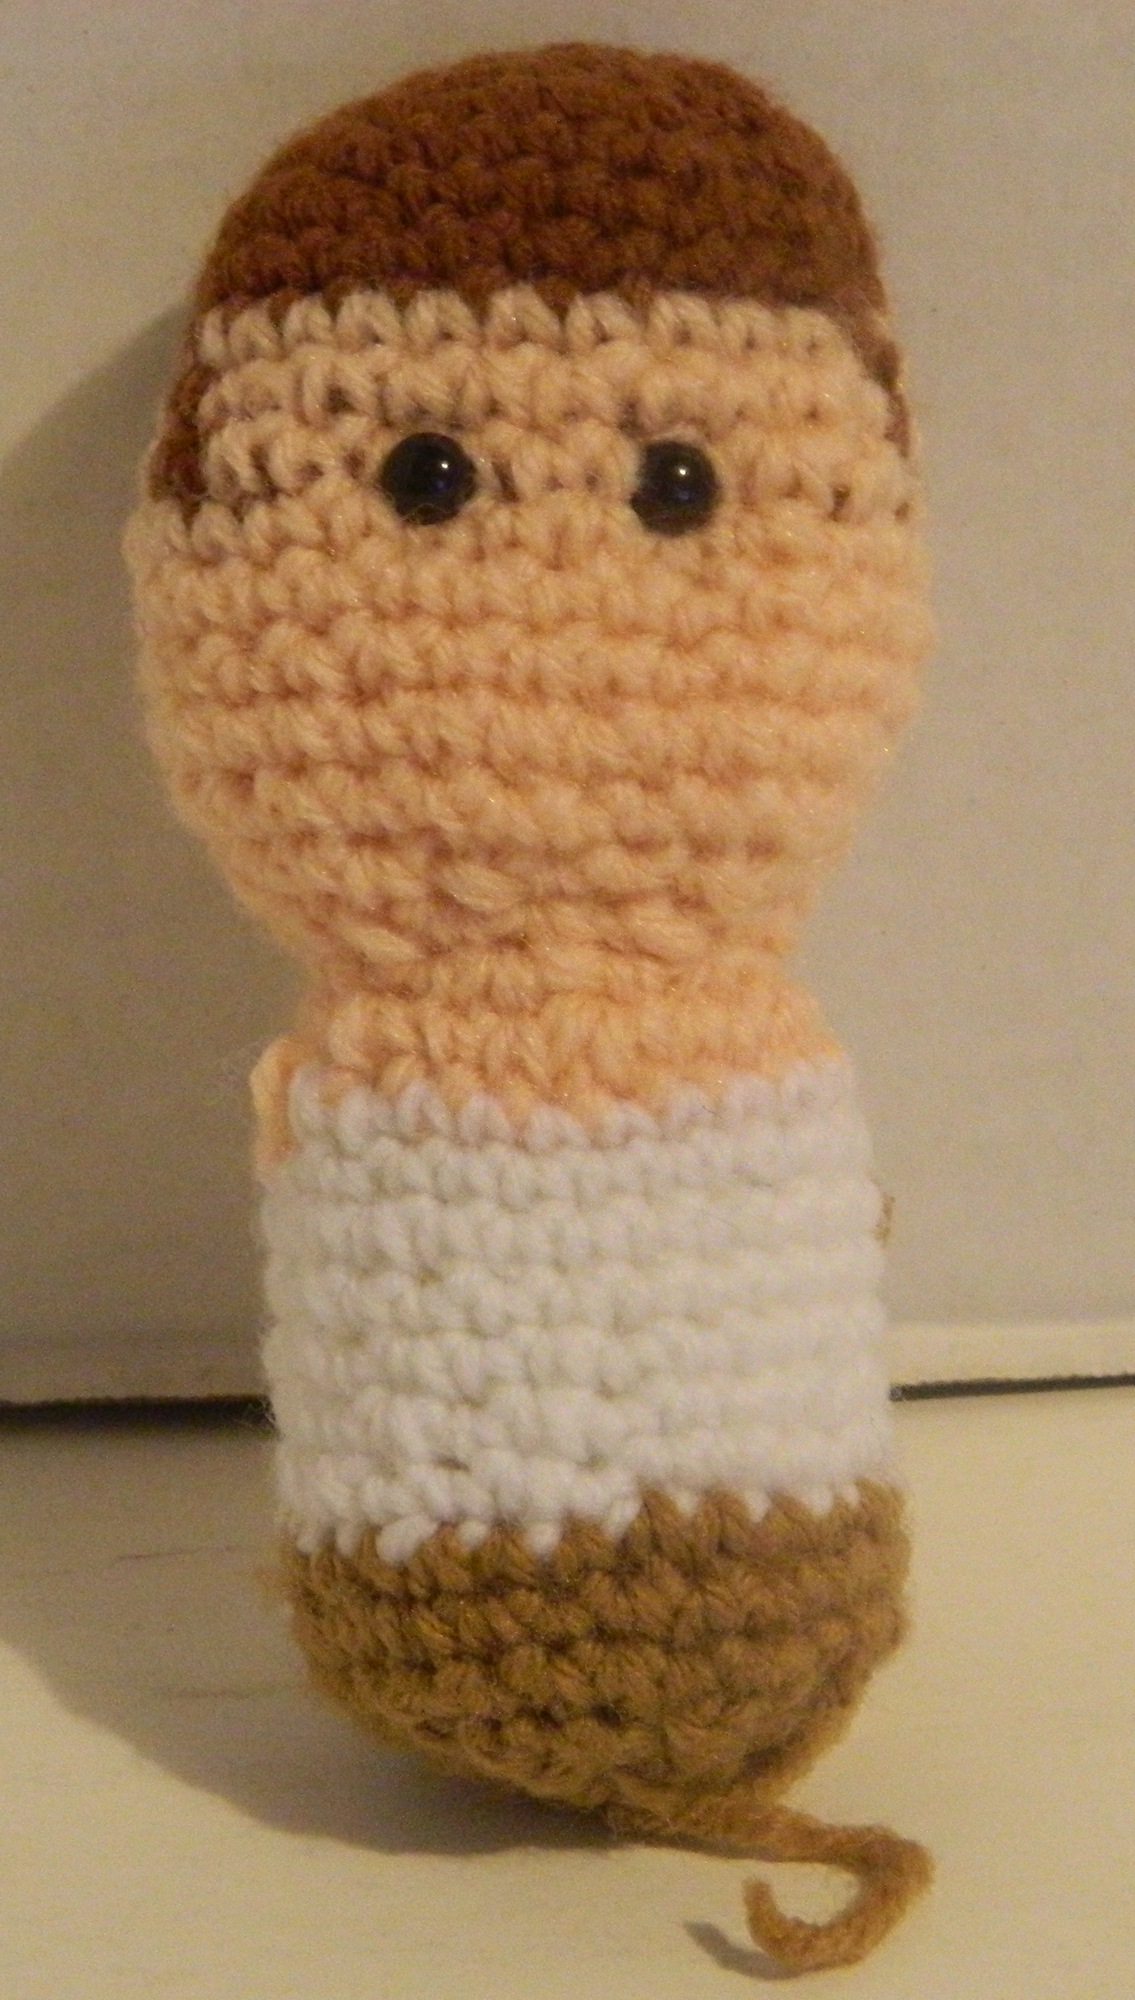
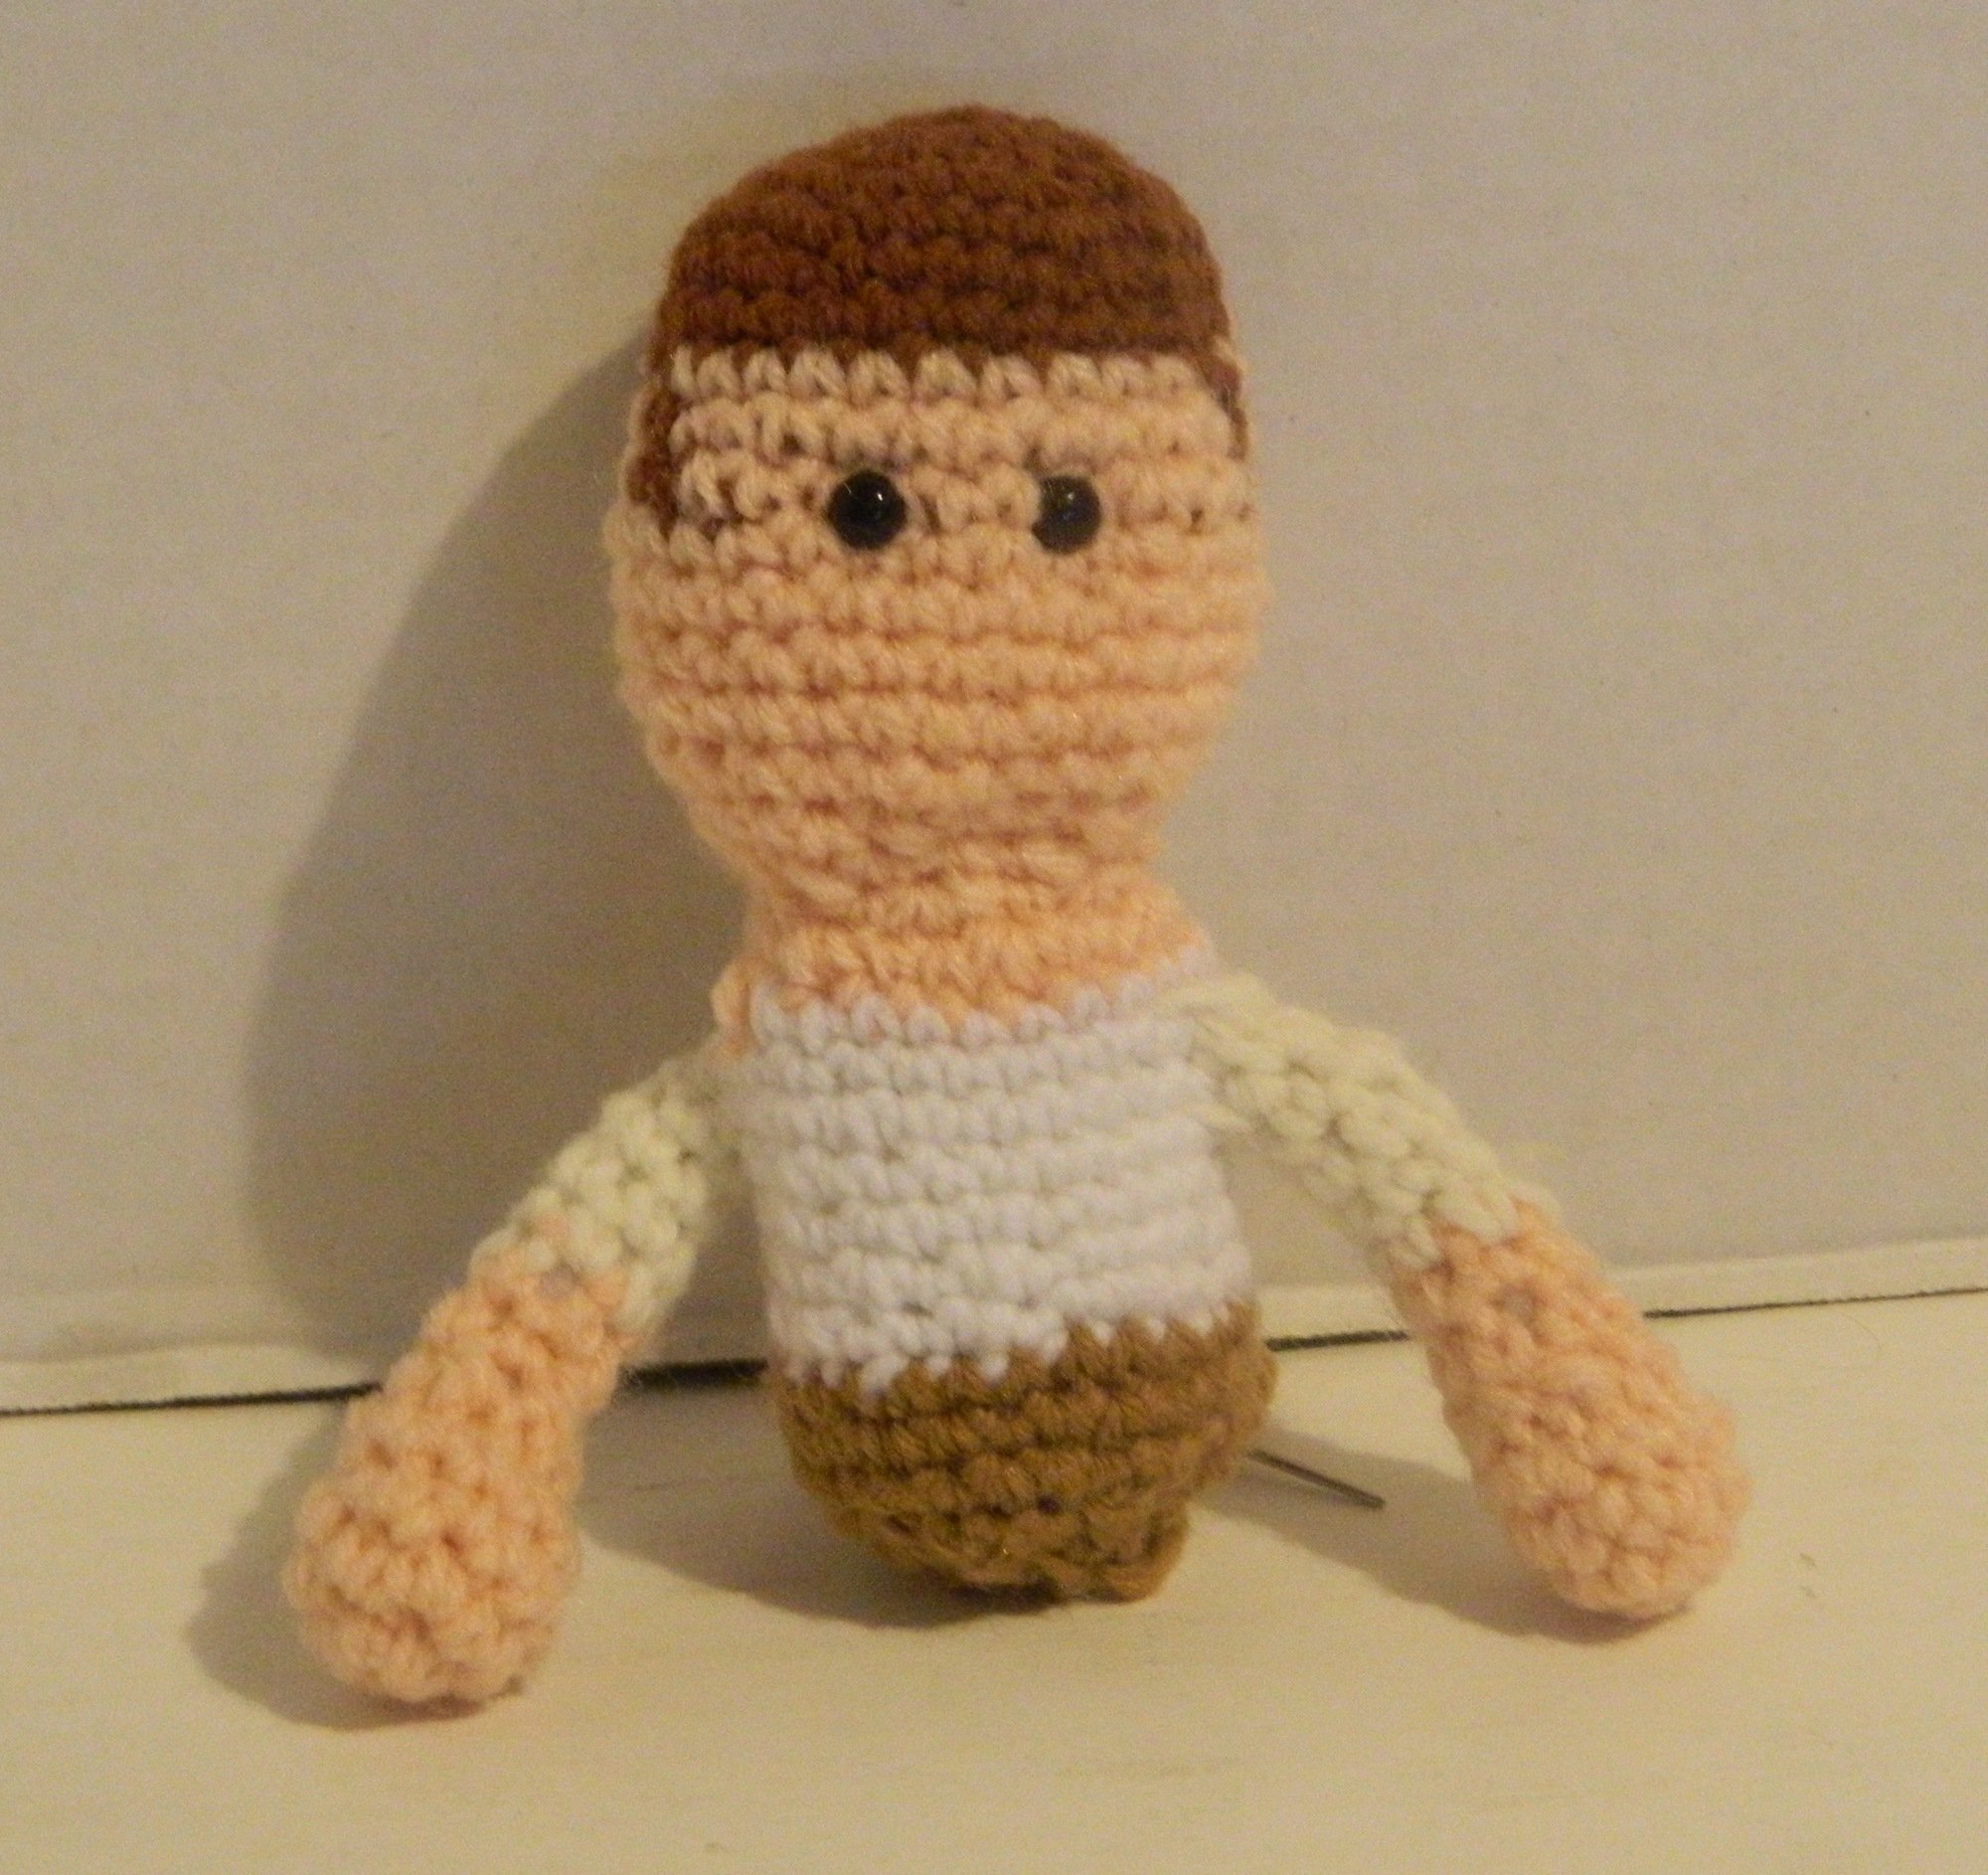
Head and Body
For the head and body you will be using four different colors. You will use the darker brown yarn for the hair. The peach yarn will be used for the head and neck. White yarn is used for the shirt and the lighter brown yarn is used for the pants. Since we will start with the head, you will begin with the dark brown hair.
Round 1: CH x 2 (2 stitches)
Round 2: SC x 6 in the first CH (6 stitches)
Round 3: INC x 6 (12 stitches)
Round 4: | SC, INC | x 6 (18 stitches)
Round 5: | SC, INC, SC | x 6 (24 stitches)
Round 6: | SC x 2, INC, SC | x 6 (30 stitches)
Rounds 7-8: SC x 30 (30 stitches)
Round 9: SC x 21 in dark brown, SC X 9 in peach (30 stitches)
Round 10: SC in peach, SC x 21 in dark brown, SC x 8 in peach (30 stitches)
Switch to the peach yarn.
Rounds 11-15: SC x 30 (30 stitches)
Round 16: | SC x 2, DEC, SC | x 6 (24 stitches)
Round 17: | SC, DEC, SC | x 6 (18 stitches)
Round 18: | SC, DEC | x 6 (12 stitches)
Round 19: | SC, INC | x 6 (18 stitches)
Round 20: | SC, INC, SC | x 6 (24 stitches)
Switch to the white yarn. At this point you should insert the safety eyes a couple rounds below where the brown hair changes to the peach skin. Around this point you should also probably start stuffing the head.
Rounds 21-27: SC x 24 (24 stitches)
Switch to the light brown yarn.
Rounds 28-30: SC x 24 (24 stitches)
Round 31: | SC, DEC, SC | x 6 (18 stitches)
Round 32: | SC, DEC | x 6 (12 stitches)
Round 33: DEC x 6 (6 stitches)
Fasten off leaving enough yarn to sew up the bottom. Before sewing up the bottom stuff the body.
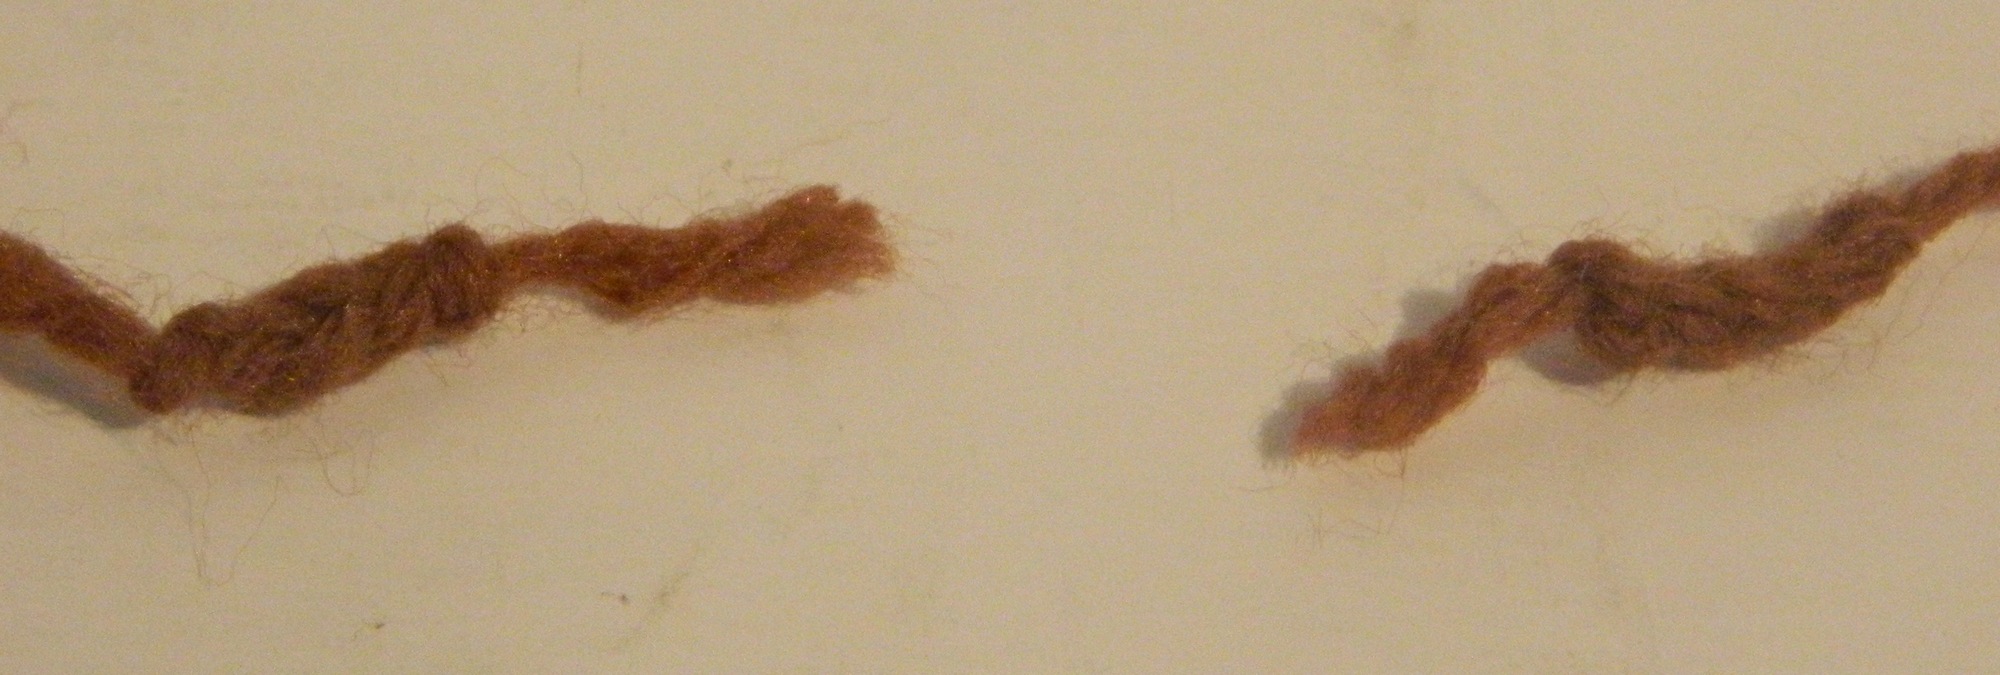
Eyebrows
Use the darker brown yarn. You will make two eyebrows.
CH x 3 and fasten off leaving enough yarn to sew the eyebrows to the head.

Nose
Use a pinkish/red yarn for the nose.
Round 1: CH x 2 (2 stitches)
Round 2: SC x 6 in the first CH (6 stitches)
Round 3: | INC x 2, SC | x 2 (10 stitches)
Rounds 4-5: SC x 10 (10 stitches)
SL and fasten off leaving enough yarn to sew the nose to the head. Stuff the nose with the desired amount of stuffing.
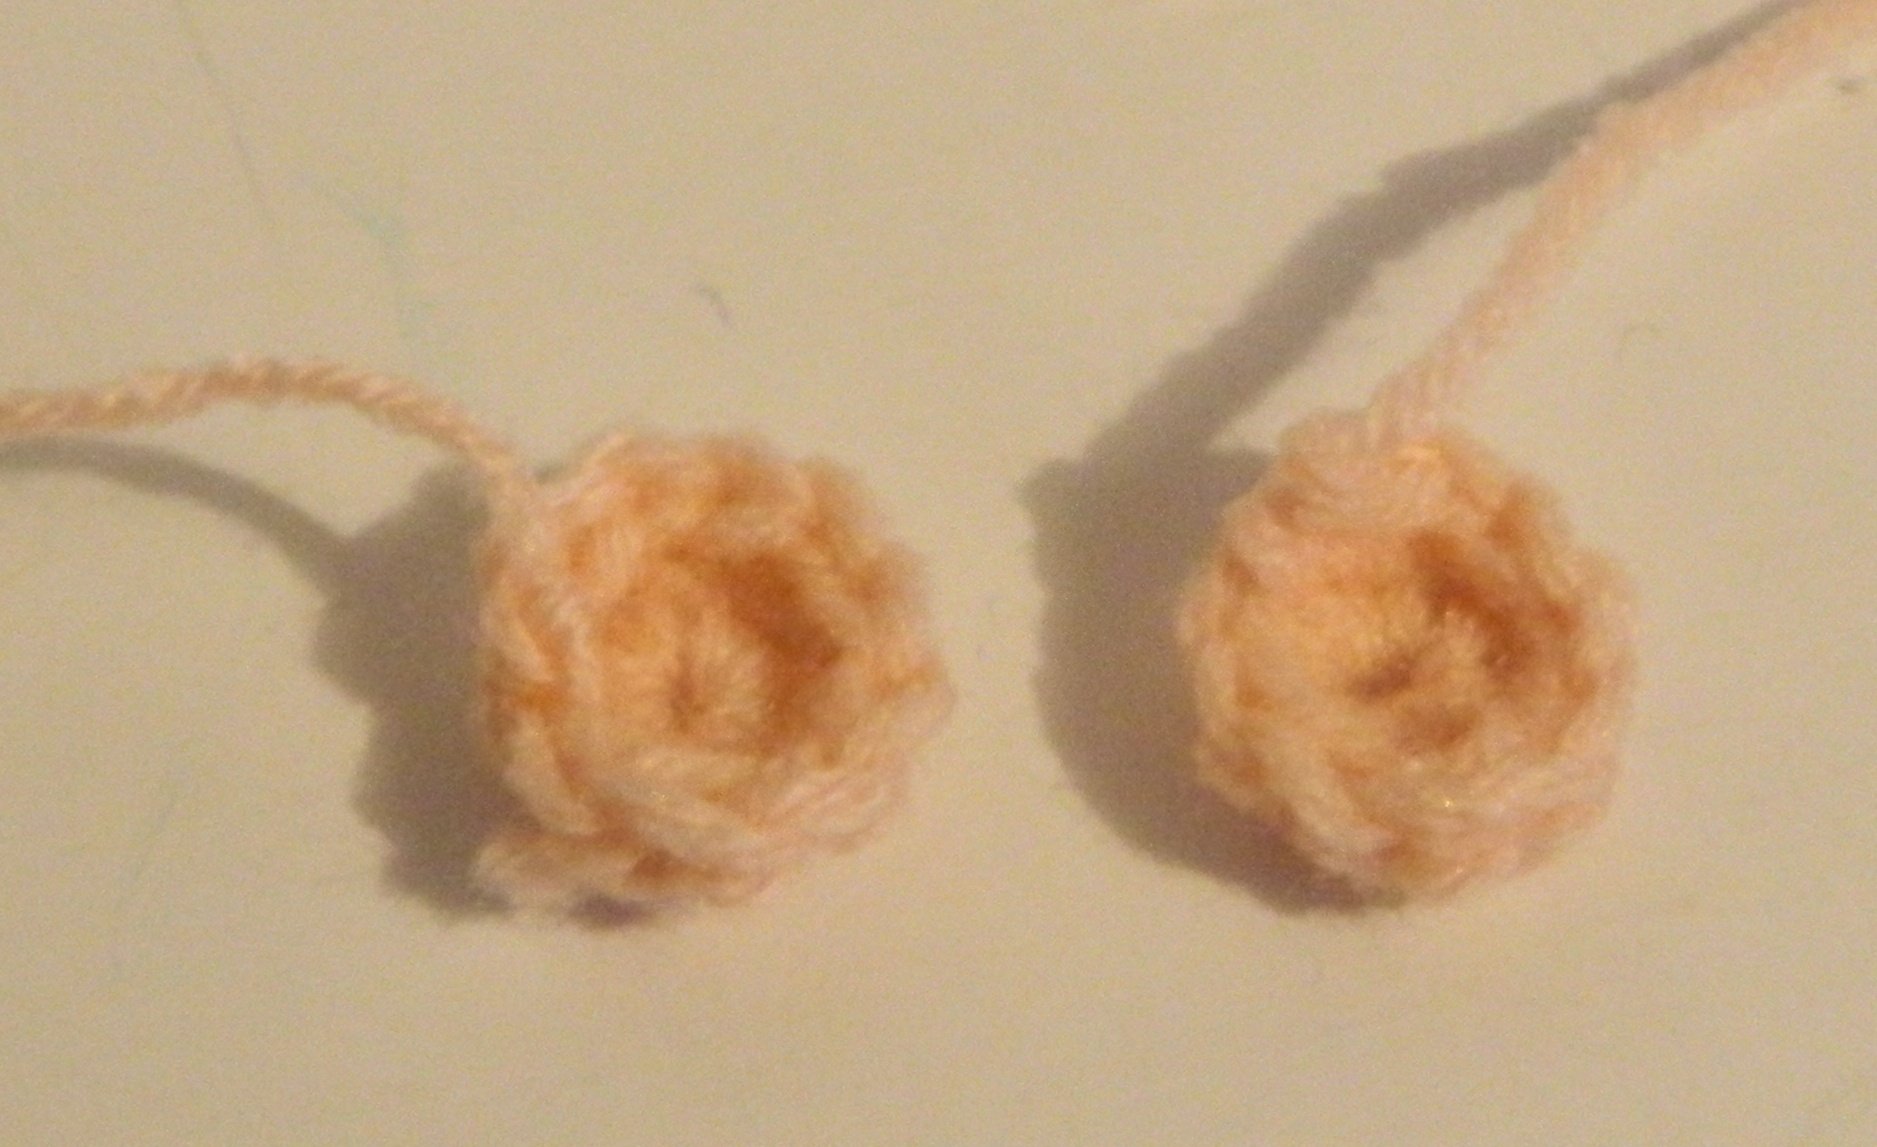
Ears
Use the peach yarn to make two ears.
Round 1: CH x 2 (2 stitches)
Round 2: SC x 6 in the first CH (6 stitches)
Round 3: | INC x 2, SC | x 2 (8 stitches)
SL and fasten off leaving enough yarn to sew the ears to the head.
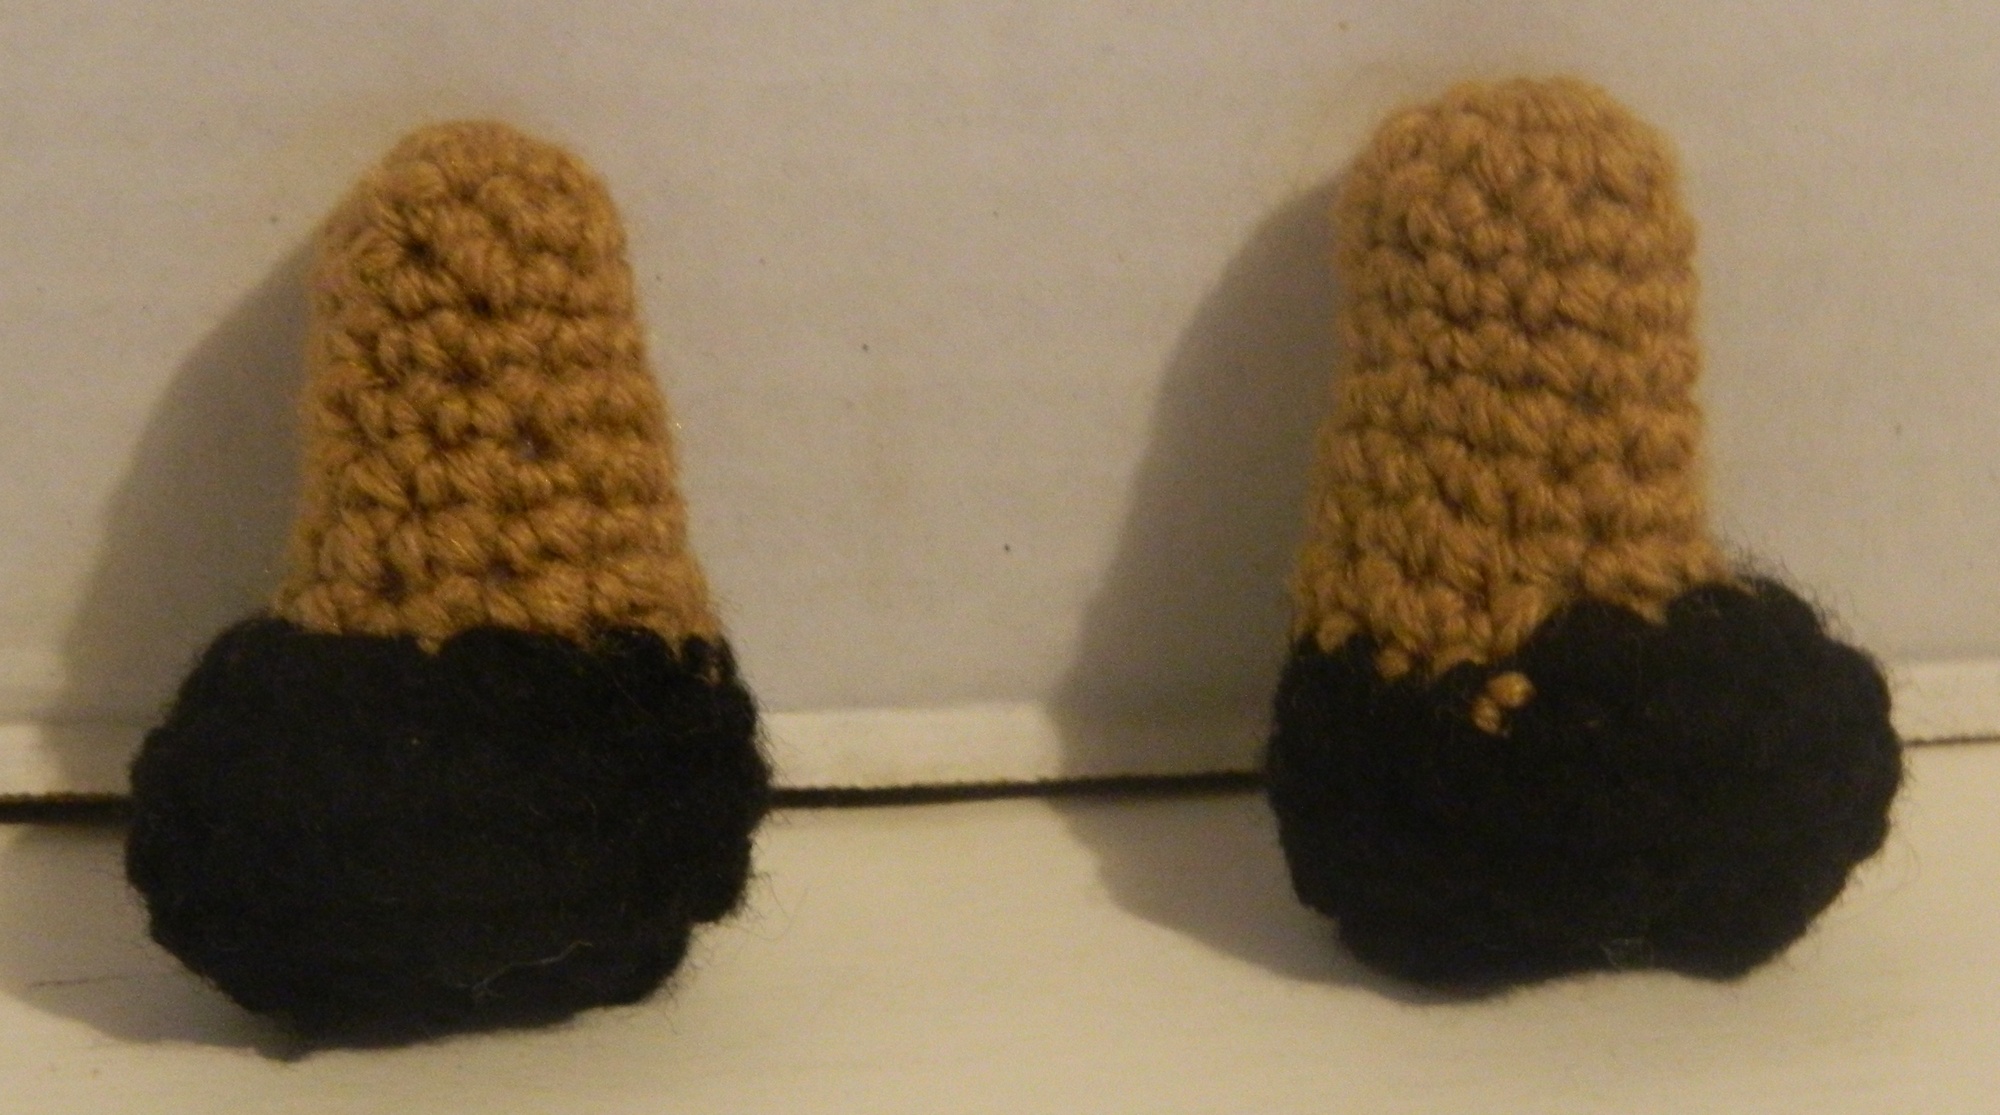
Legs
Start with the lighter brown yarn. You will make two legs.
Round 1: CH x 2 (2 stitches)
Round 2: SC x 6 in the first CH (6 stitches)
Round 3: INC x 6 (12 stitches)
Rounds 4-10: SC x 12 (12 stitches)
Switch to the black yarn.
Round 11: INC (with three stitches instead of two) X 4, SC x 8 (20 stitches)
Rounds 12-13: SC x 20 (20 stitches)
Round 14: | SC, DEC, SC | x 5 (15 stitches)
Round 15: | SC, DEC | x 5 (10 stitches)
Fasten off leaving enough yarn to sew up the bottom of the legs. Stuff the legs with the desired amount of stuffing before closing up the bottom of the legs.
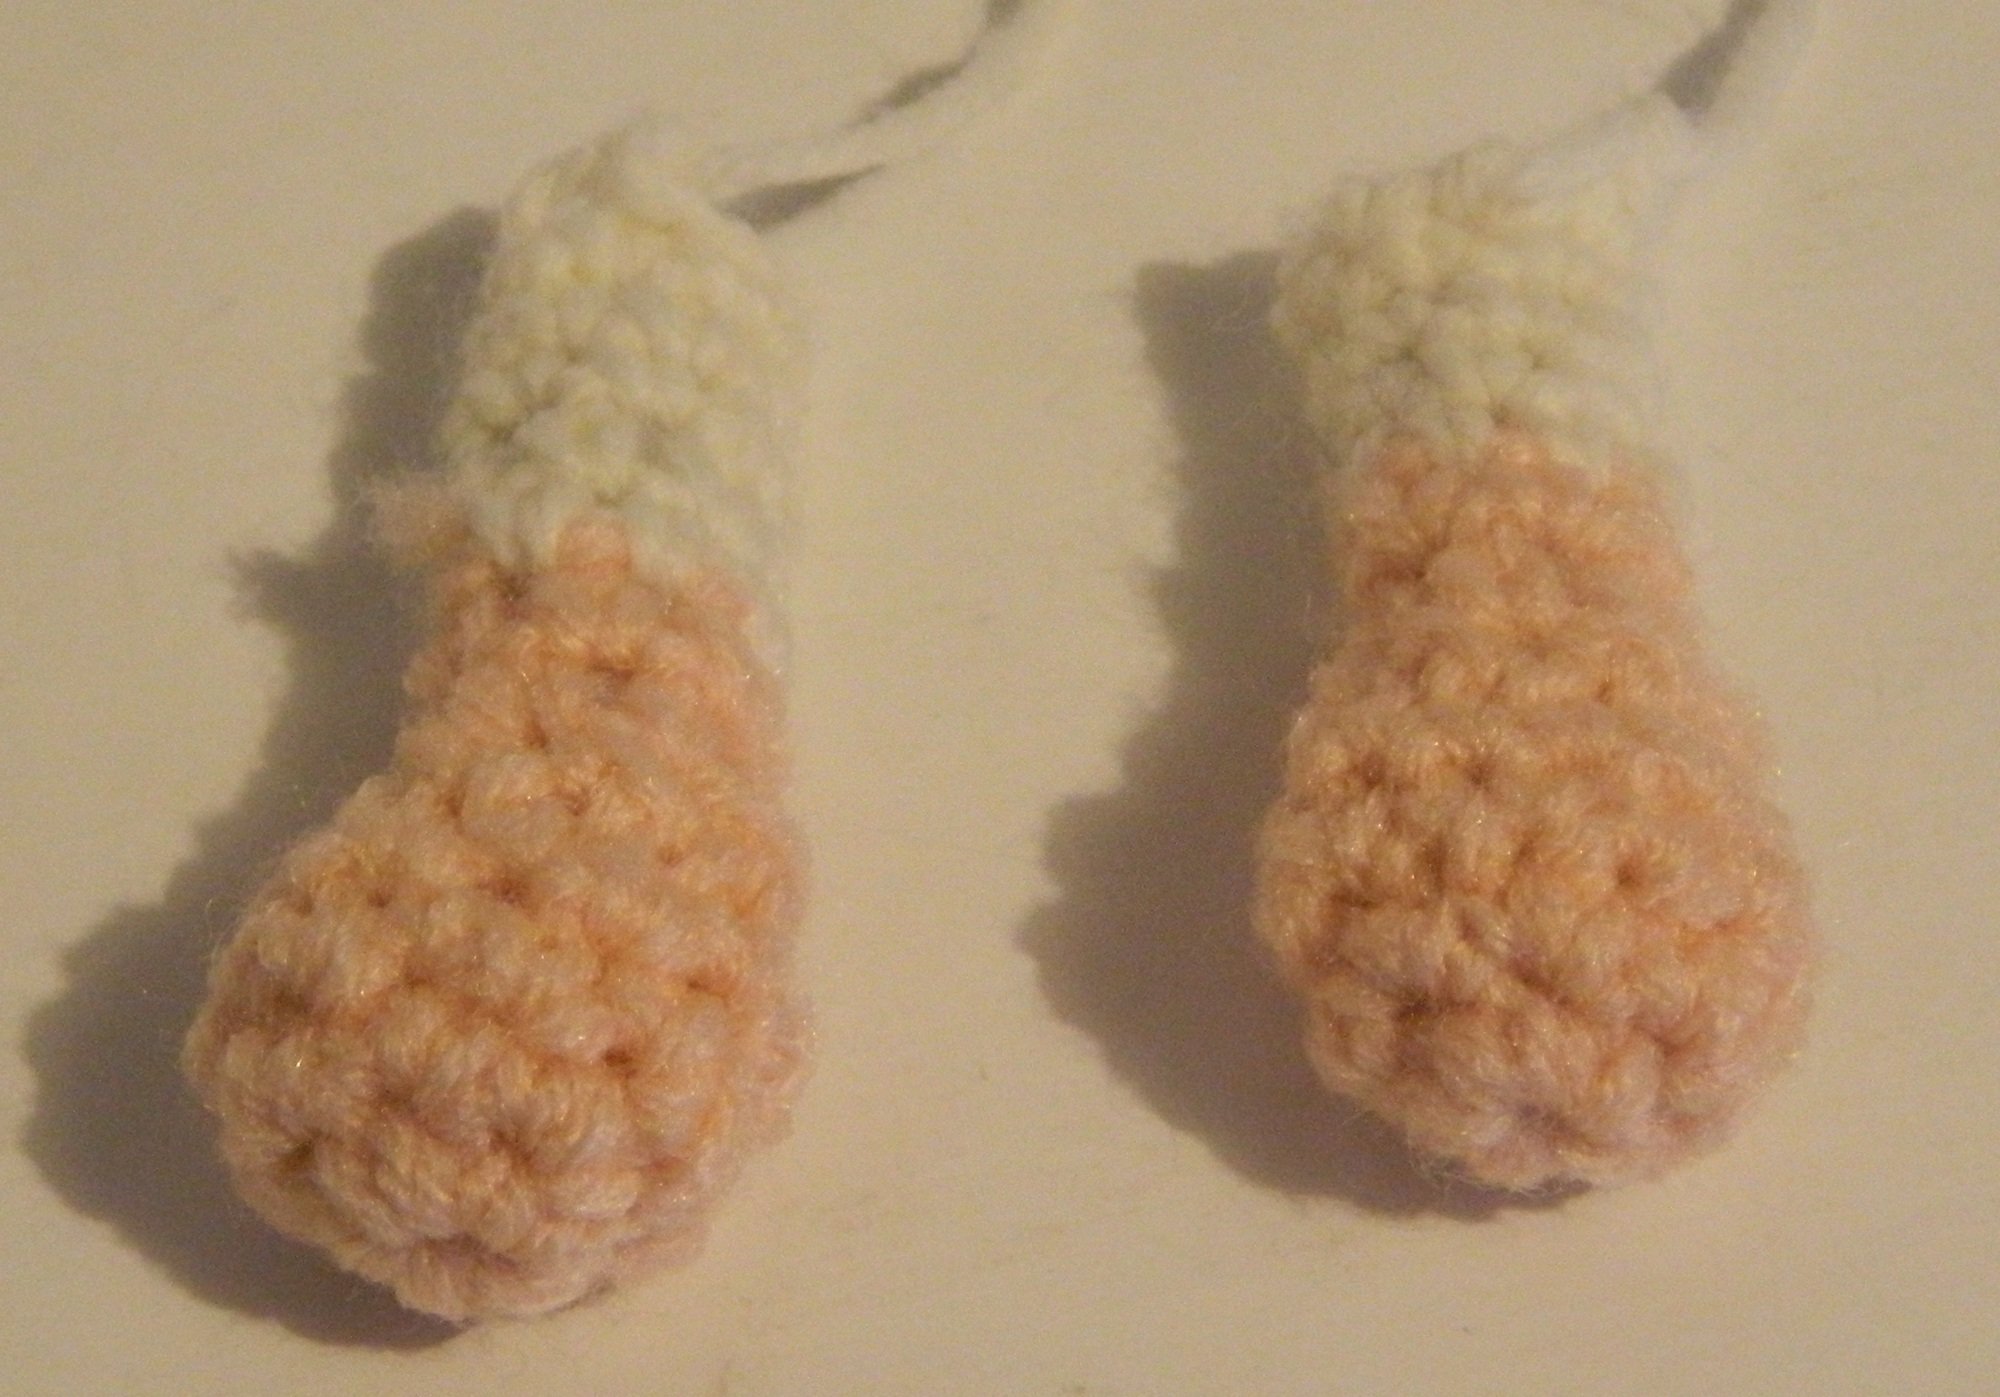
Arms
To start the arms you will begin with the peach yarn. You will make two arms.
Round 1: CH x 2 (2 stitches)
Round 2: SC x 6 in the first CH (6 stitches)
Round 3: INC x 6 (12 stitches)
Rounds 4-5: SC x 12 (12 stitches)
Round 6: DEC x 6 (6 stitches)
Rounds 7-8: SC x 6 (6 stitches)
Switch to the white yarn.
Rounds 9-13: SC x 6 (6 stitches)
Fasten off leaving enough yarn to sew the arms to the body. Stuff the arms with the desired amount of stuffing.
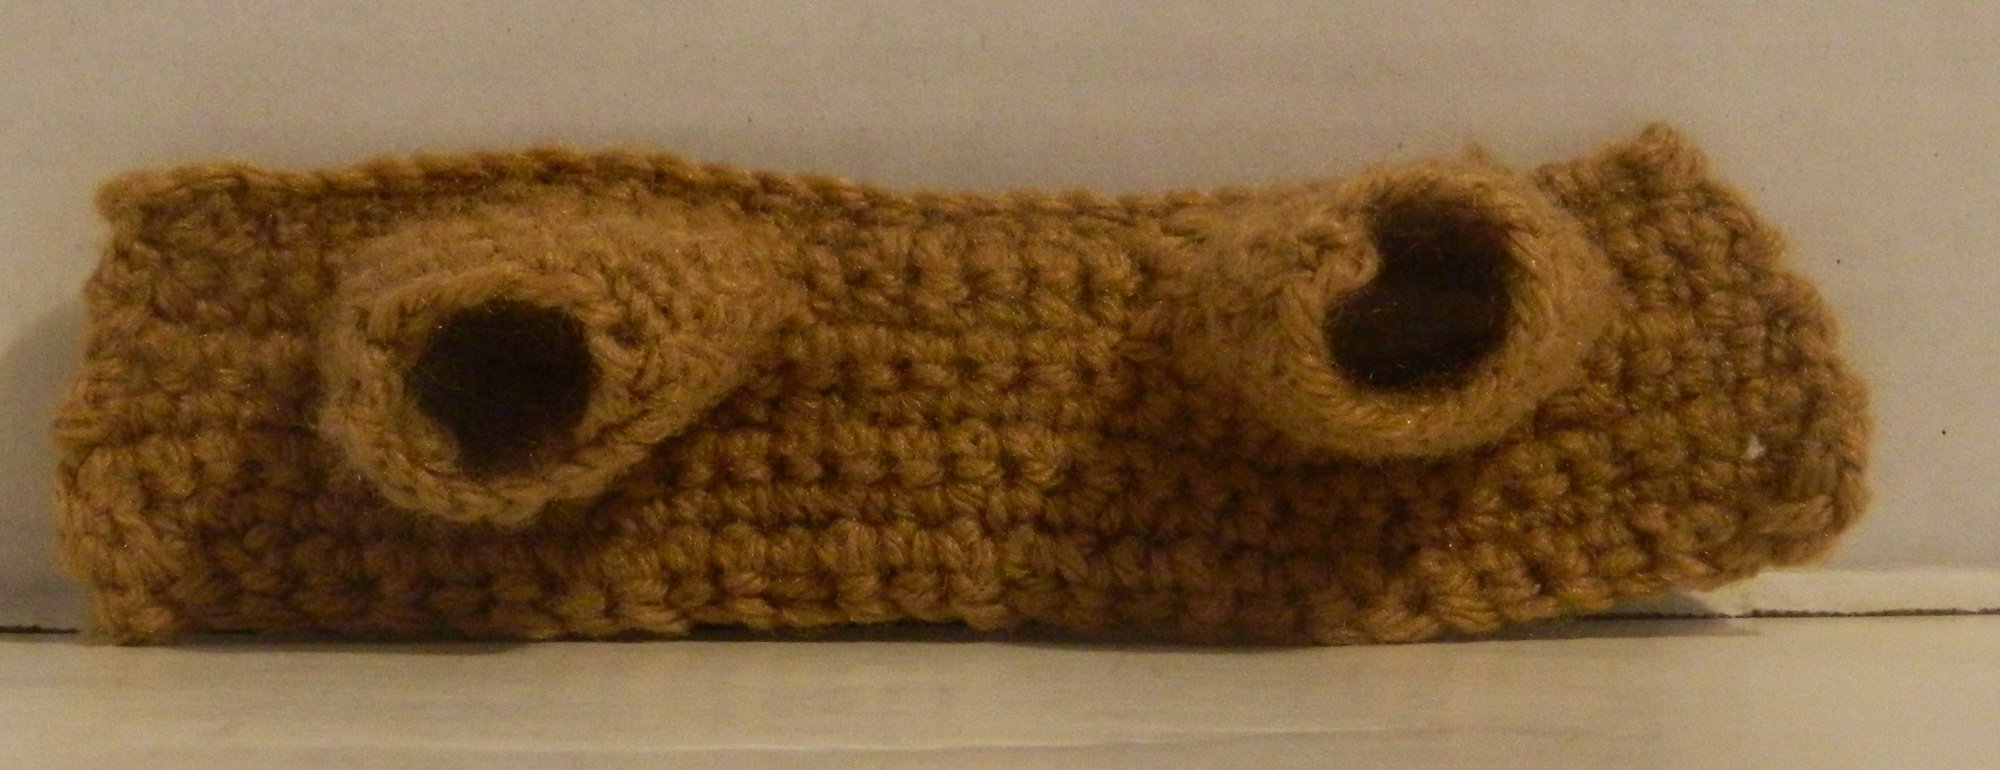
Jacket
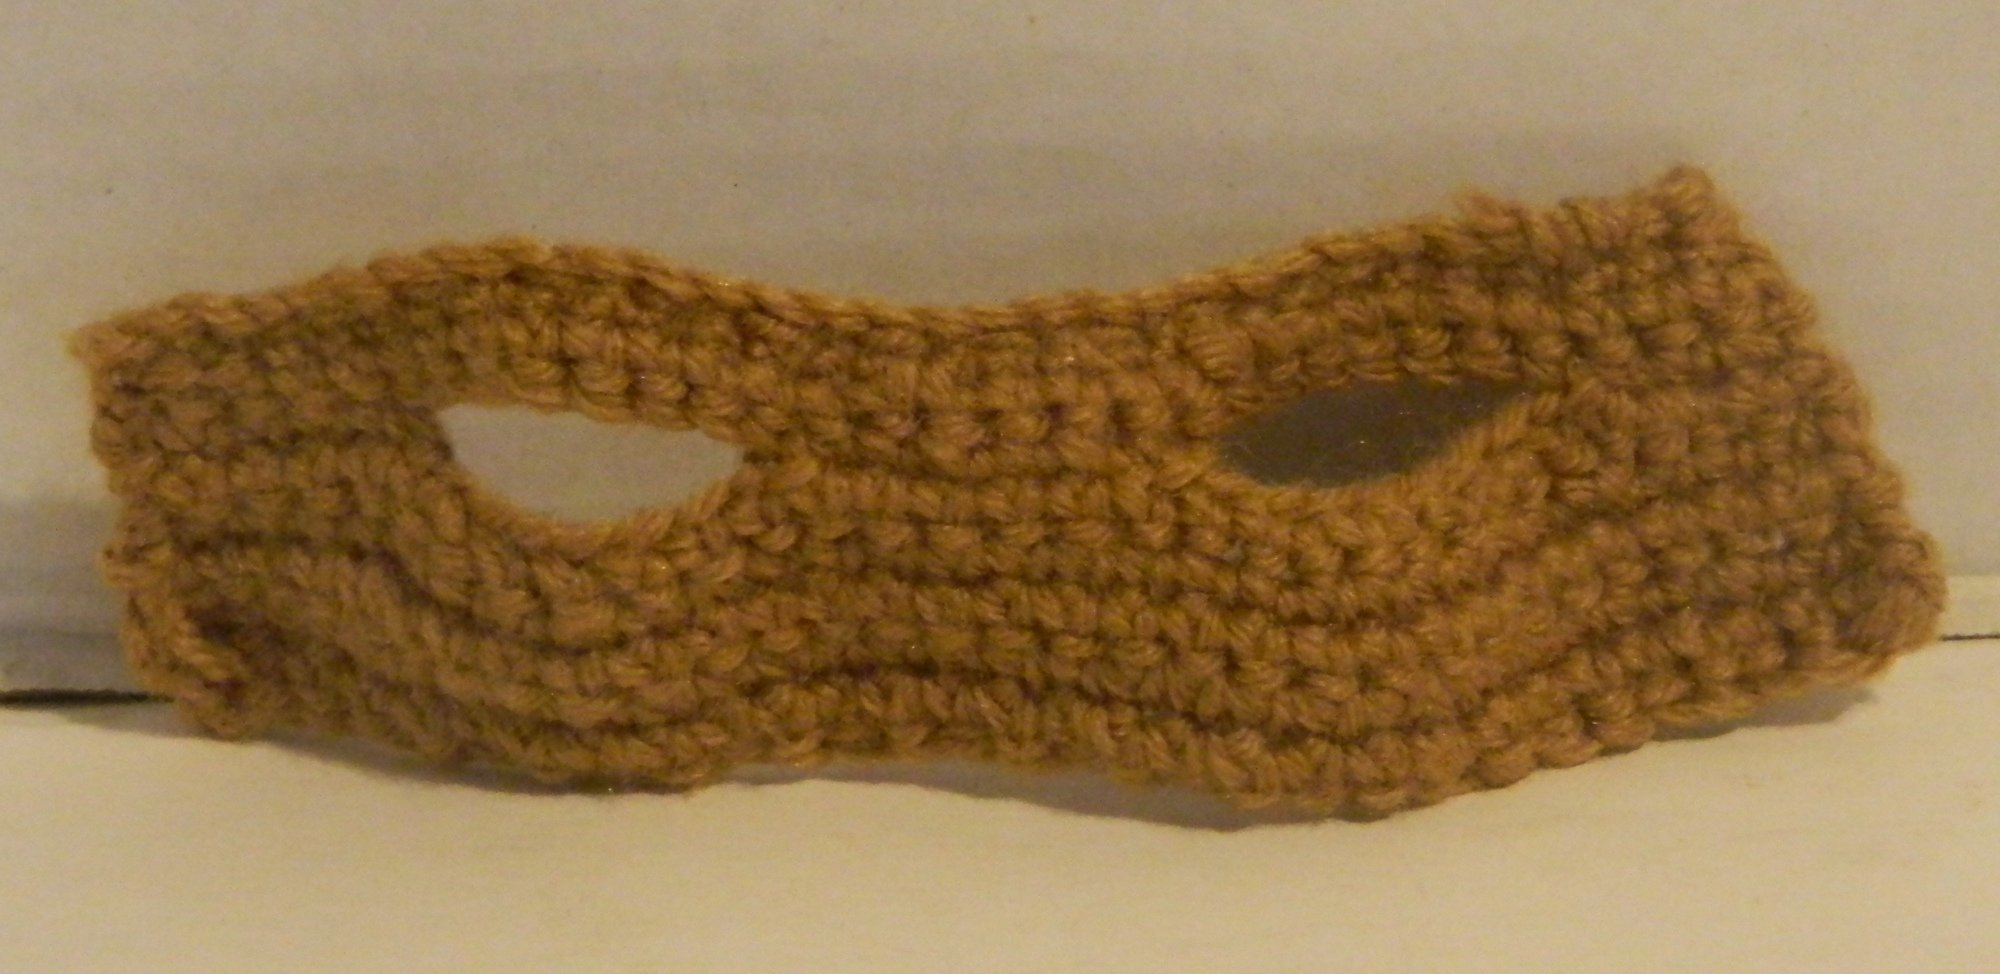
To make the jacket you will be making three parts. All three parts use the lighter brown yarn. We will start by making the base of the jacket.
Round 1: CH x 31 (31 stitches)
Round 2: SC x 30, CH (31 stitches)
Round 3: SC x 5, CH x 8, skip seven stitches, SC x 6, CH x 8, skip seven stitches, SC x 5, CH (33 stitches)
Rounds 4-6: SC x 30, CH x 1 (31 stitches)
Round 7: SC x 30 (30 stitches)
Fasten off.
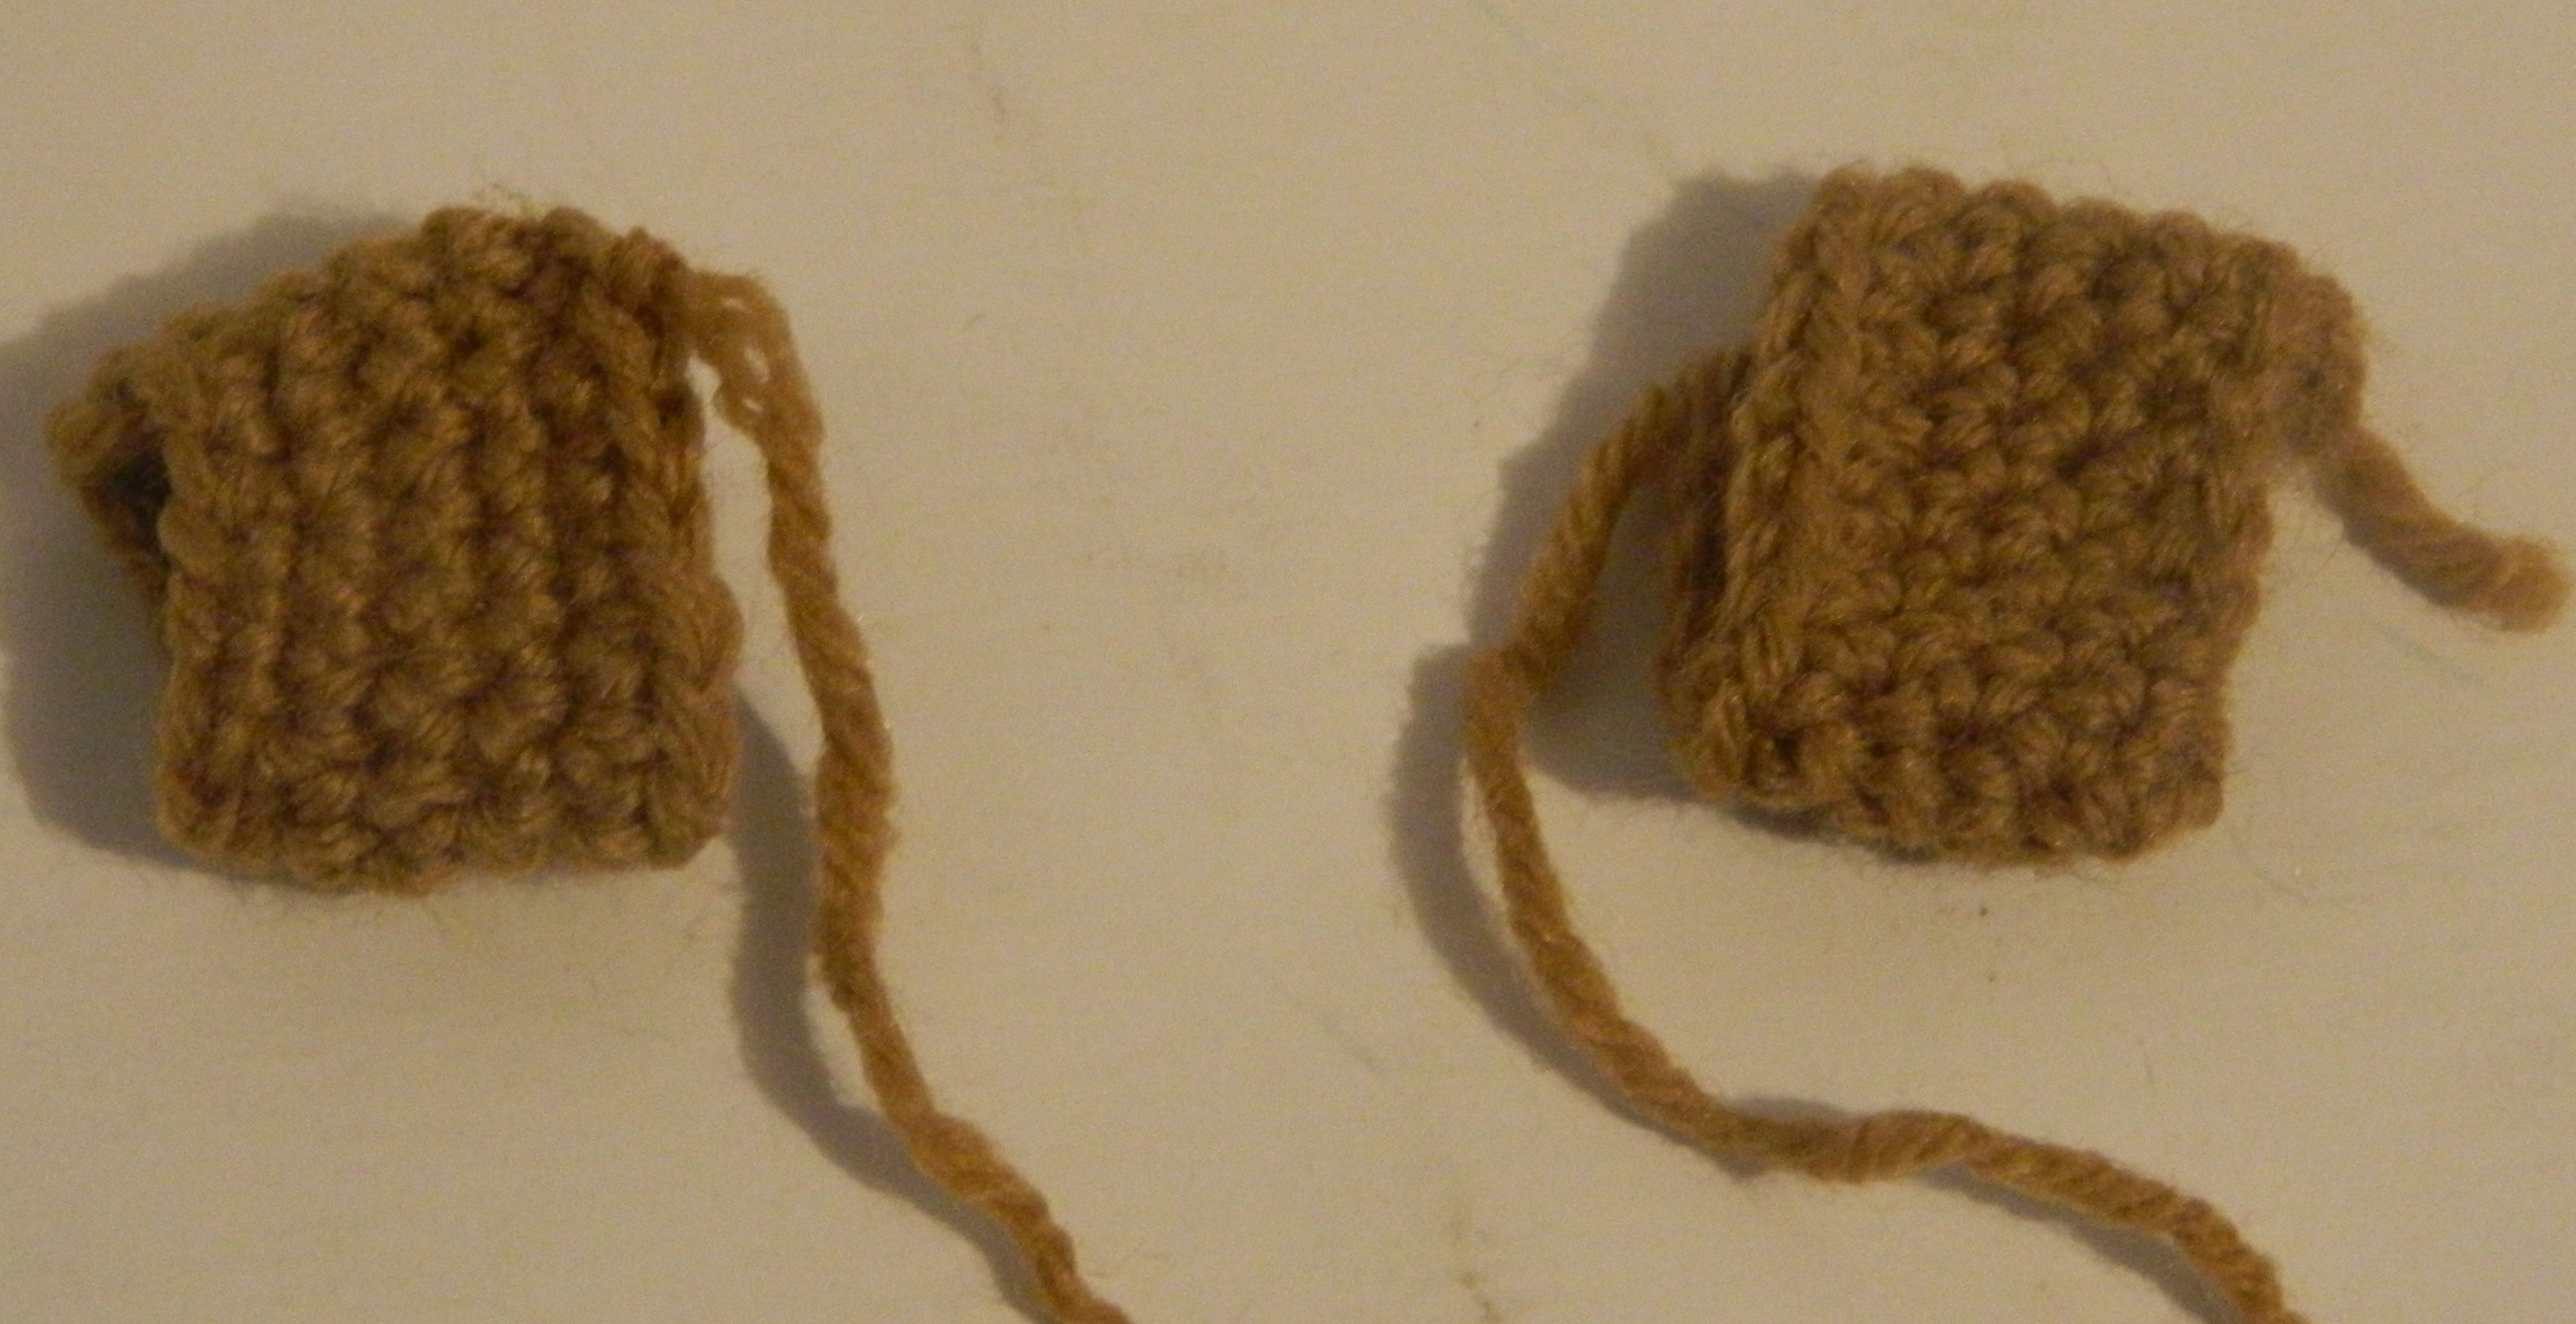
Next you will make two sleeves for the jacket.
Round 1: CH x 15 (15 stitches)
Round 2: SC x 15 with the first SC being inserted into the first CH from the previous round. (15 stitches)
Rounds 3-6: SC x 15 (15 stitches)
Fasten off leaving enough yarn to sew the sleeves to the jacket.

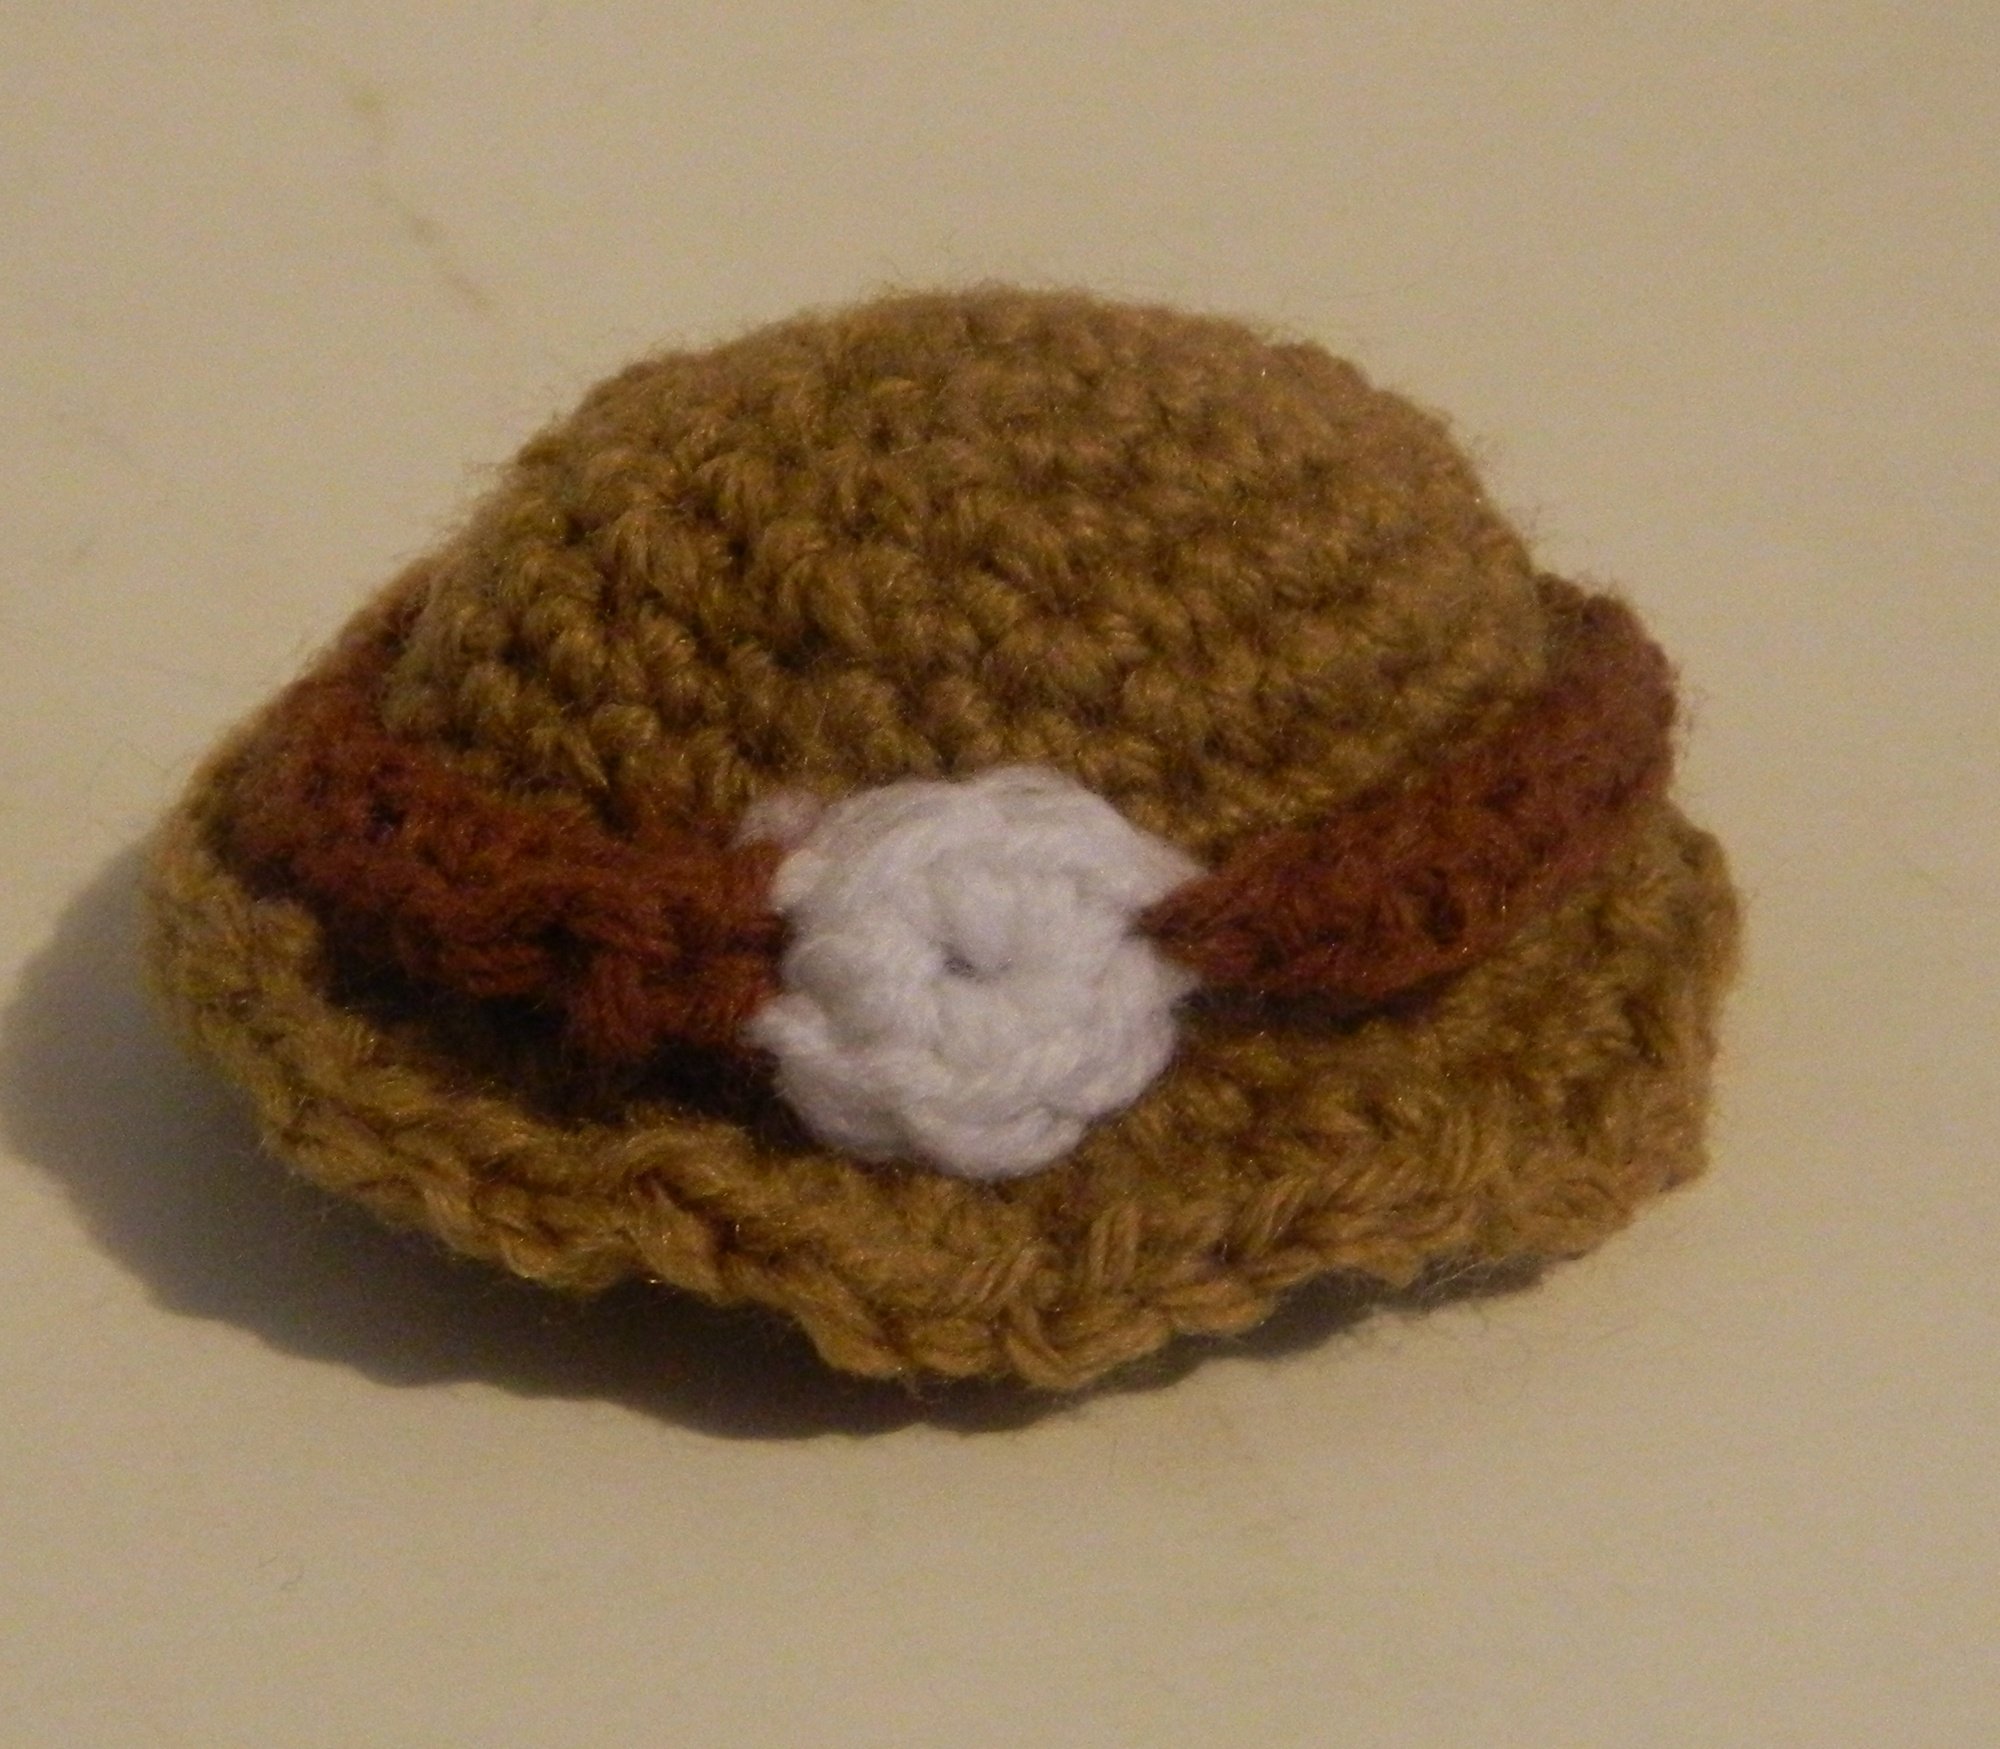
Hat
For the hat you will use the lighter brown yarn.
Round 1: CH x 2 (2 stitches)
Round 2: SC x 6 in the first CH (6 stitches)
Round 3: INC x 6 (12 stitches)
Round 4: | SC, INC | x 6 (18 stitches)
Round 5: | SC, INC, SC | x 6 (24 stitches)
Round 6: | SC x 2, INC, SC | x 6 (30 stitches)
Rounds 7-10: SC x 30 (30 stitches)
Round 11: INC x 7, SC x 8, INC x 7, SC x 8 (44 stitches)
Round 12: SC, | INC, SC | x 7, SC x 8, | INC, SC | x 7, SC x 7 (58 stitches)
SL and fasten off.
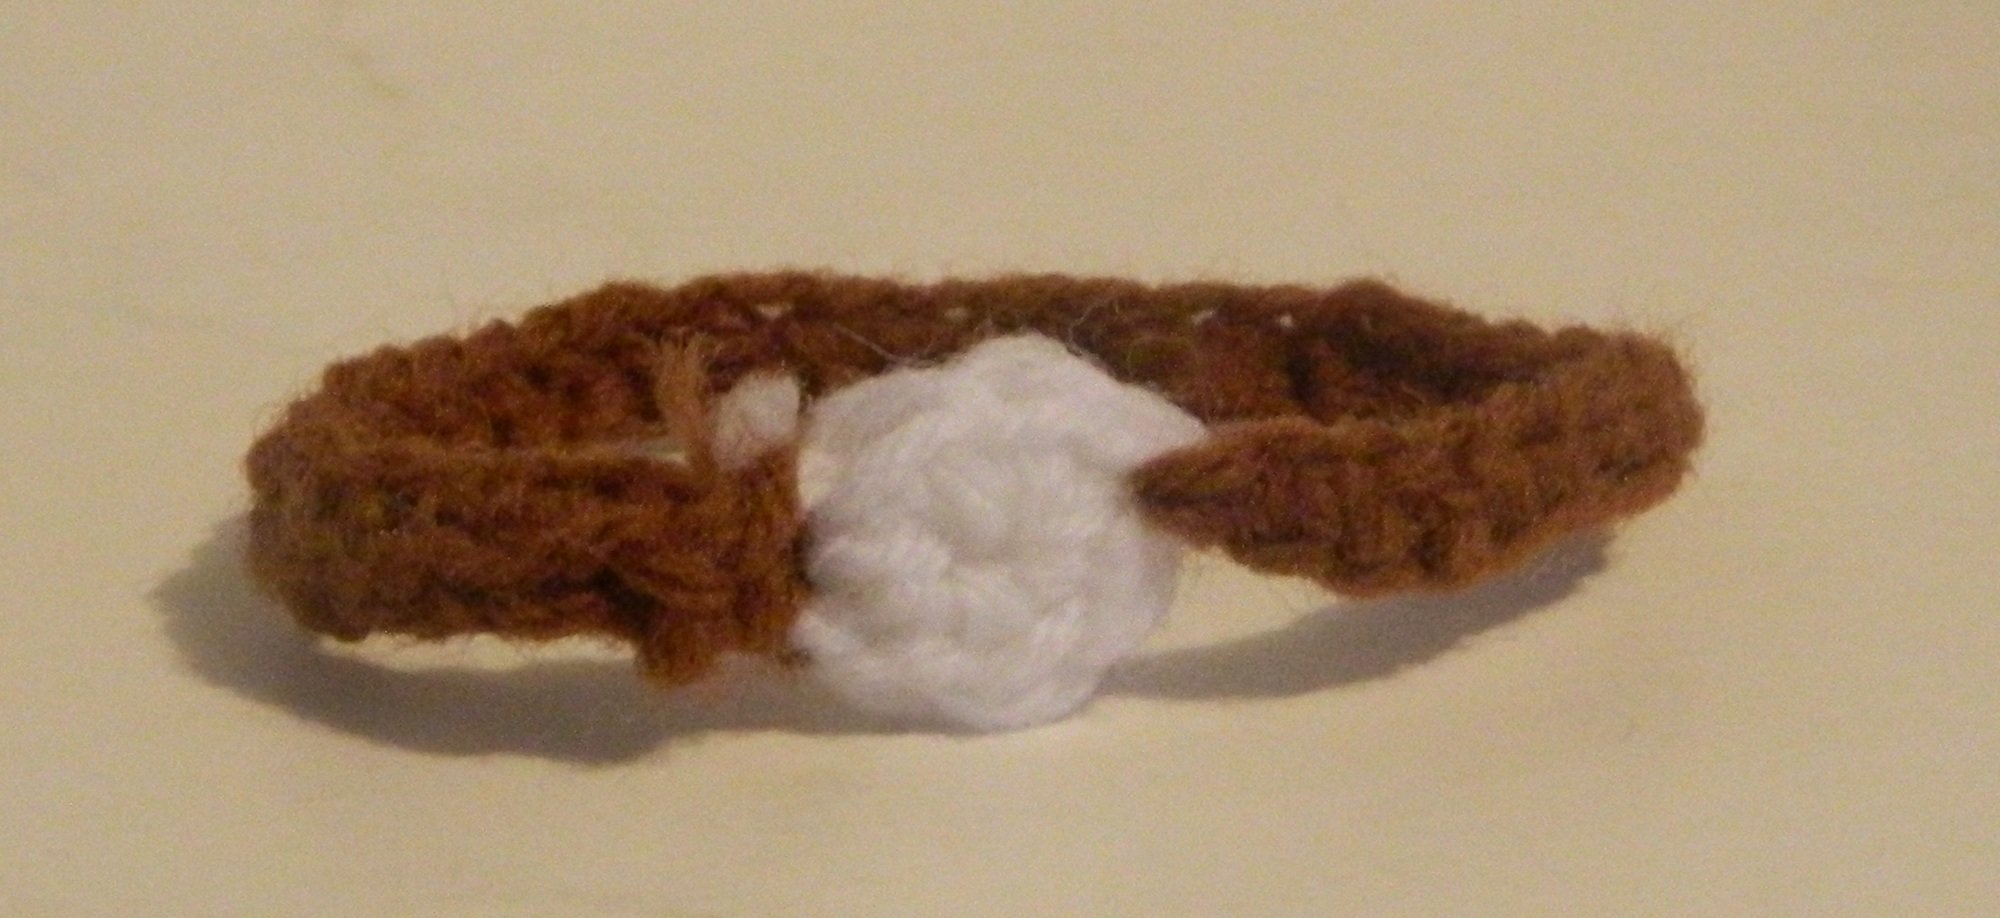
Head Lamp
For the head lamp you will use both the white and darker brown yarn. You will start with the white yarn.
Round 1: CH x 2 (2 stitches)
Round 2: SC x 6 in the first CH (6 stitches)
Switch to the dark brown yarn.
Round 3: SC, CH x 36, SC into a white stitch on the opposite side of the white circle. Turn (38 stitches)
Round 4: SC x 36 (36 stitches)
Fasten off.
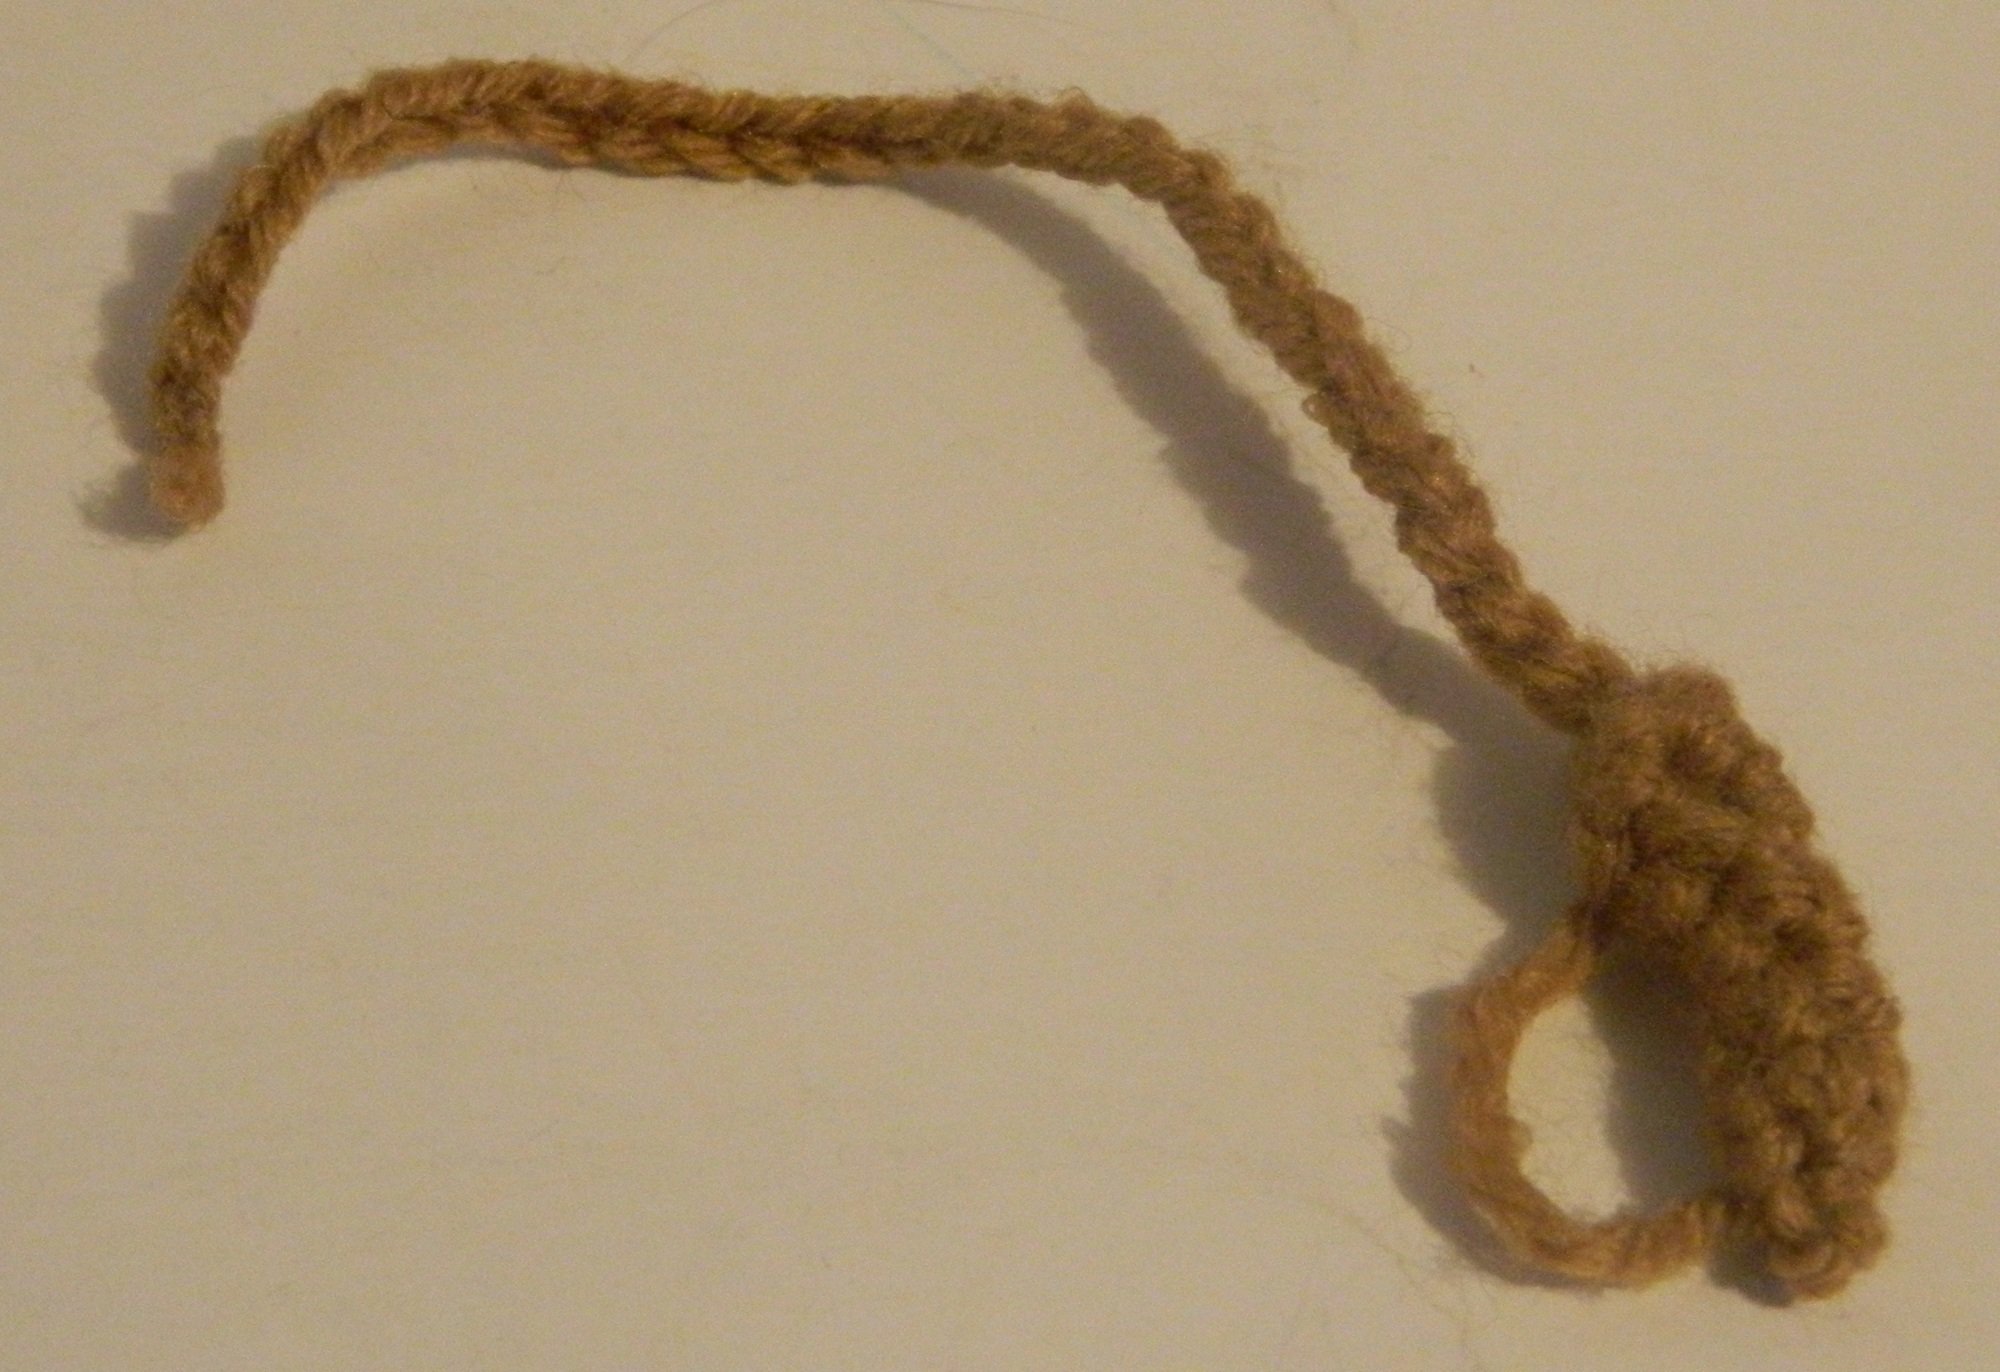
Whip
For the whip you can use either the lighter or darker brown yarn.
Round 1: CH x 31 (31 stitches)
Round 2: SC x 4 in the second to last CH (4 stitches)
Rounds 3-6: SC x 4 (4 stitches)
Fasten off leaving enough yarn to sew up the bottom. I would recommend using some excess yarn to sew a loop that you can wrap around the hand to attach the whip to the hand without having to sew it directly to the hand.
Assembly
To assembly the hat you can either choose to sew the head lamp to the hat or you can just place it on top of the hat since it stays in place on its’ own.
To finish the jacket you have to sew the sleeves to the two slits in the jacket using the excess yarn from the sleeves.
Next I added the two arms to the body. One arm is sewn to each side of the body. Before sewing the arms to the body I would recommend using the jacket as a reference so the arms are placed in a position where the jacket can still be put on.
Next I added the legs to the bottom of the body. To sew the legs to the body I used some extra light brown yarn.
I added the two ears using the extra yarn from both ears. I placed the two ears so they were level with the eyes.

Next I added the nose.
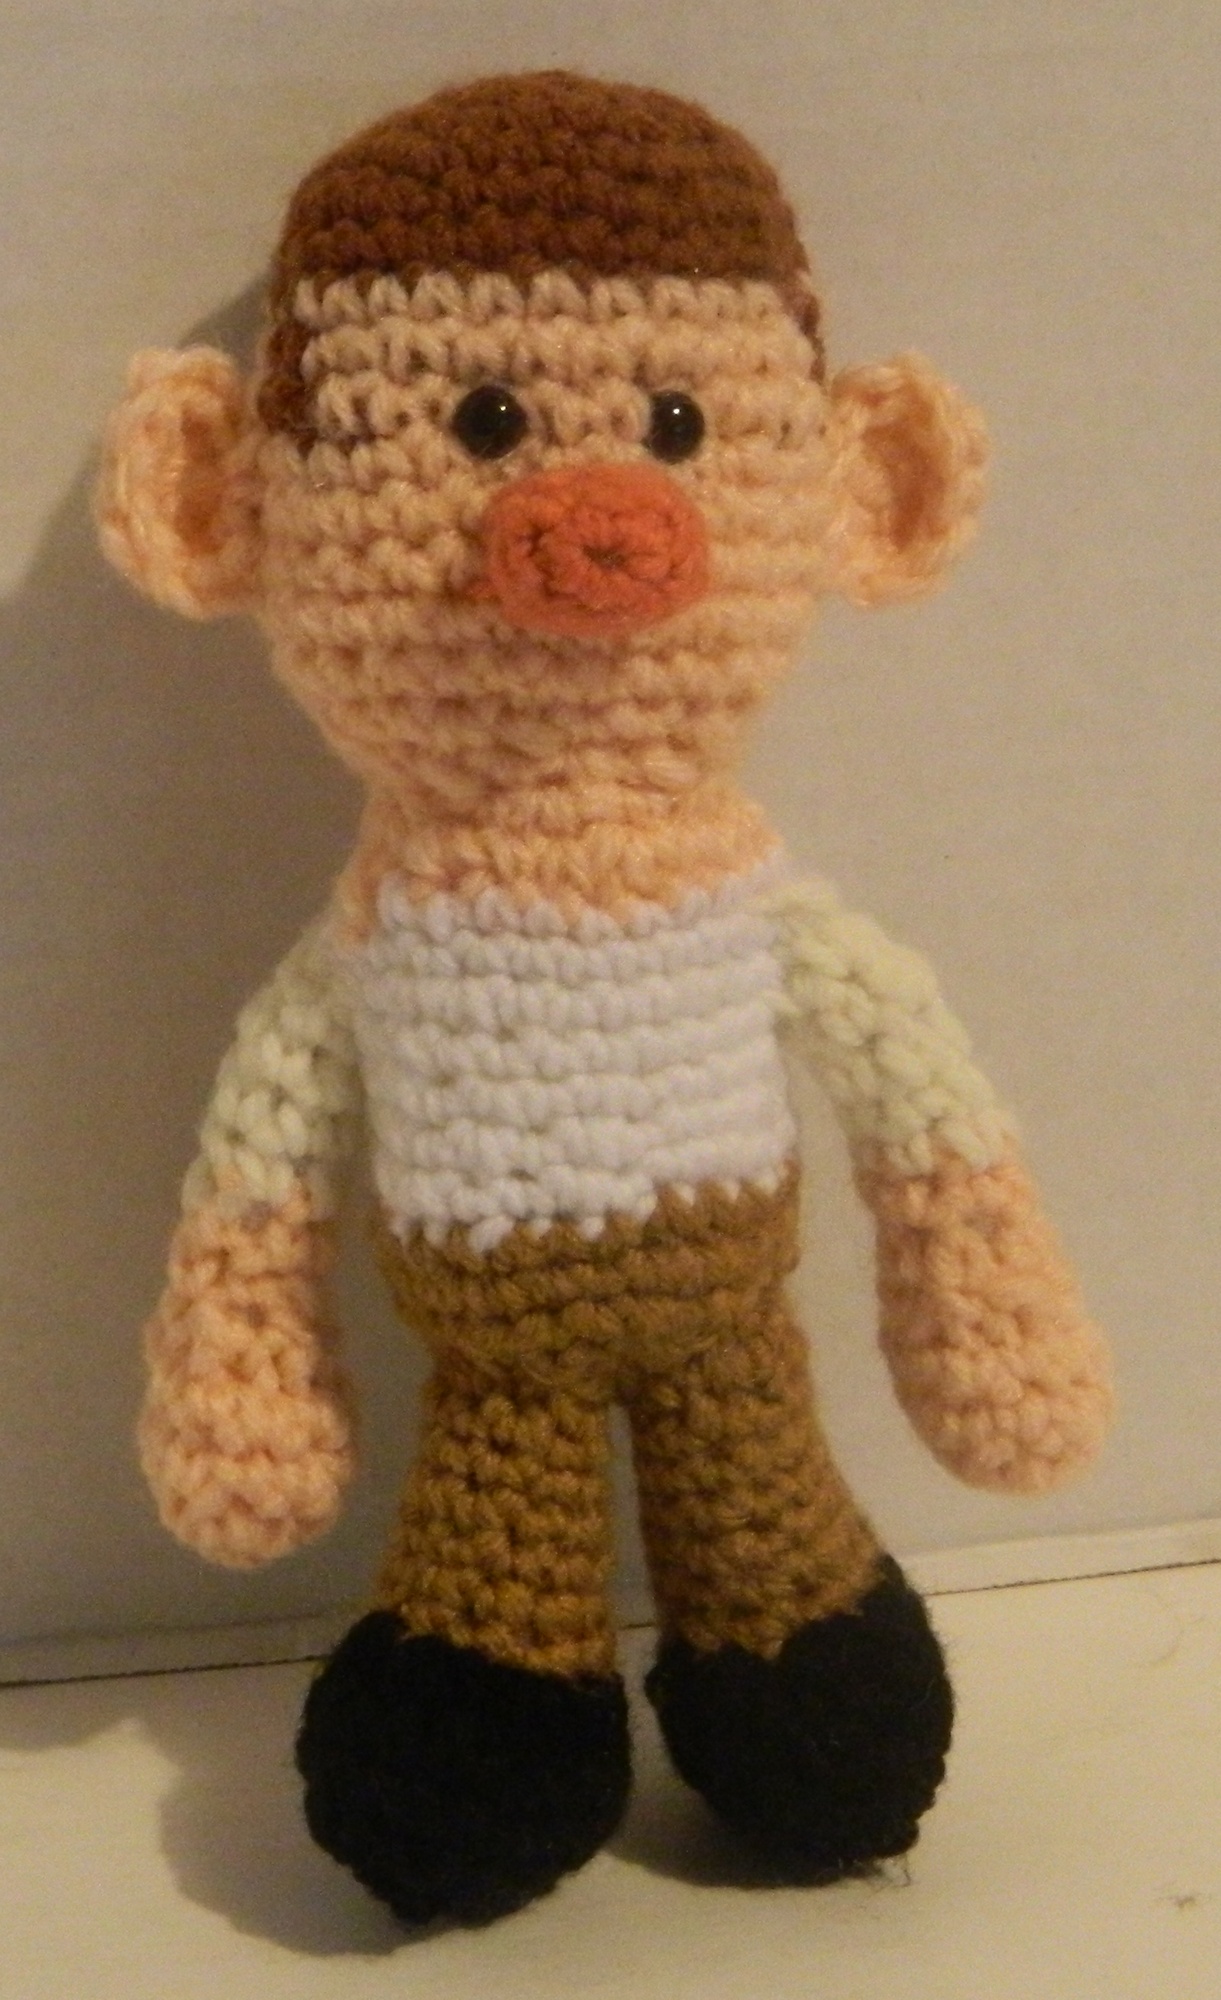
The two eyebrows were attached above the eyes.

After you put on the hat, jacket, and whip the Spelunky amigurumi is complete.
