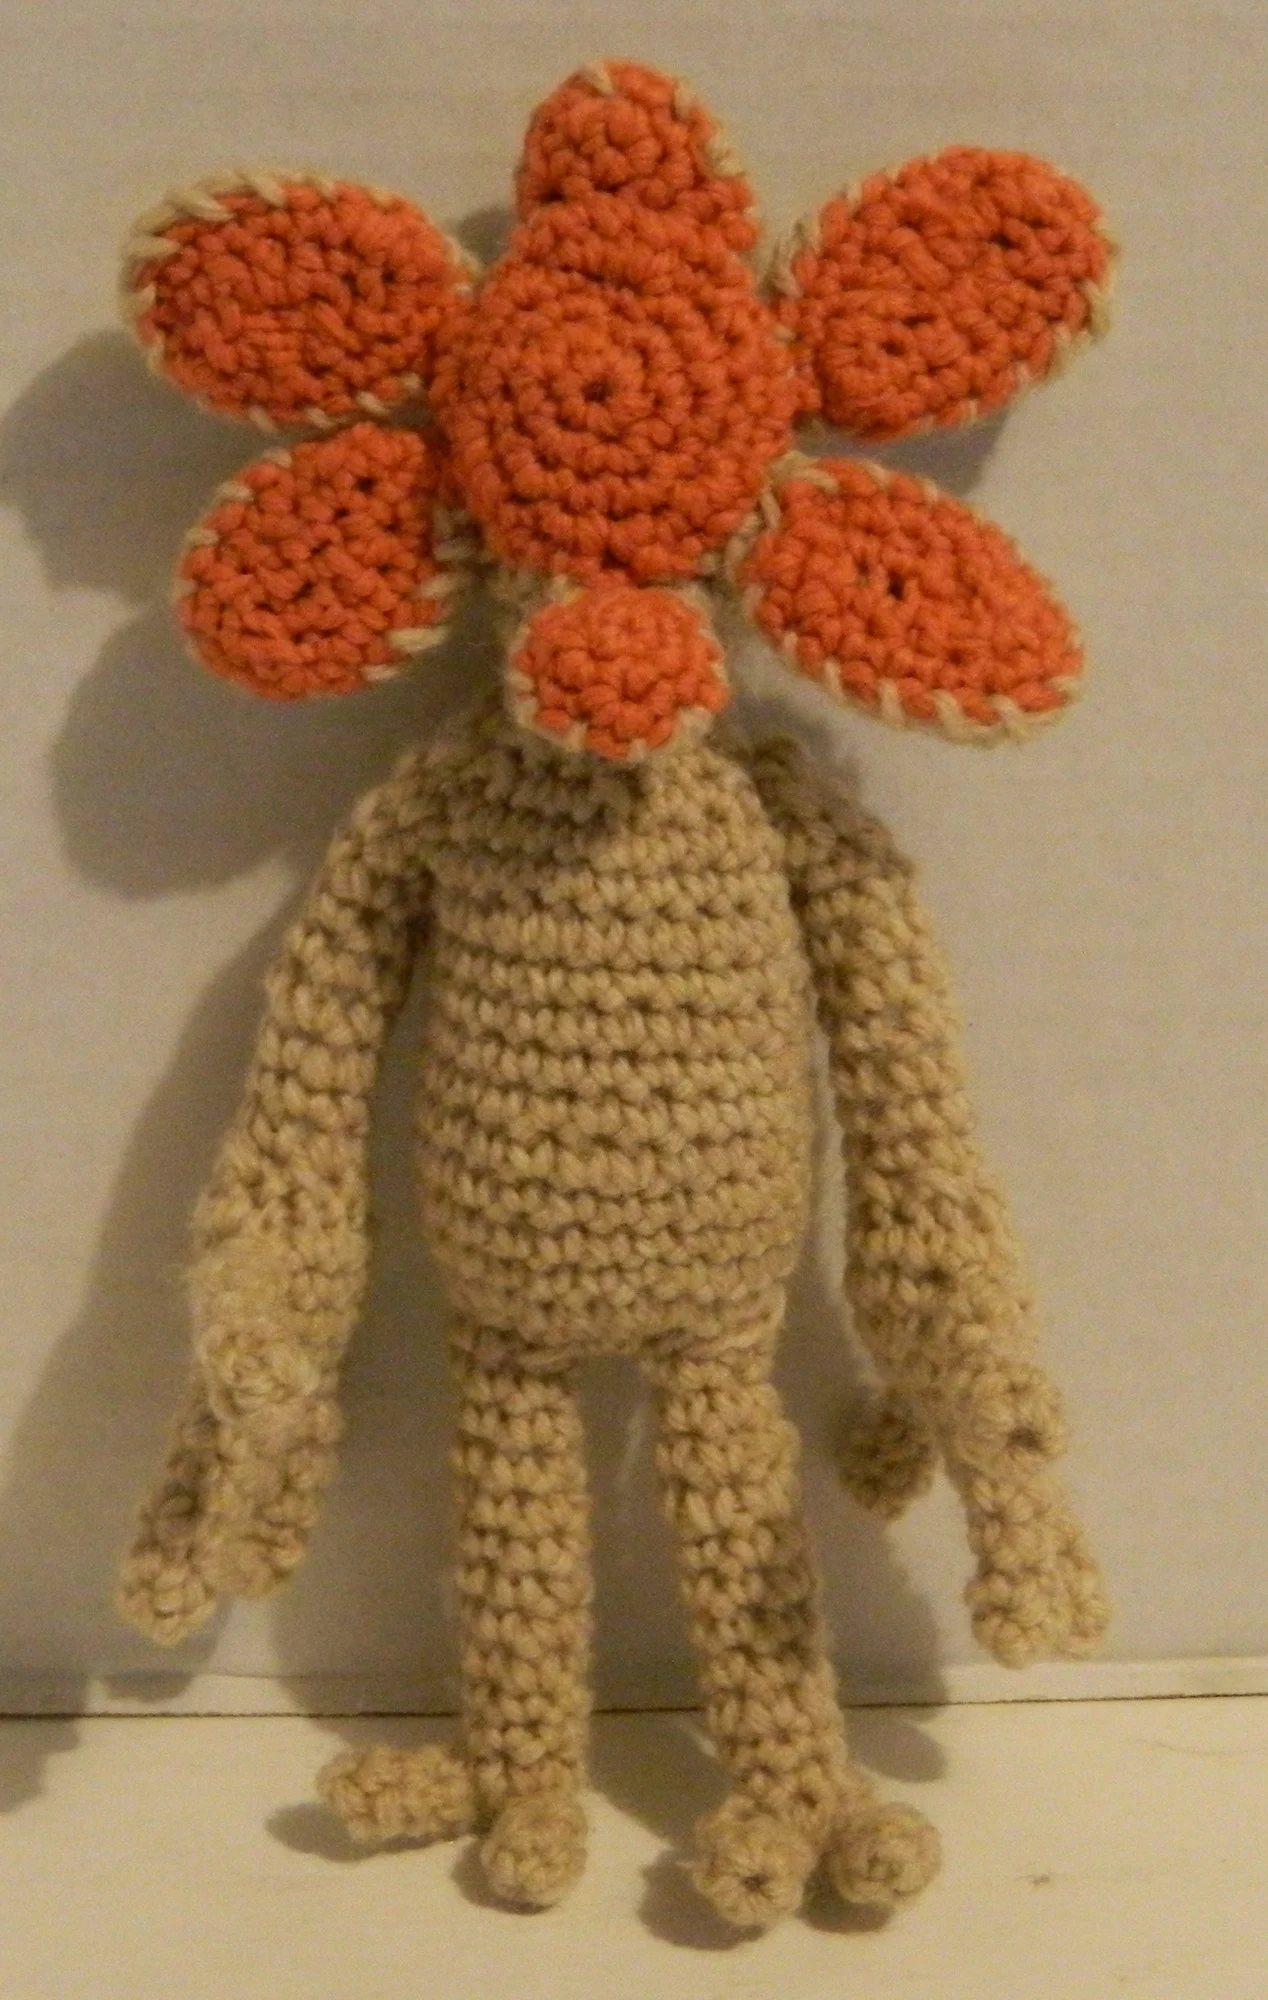
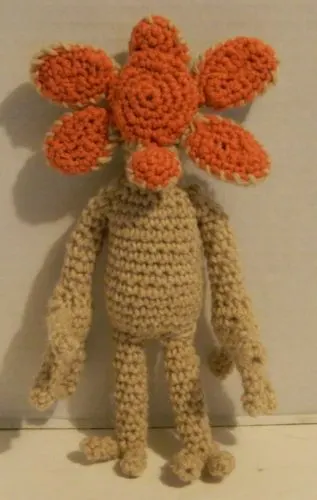
One of the biggest television hits of last year was the Netflix original series Stranger Things. Stranger Things is a 1980’s inspired sci-fi/light horror show about a small town where a boy disappears as mysterious forces begin affecting the town. In order to get ready for the second season which comes out later this year I decided to create an amigurumi for the first season’s monstrous villain, The Demogorgon. While the creature is pretty intimidating in the show, in amigurumi form the creature is surprisingly cute.
This post provides step-by-step instructions on how to crochet your own Demogorgon amigurumi. The Demogorgon amigurumi figure stands approximately 10 inches tall. I would classify the pattern as moderately difficult. The pattern doesn’t require any really difficult stitches but requires more than most of my other patterns so far. The Demogorgon also requires quite a few different pieces to be made which makes it a longer pattern to complete.
Note: This pattern is provided for free so I would appreciate that it not be used for commercial use. You may not copy this pattern and then try to sell it. I would appreciate that this pattern not be copied and posted in its’ entirety on other websites. Feel free to post images of your completed works wherever you want but a link back to this page would be appreciated.
What Do You Need to Know
Difficulty: Moderate
In order to follow the Demogorgon pattern you will need to know how to do the following:
- Slipknot | Tutorial
- Chain Stitch (CH) | Tutorial
- Single Crochet (SC) | Tutorial
- Increase (INC) | Tutorial
- Decrease (DEC) | Tutorial
- Double Crochet (DC) | Tutorial
- Half-Double Crochet (HDC) | Tutorial
- Slip Stitch (SL) | Tutorial
- Fastening Off | Tutorial
What You Need
- Tan/Beige/Off-White Yarn (referred to as tan yarn for the pattern) Buy on Amazon
- Salmon Color Yarn Buy on Amazon
- Stuffing Buy on Amazon
- E/4 3.50 MM Crochet Hook Buy on Amazon
- Yarn needle Buy on Amazon
- Stitch markers Buy on Amazon
Pattern
Body
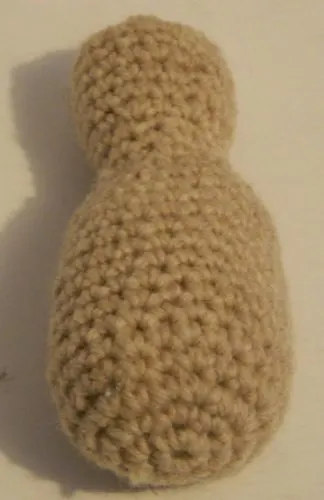
To create the body you will use the tan yarn. When creating the body you will be starting at bottom and moving towards the top. Add stuffing as desired but you should add stuffing to the lower body before round 17 or 18 or it becomes harder to stuff that part of the body.
Round 1: CH x 2 (2 stitches)
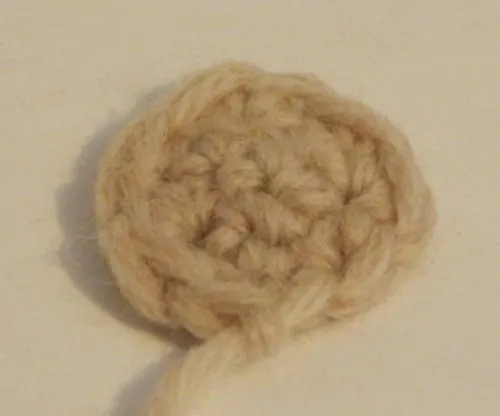
Round 2: SC x 6 in the first CH (6 stitches)
Round 3: INC x 6 (12 stitches)
Round 4: | INC, SC | x 6 (18 stitches)
Round 5: | SC, INC, SC | x 6 (24 stitches)
Rounds 6-16: SC x 24 (24 stitches)
Round 17: | SC, DEC, SC | X 6 (18 stitches)
Round 18: | DEC, SC | x 6 (12 stitches)
Rounds 19-21: SC x 12 (12 stitches)
Round 22: | INC, SC | x 6 (18 stitches)
Rounds 23-27: SC x 18 (18 stitches)
Round 28: | DEC, SC | x 6 (12 stitches)
Round 29: DEC x 6 (6 stitches)
Fasten off leaving enough yarn to sew up the top of the body.
Center Mouth
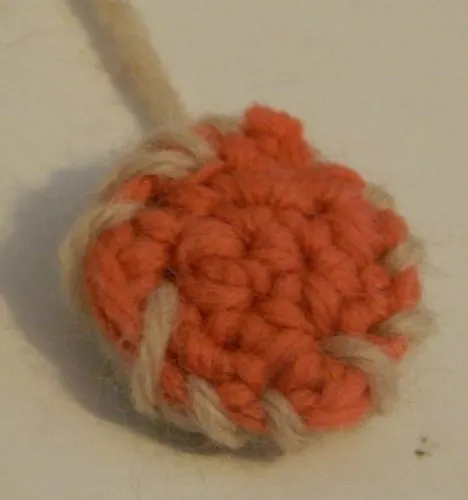
Use the salmon colored yarn.
Round 1: CH x 2 (2 stitches)
Round 2: SC x 6 in the first CH (6 stitches)
Round 3: INC x 6 (12 stitches)
Round 4: | INC, SC | x 6 (18 stitches)
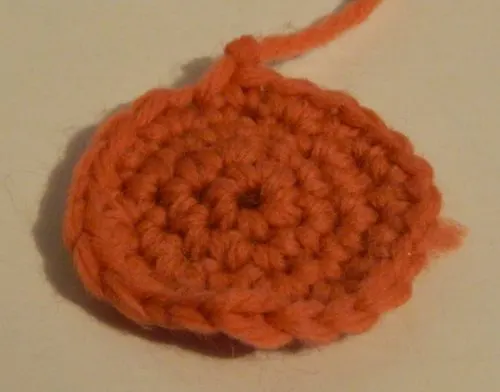
Round 5: | SC, INC, SC | x 6 (24 stitches), SL
Fasten off leaving enough yarn to sew the center mouth to the head.
Larger Mouth Flaps
You will have to make eight larger mouth flaps. You will make four in the tan color and four in the salmon color.
CH x 9 (9 stitches), Flip
Skip the first CH. SC x 2, HDC, DC x 2, HDC, SC x 2
Repeat the previous line on the other side of the CH stitches.
SC on every outer stitch. SL
Fasten off. For the tan colored flaps leave enough yarn to sew the tan colored flap to the salmon colored flap and to sew both to the face.
Smaller Mouth Flaps
You will have to make four smaller mouth flaps. You will make two in tan and two in salmon.
Round 1: CH x 2 (2 stitches)
Round 2: SC x 3 in the first CH (3 stitches)
Round 3: INC x 3 (6 stitches)
Round 4: | INC, SC | x 3 (9 stitches), SL
Fasten off. For the tan colored flaps leave enough yarn to sew the tan colored flap to the salmon colored flap and to sew both to the face.
Arms
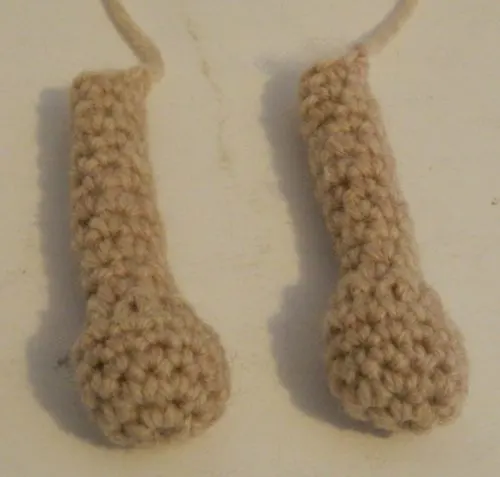
You will make two arms. Use the tan yarn and add stuffing as desired.
Round 1: CH x 2 (2 stitches)
Round 2: SC x 6 in the first CH (6 stitches)
Round 3: INC x 6 (12 stitches)
Rounds 4-6: SC x 12 (12 stitches)
Round 7: DEC x 6 (6 stitches)
Rounds 8-17: SC x 6 (6 stitches)
Fasten off leaving enough yarn to sew the arms to the body.
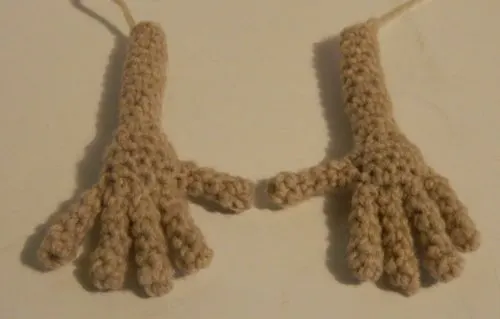
Fingers
You will make ten fingers. Use the tan yarn.
Round 1: CH x 2 (2 stitches)
Round 2: SC x 4 in the first CH (4 stitches)
Rounds 3-7: SC x 4 (4 stitches)
Fasten off leaving enough yarn to sew the fingers to the hands. You can choose whether or not to stuff the fingers. Due to how thin the fingers are you don’t have to stuff them.
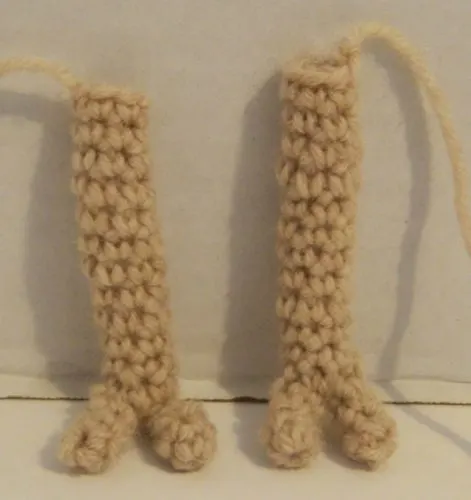
Legs
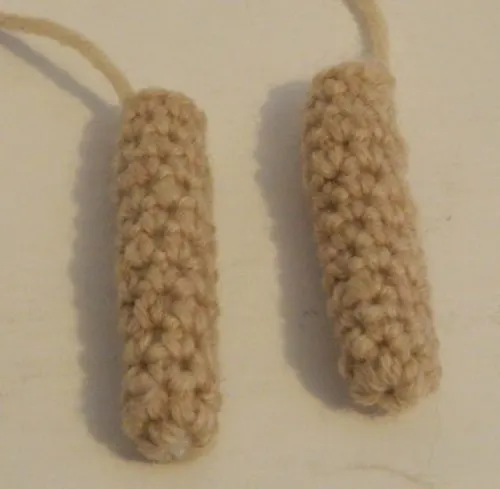
You will make two legs. Use the tan yarn and add stuffing as desired.
Round 1: CH x 2 (2 stitches)
Round 2: SC x 6 in the first CH (6 stitches)
Rounds 3-14: SC x 6 (6 stitches), SL
Fasten off leaving enough yarn to sew the legs to the body.
Toes
You will make four toes. Use the tan yarn.
Round 1: CH x 2 (2 stitches)
Round 2: SC x 4 in the first CH (4 stitches)
Rounds 3-5: SC x 4
Fasten off leaving enough yarn to sew the toes to the feet. You can choose whether to stuff the toes. The toes are thin enough that they don’t have to be stuffed.
Assembly
To assemble the larger mouth flaps sew one of the tan flaps to the back of one of the salmon flaps using the extra tan yarn.
Complete the smaller mouth flaps by sewing one of the tan flaps to the back of one of the salmon flaps using the extra tan yarn.
To complete the arms you will sew five fingers to both arms. Four of the fingers should be sewn to the top of the rounded part of the hand. The other finger should be sewn to the side of the rounded part of the hand like a human thumb.
To complete the legs you will sew two toes to each leg. The toes should be sewn to the bottom of the legs.
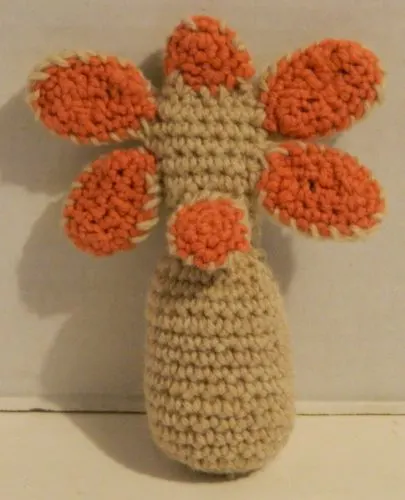
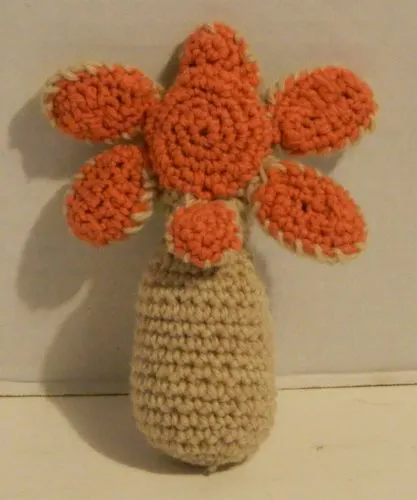
All of the individual pieces are now complete so it is time to sew them to the body. I began by sewing the mouth flaps to the smaller section of the body which is the Demogorgon’s head. Use the center mouth as a guide to space out the different mouth flap pieces. The two small mouth flaps should be on the top and bottom while the larger mouth flaps should be on the left and right sides.
Next I added the center mouth in the middle of the mouth flaps.
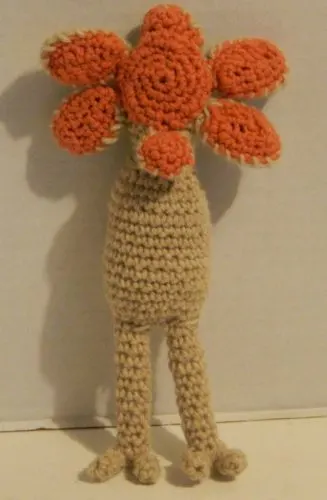
The legs are sewn to the bottom of the body with the toes being pointed towards the front of the body.
One arm is added to both sides of the body with the “thumbs” pointed forward. After adding the arms, the Demogorgon amigurumi has been completed.

