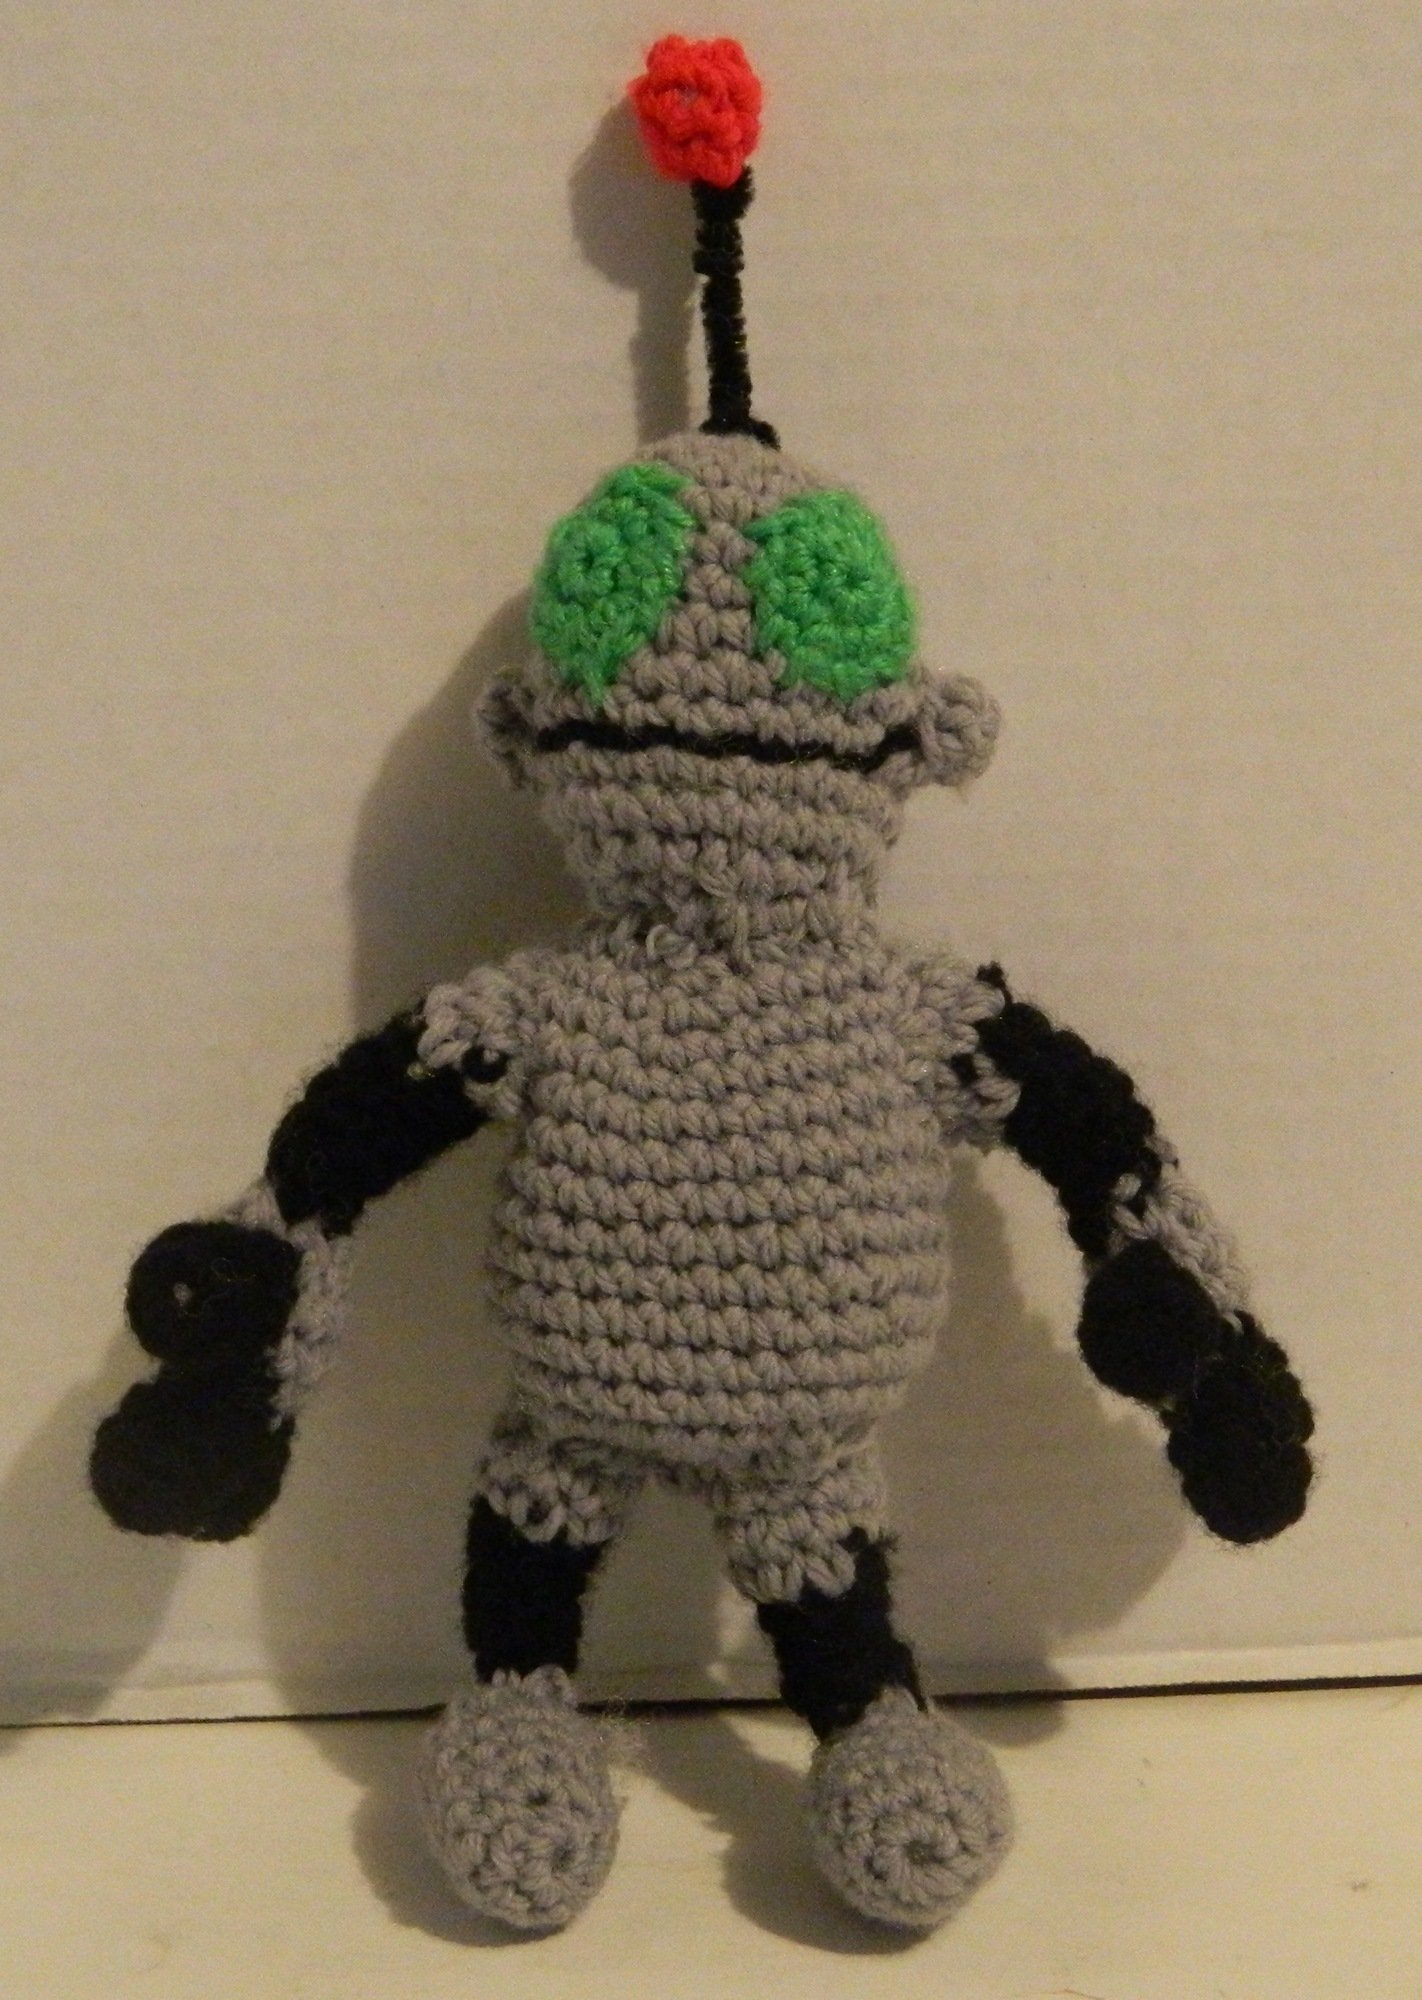
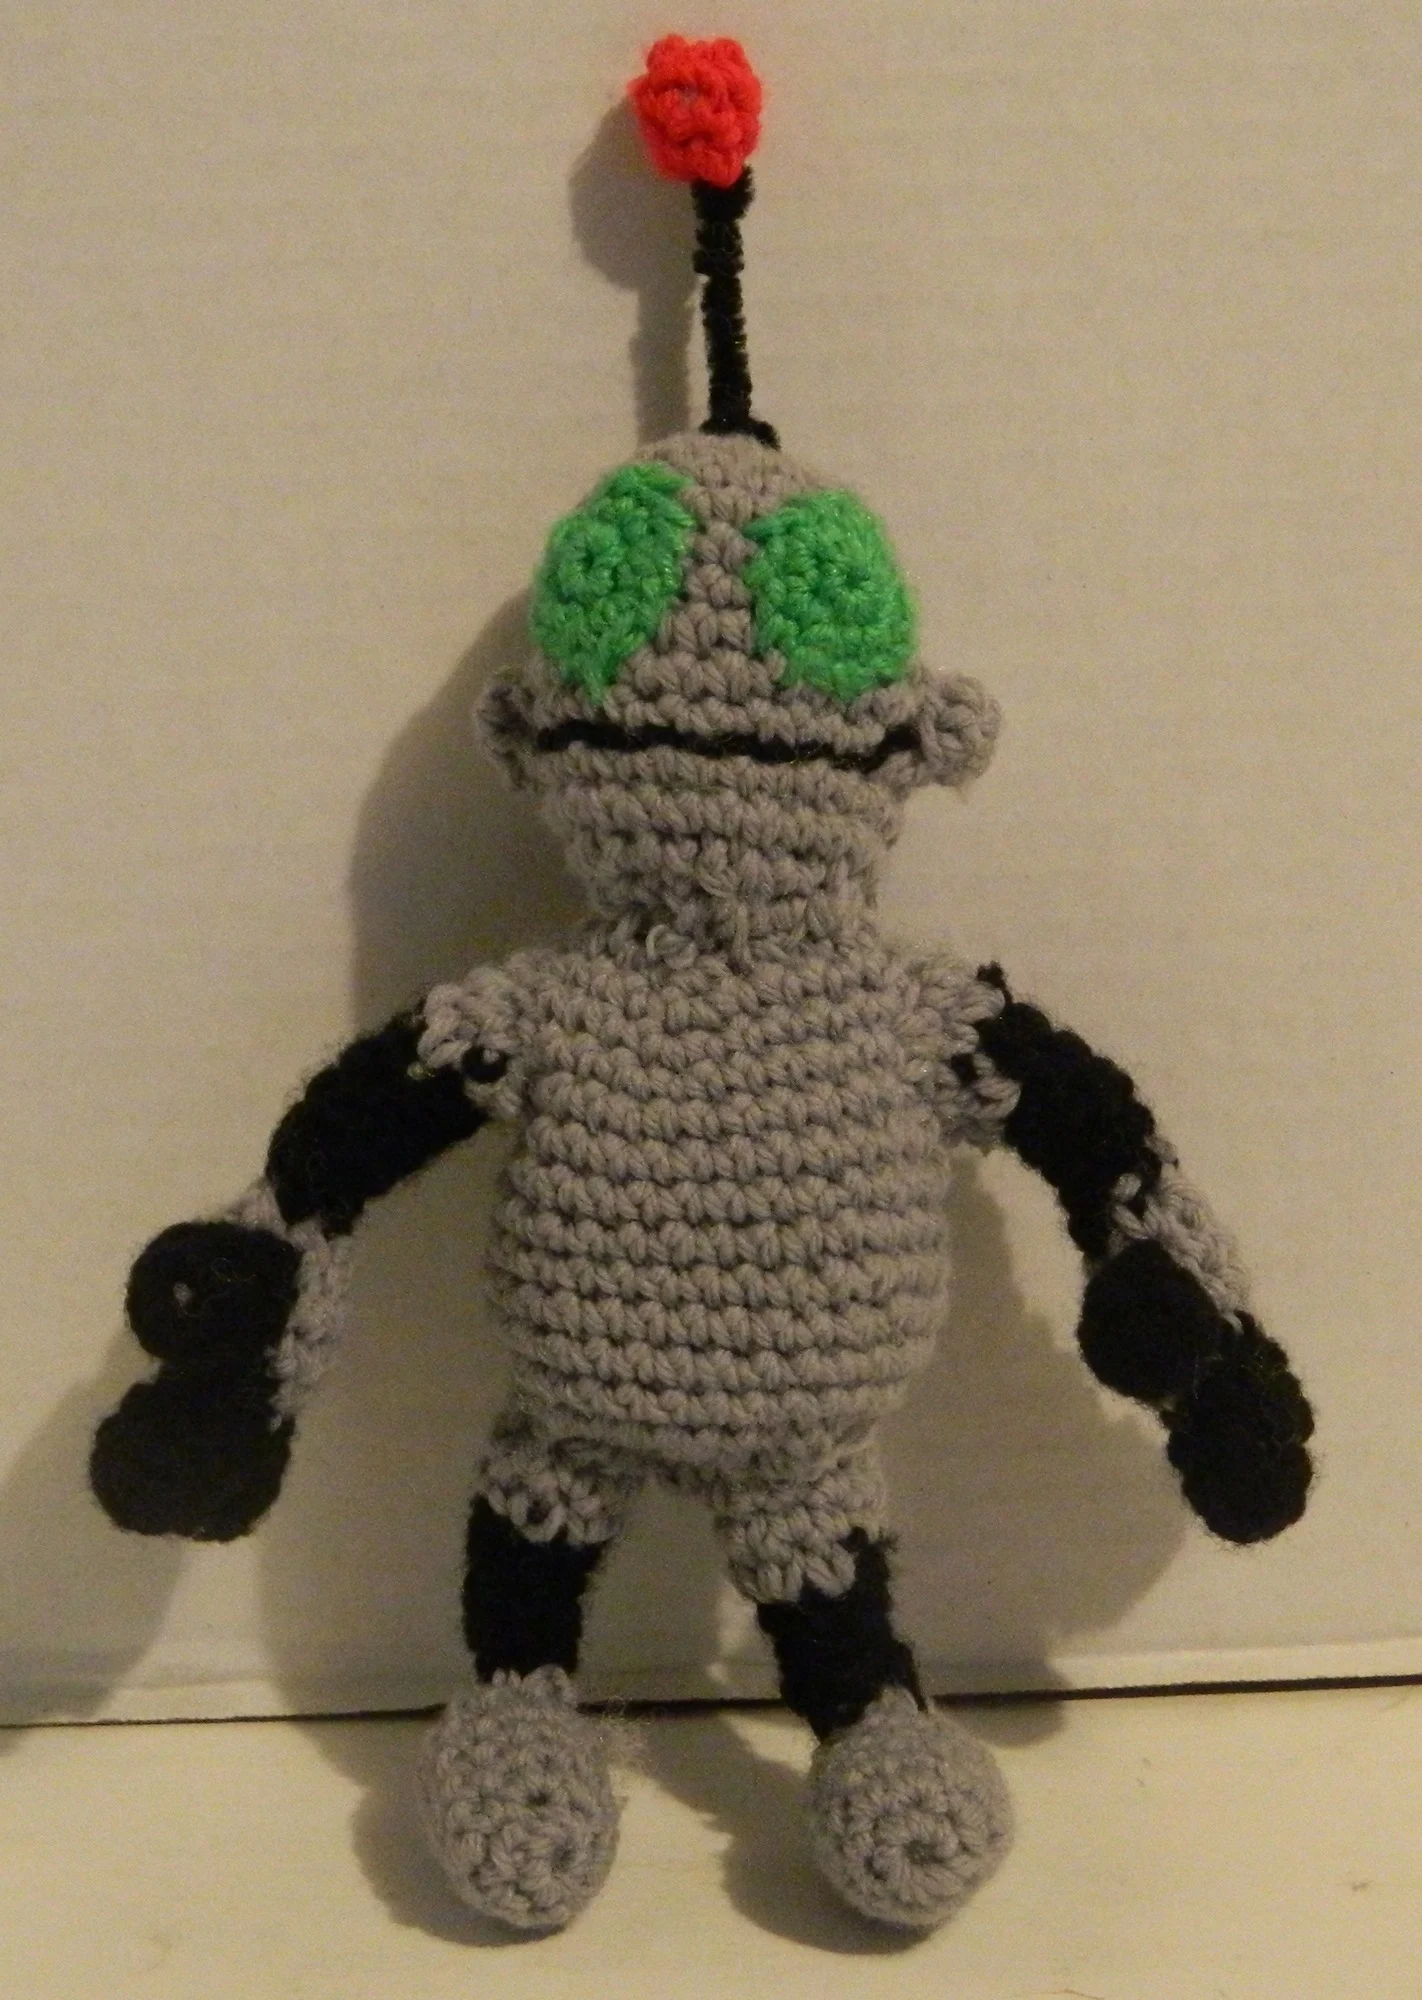
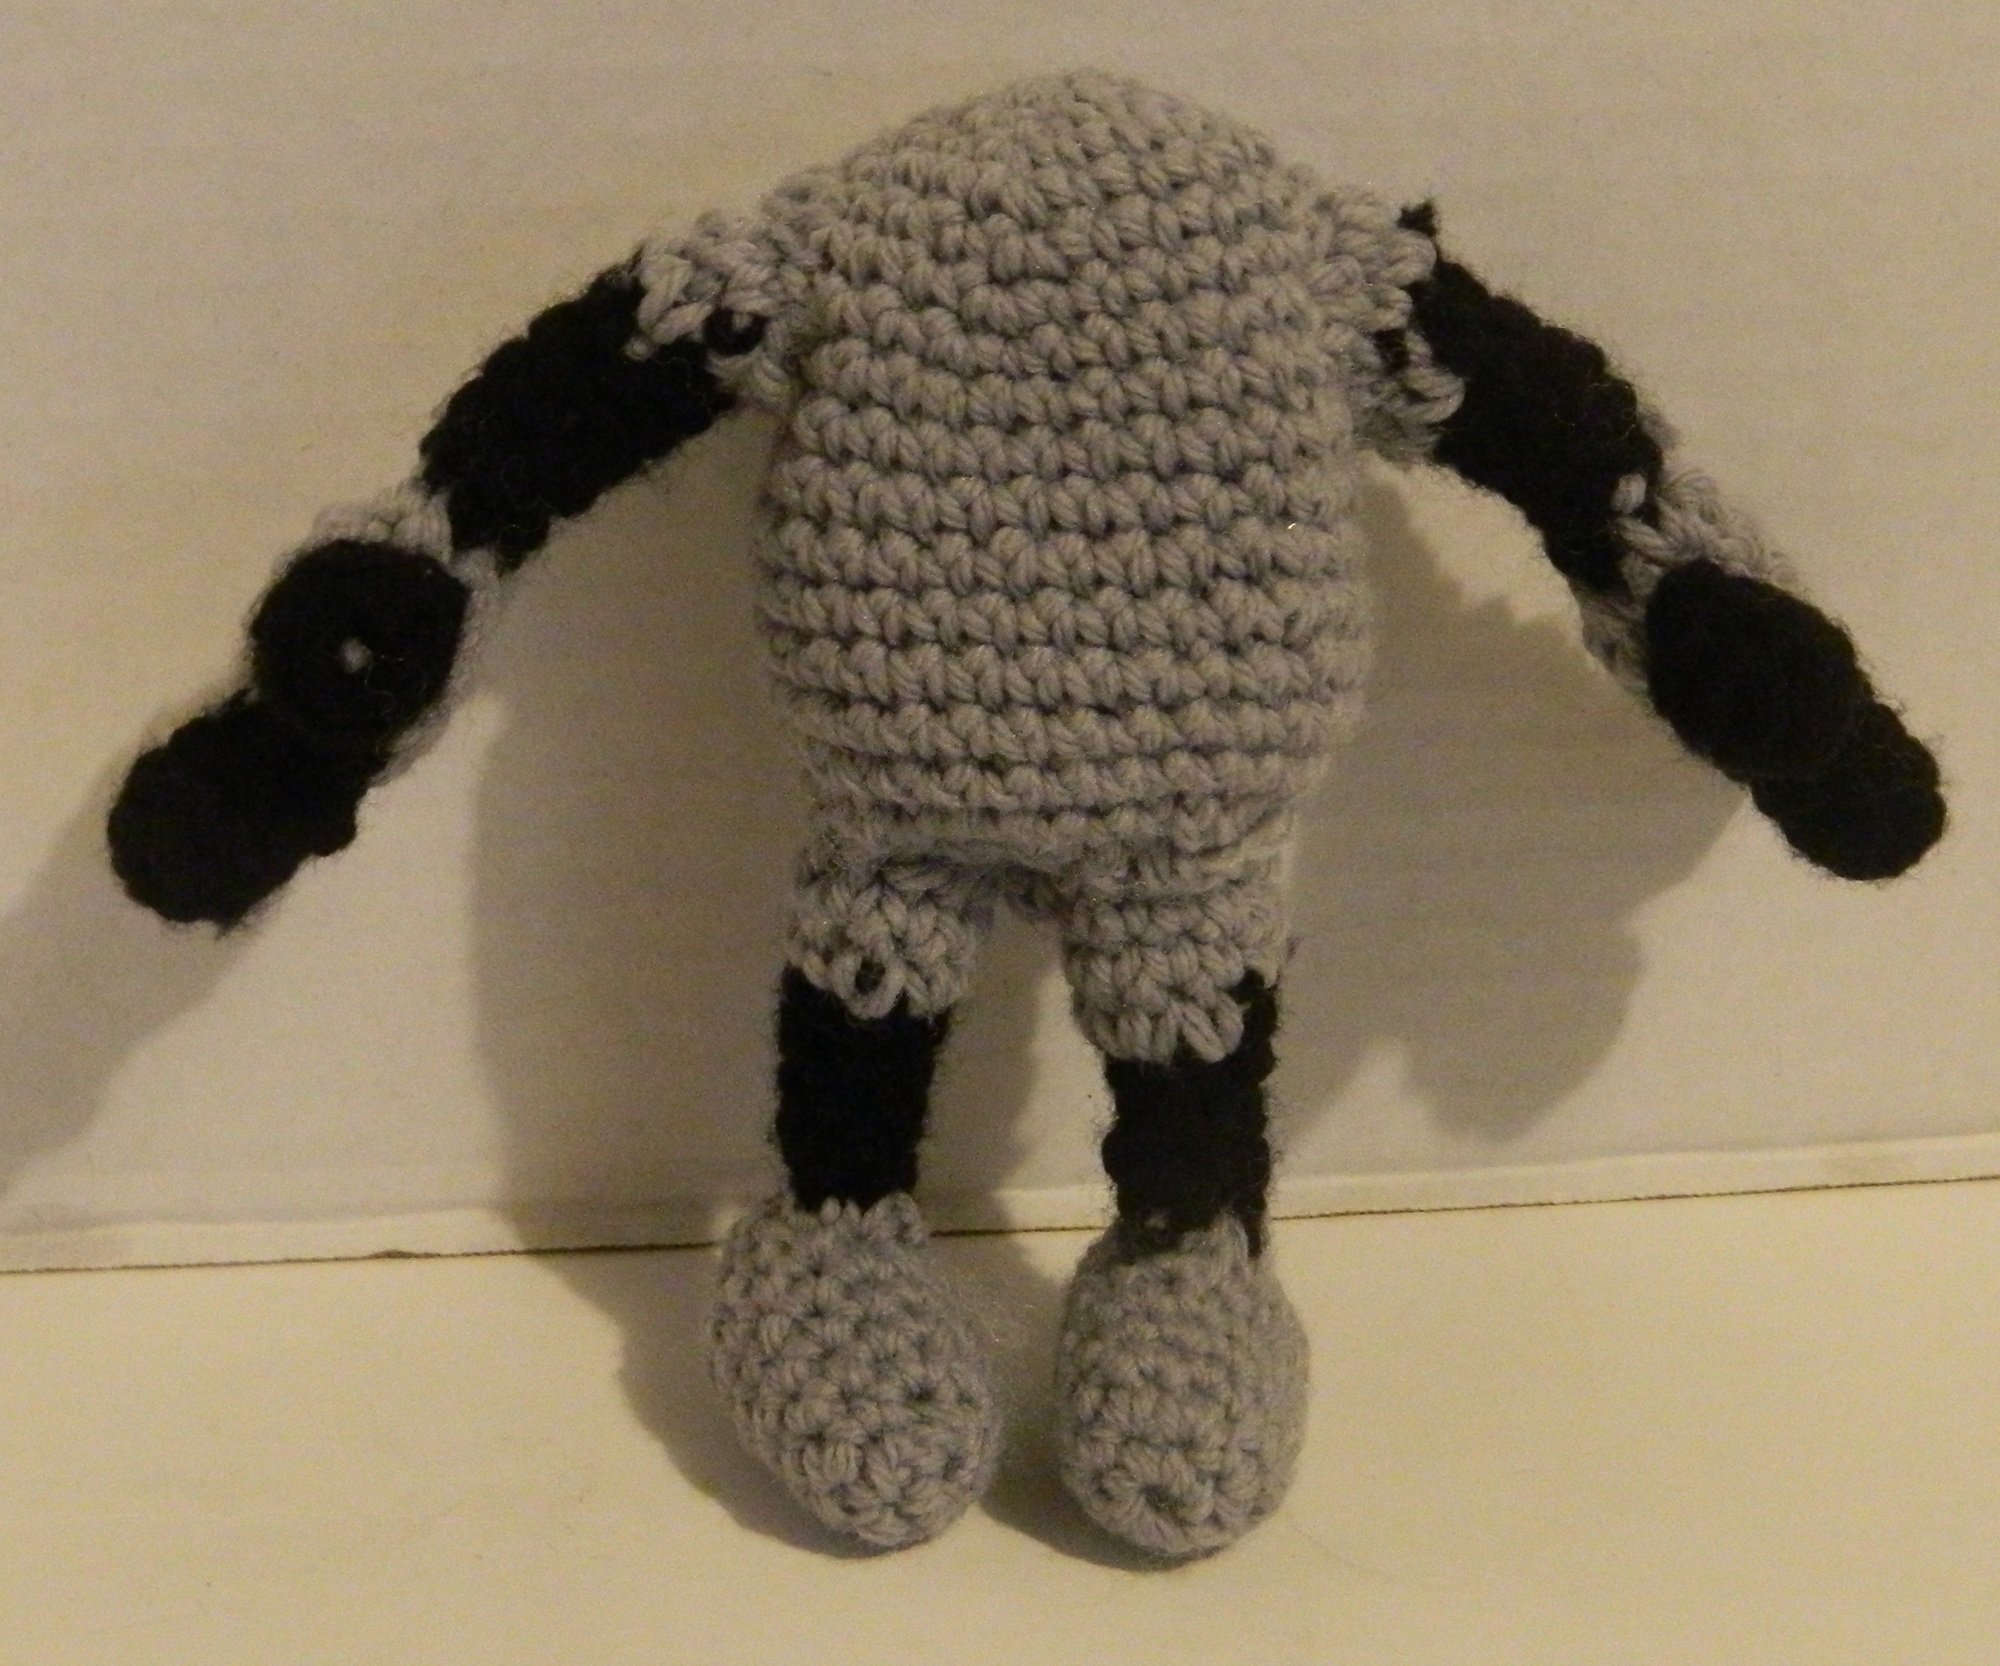
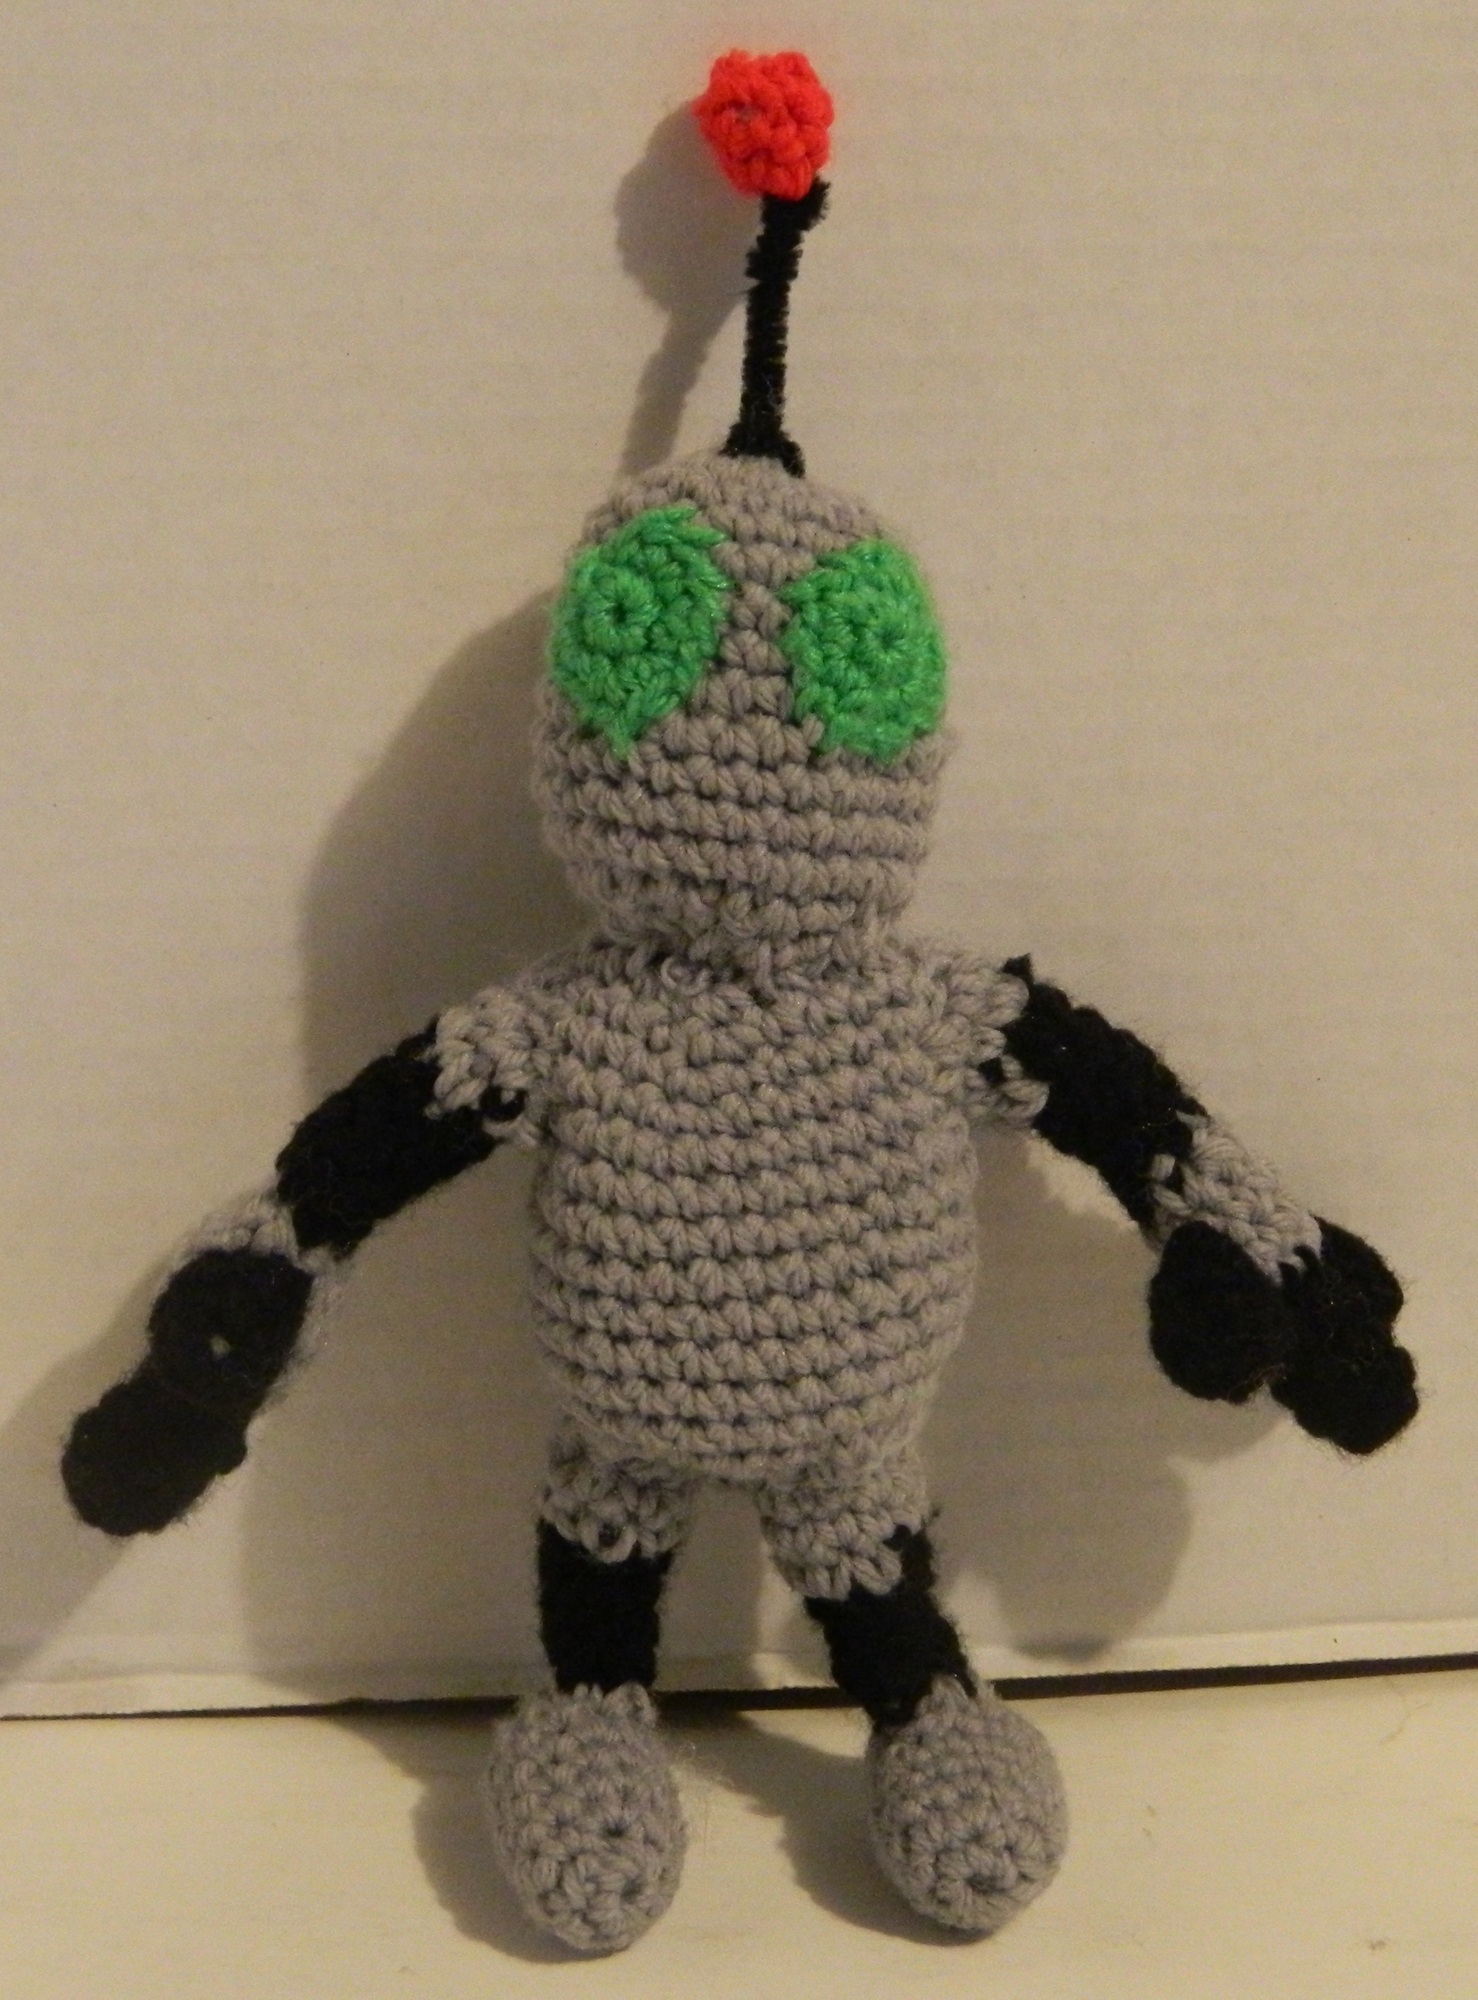
One of my favorite franchises from the PS2 and early PS3 eras was the action platformer series Ratchet and Clank. Being a platformer fan I enjoyed the gameplay and the series’ wacky humor. While Ratchet may be the main protagonist in the series, I was always partial to his robot sidekick Clank. So for this week’s Geeky Crochet I decided to make a Clank amigurumi.
This post provides step-by-step instructions on how to crochet your own Clank amigurumi. The Clank amigurumi stands around 10-11 inches tall. I would classify the Clank pattern as moderately difficult as the pattern doesn’t use any difficult stitches but it does require making quite a few pieces.
Note: This pattern is provided for free so I would appreciate that it not be used for commercial use. You may not copy this pattern and then try to sell it. I would appreciate that this pattern not be copied and posted in its’ entirety on other websites. Feel free to post images of your completed works wherever you want but a link back to this page would be appreciated.
What Do You Need to Know
Difficulty: Moderate
In order to follow the Clank pattern you will need to know how to do the following stitches:
What You Need
- Gray Yarn Buy on Amazon
- Black Yarn Buy on Amazon
- Green Yarn Buy on Amazon
- Red Yarn Buy on Amazon
- Stuffing Buy on Amazon
- Black Pipe Cleaner Buy on Amazon
- E/4 3.50 MM Crochet Hook Buy on Amazon
- Yarn needle Buy on Amazon
- Stitch markers Buy on Amazon
Pattern

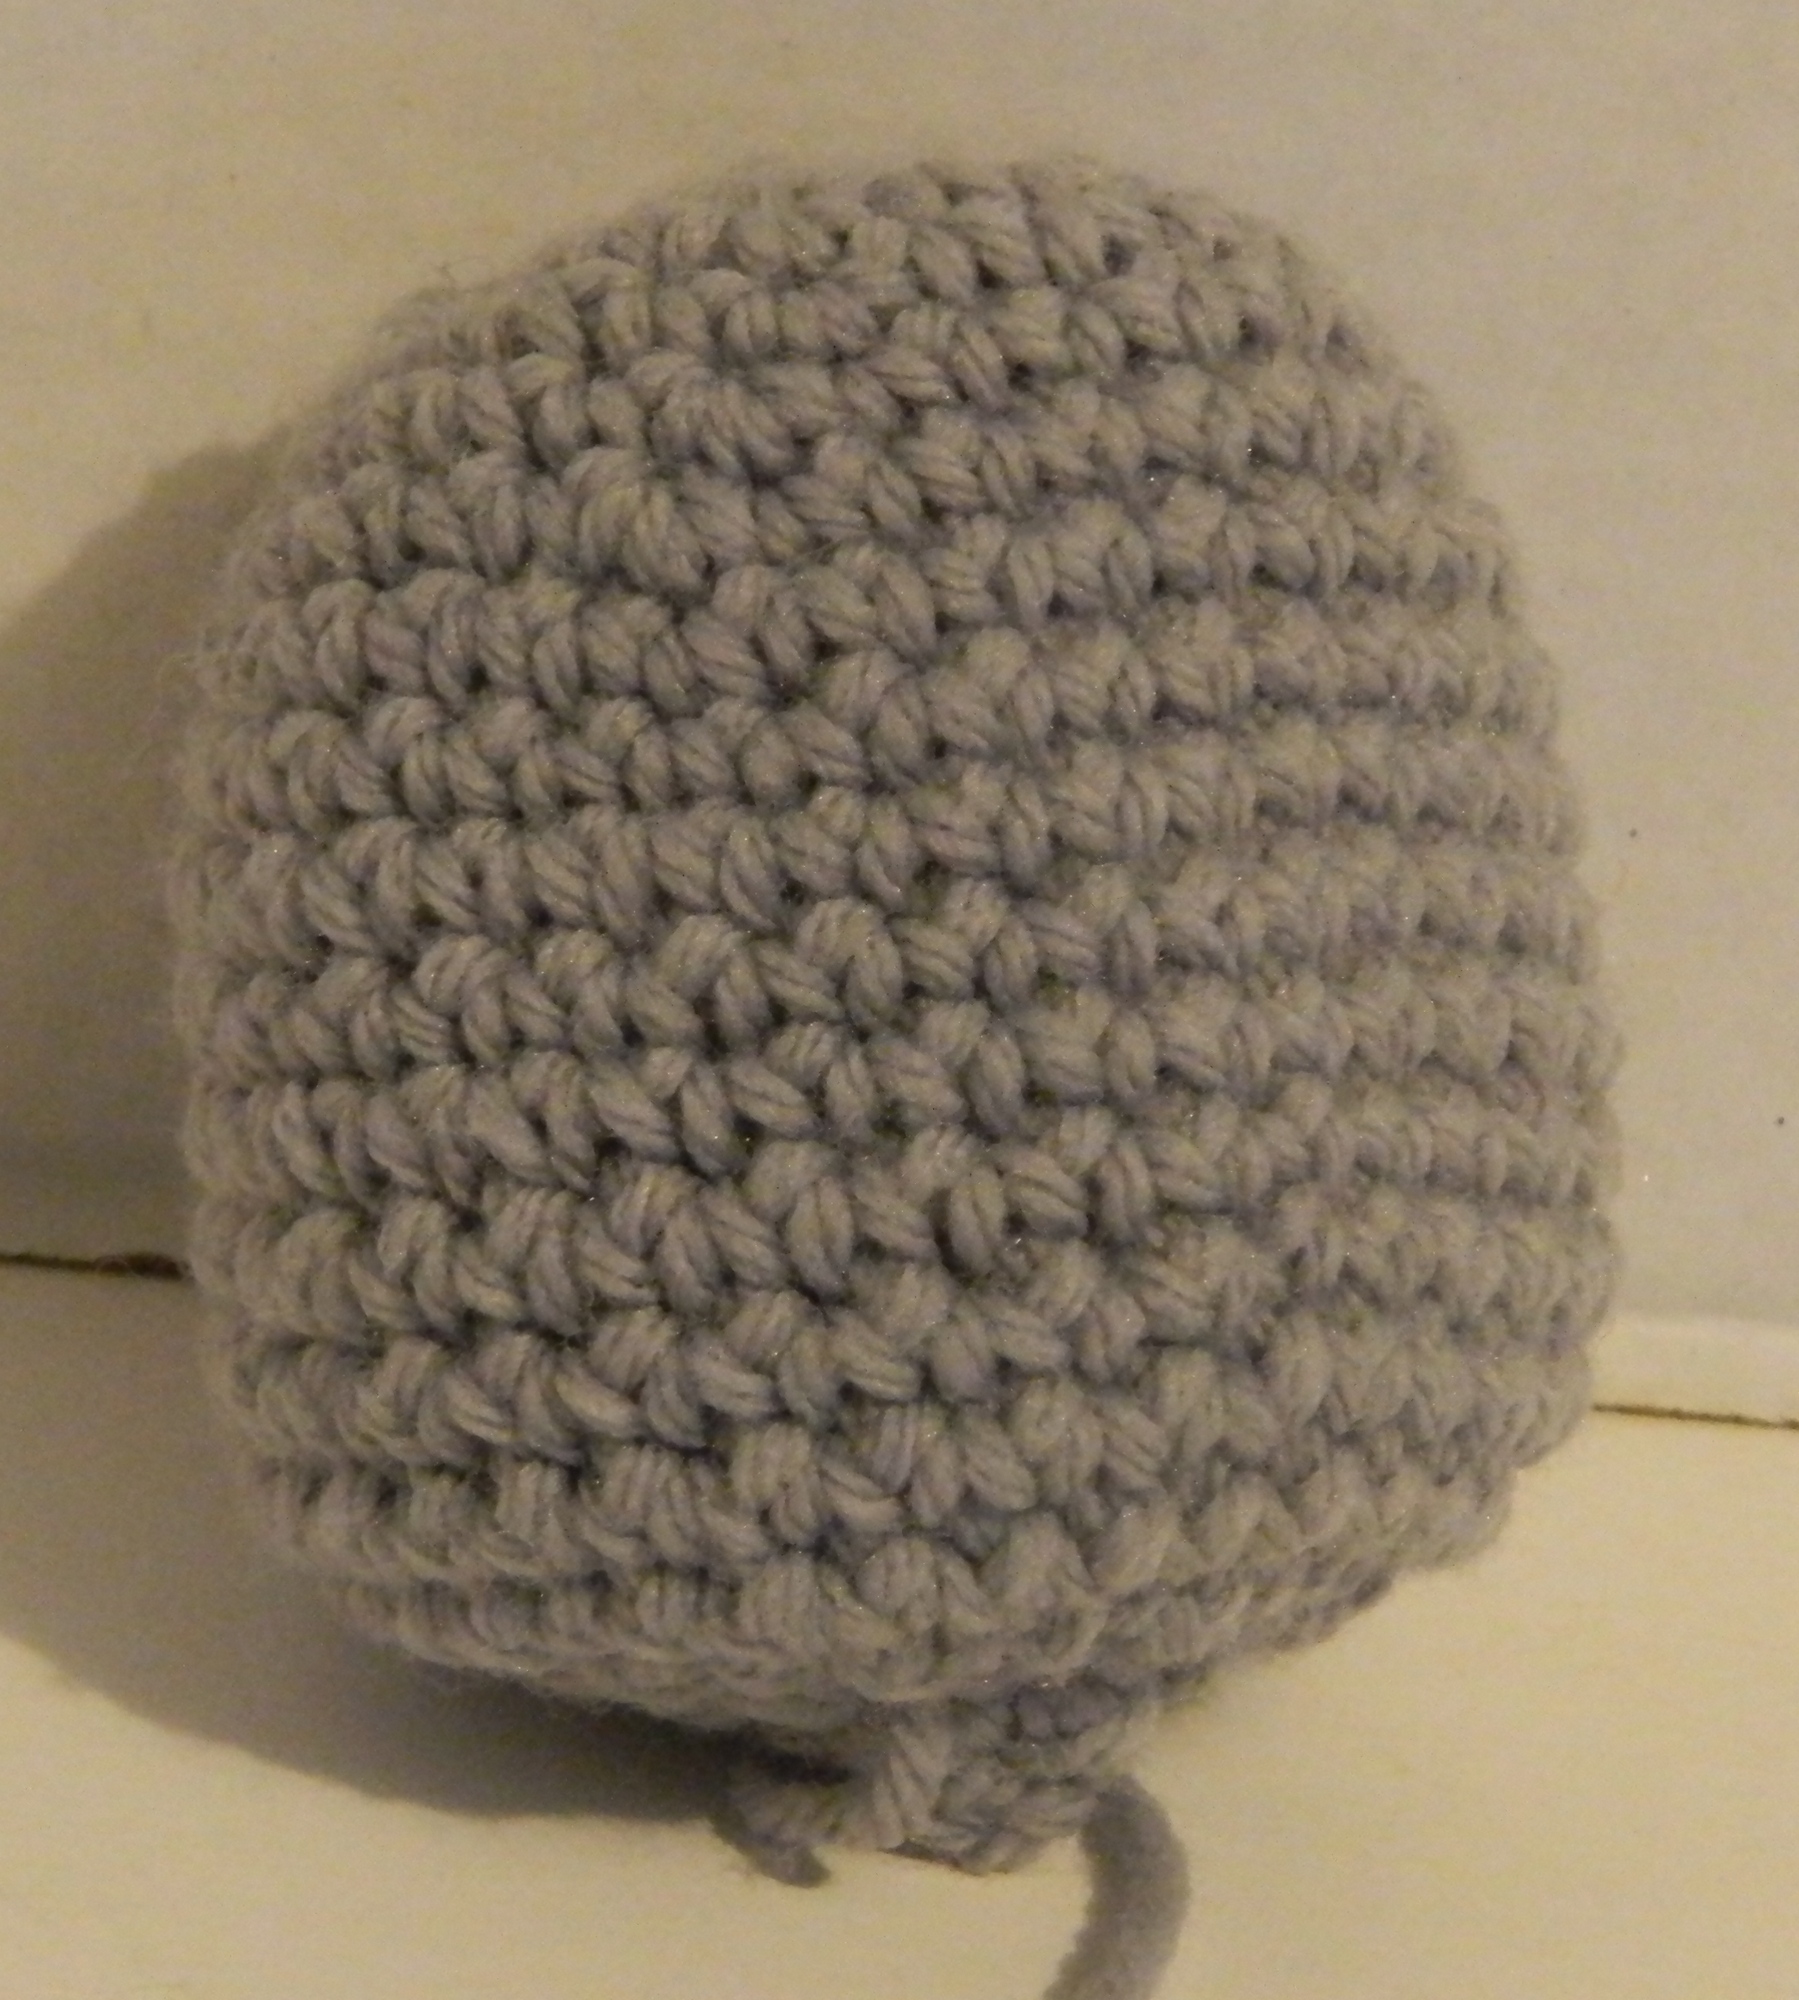
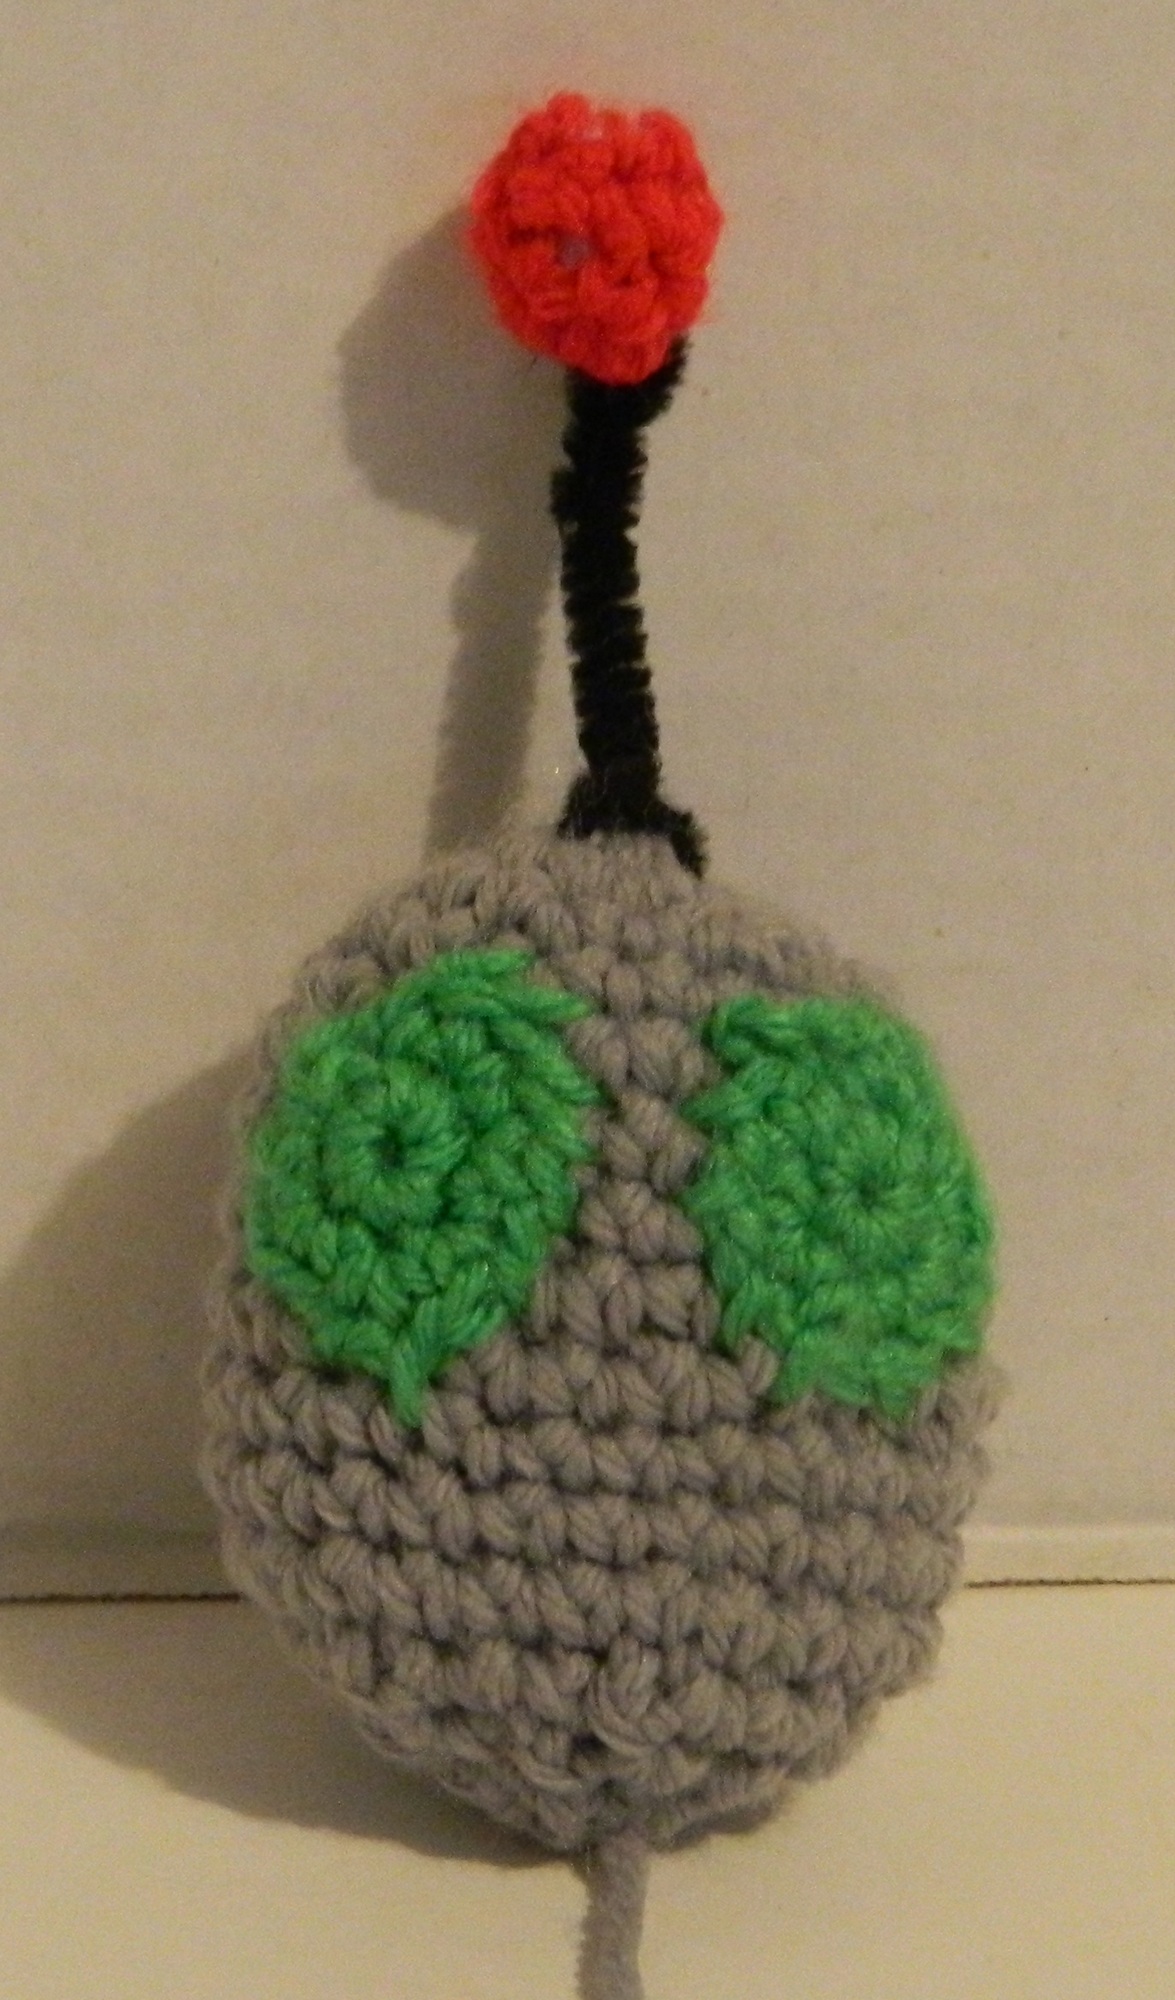
Head
Use the gray yarn. Starting around the tenth round start adding stuffing every couple rounds to stuff the head the desired amount.
Round 1: CH x 2 (2 stitches)
Round 2: SC x 6 in the first CH (6 stitches)
Round 3: INC x 6 (12 stitches)
Round 4: | INC, SC | x 6 (18 stitches)
Round 5: | SC, INC, SC | x 6 (24 stitches)
Rounds 6-13: SC x 24 (24 stitches)
Round 14: | SC, DEC, SC | X 6 (18 stitches)
Round 15: | DEC, SC | x 6 (12 stitches)
Round 16: DEC x 6 (6 stitches)
Fasten off leaving enough yarn to sew the head to the body.
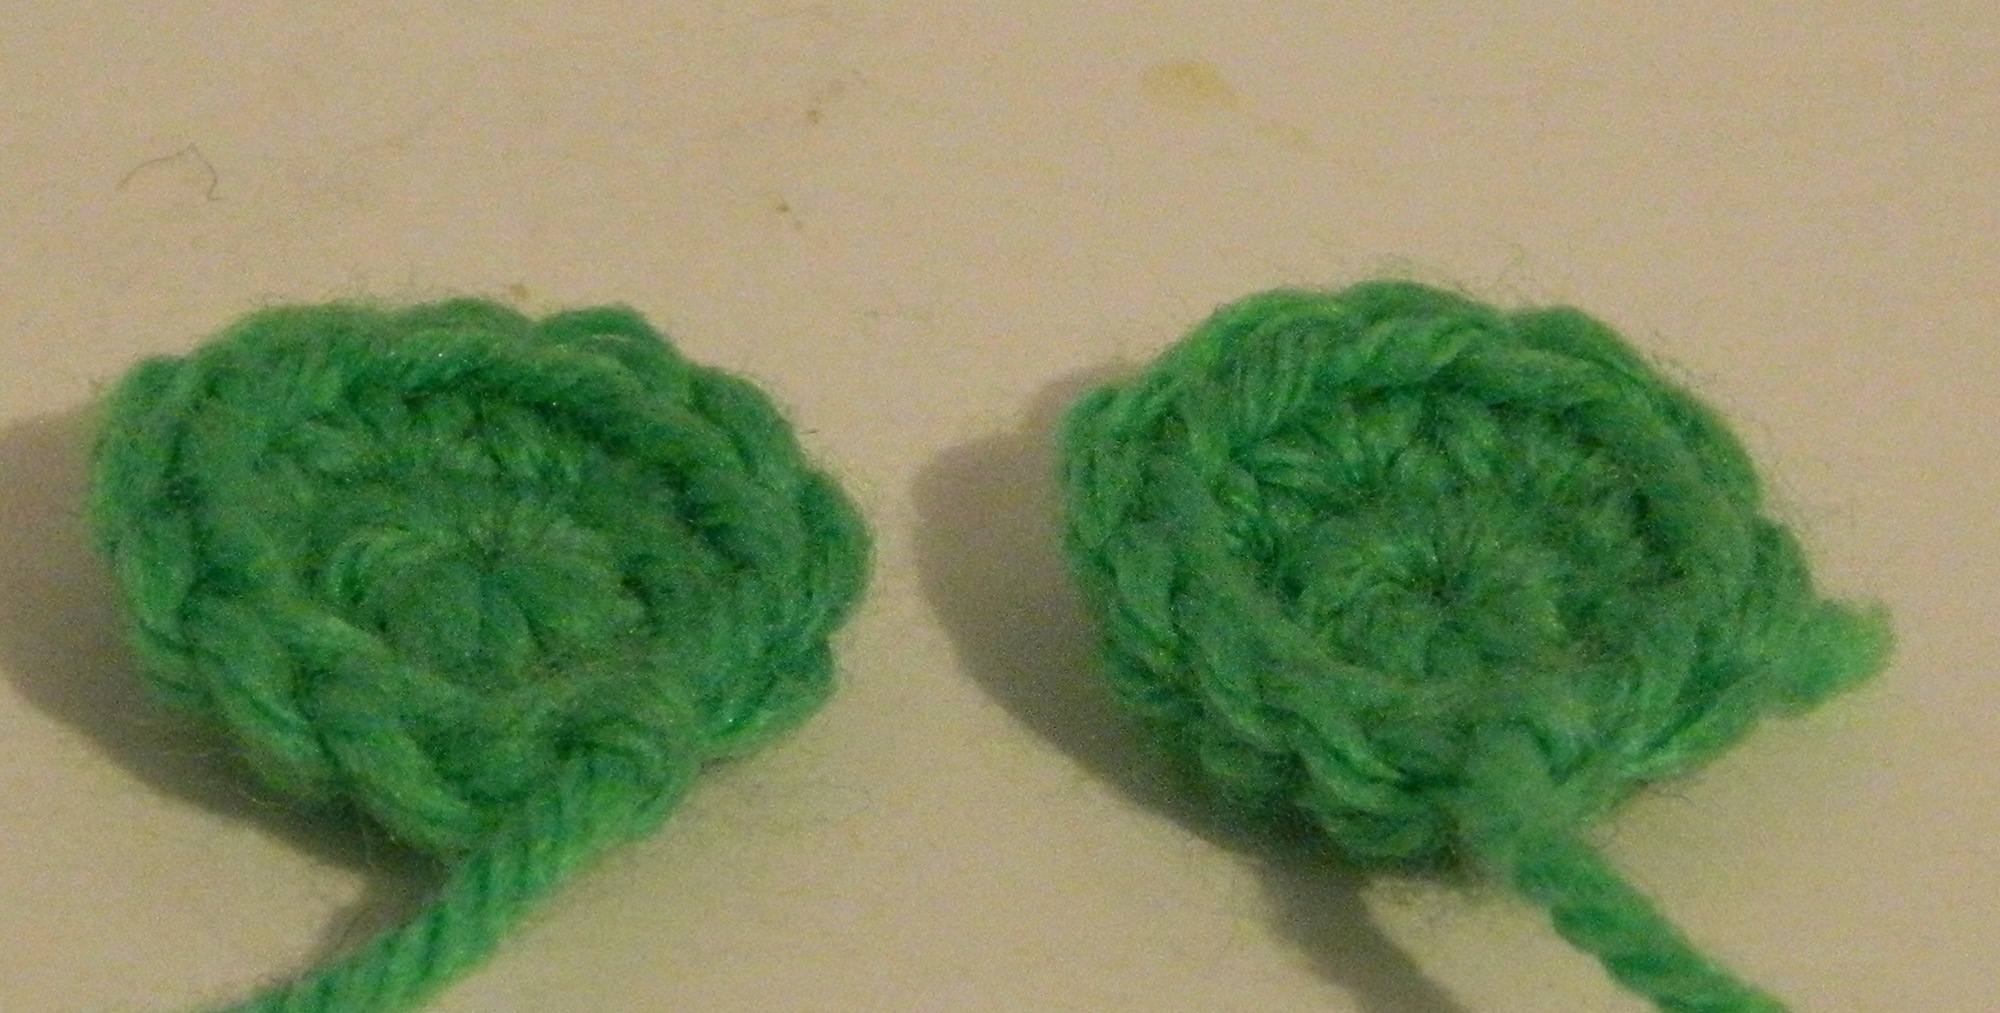
Eyes (Make Two)
Use the green yarn.
Round 1: CH x 2 (2 stitches)
Round 2: SC x 6 in the first CH
Round 3: INC x 6 (12 stitches)
Fasten off leaving enough yarn to sew the eyes to the head.
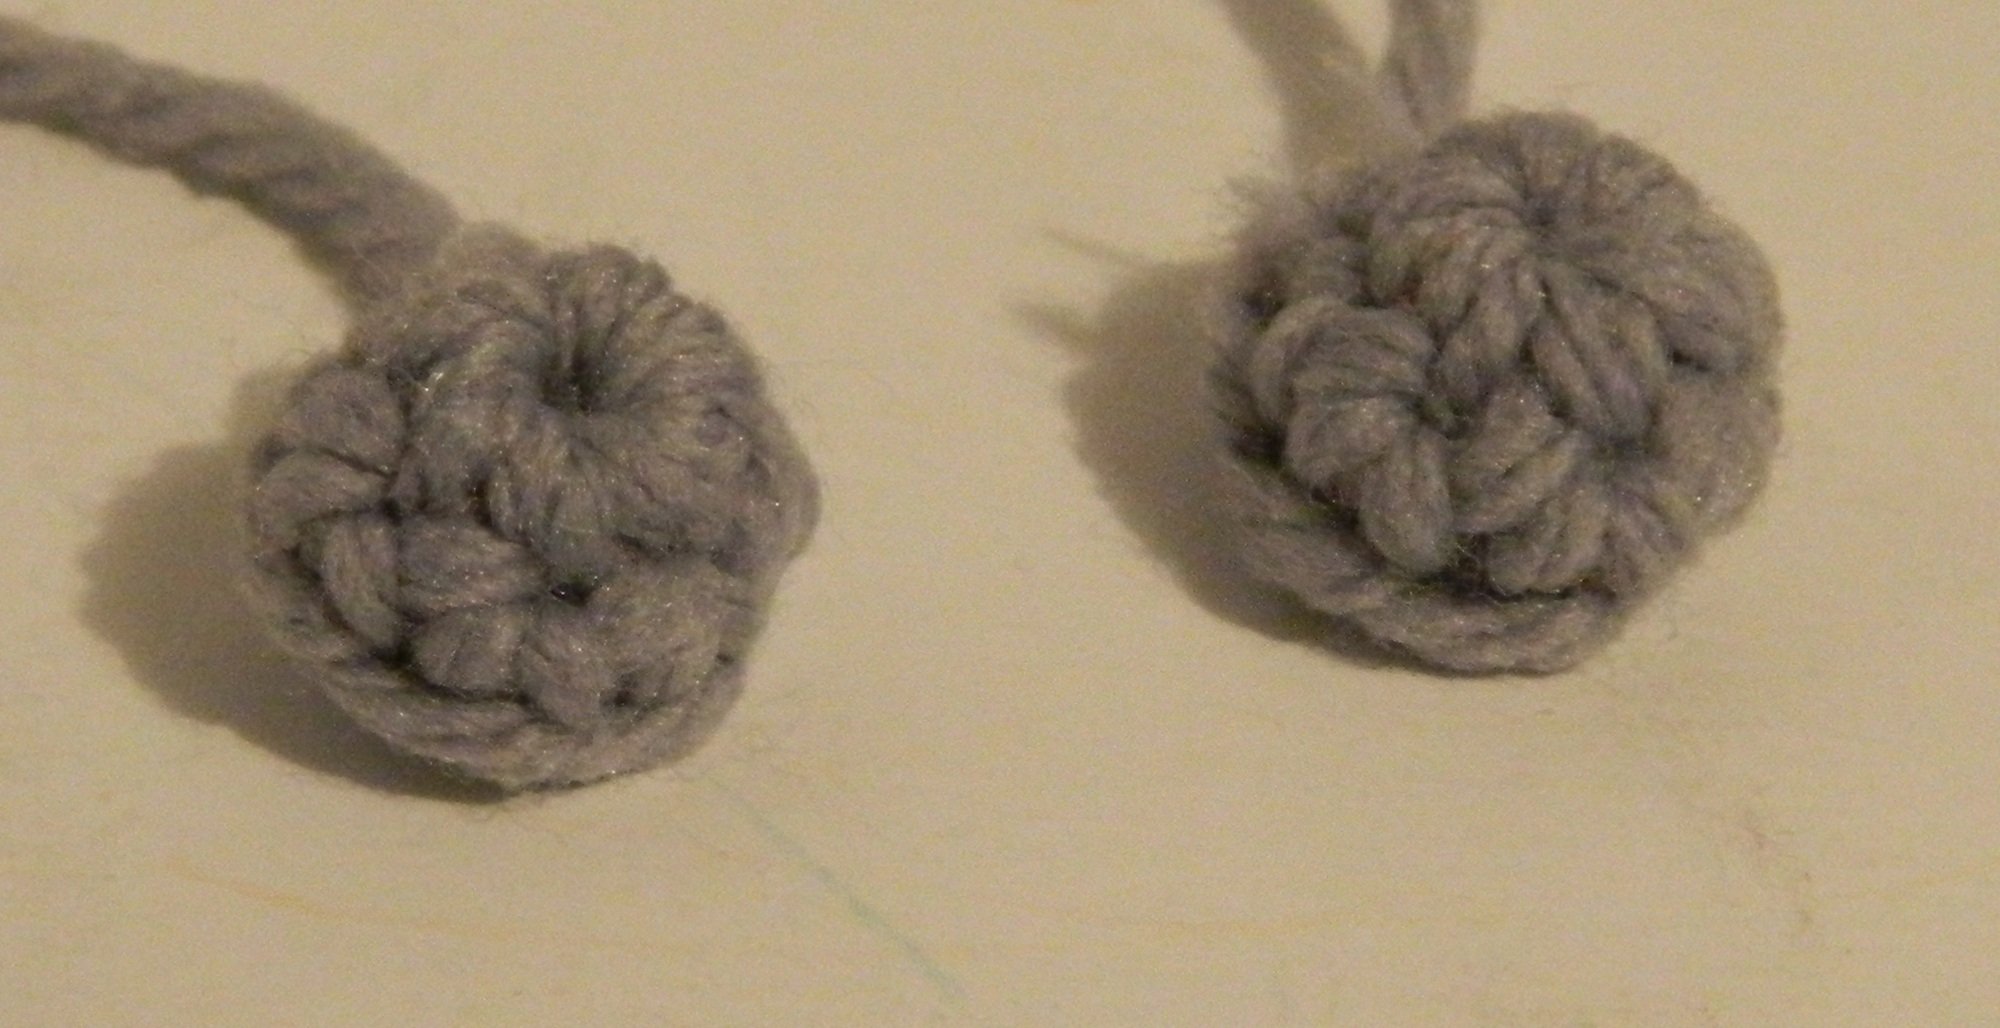
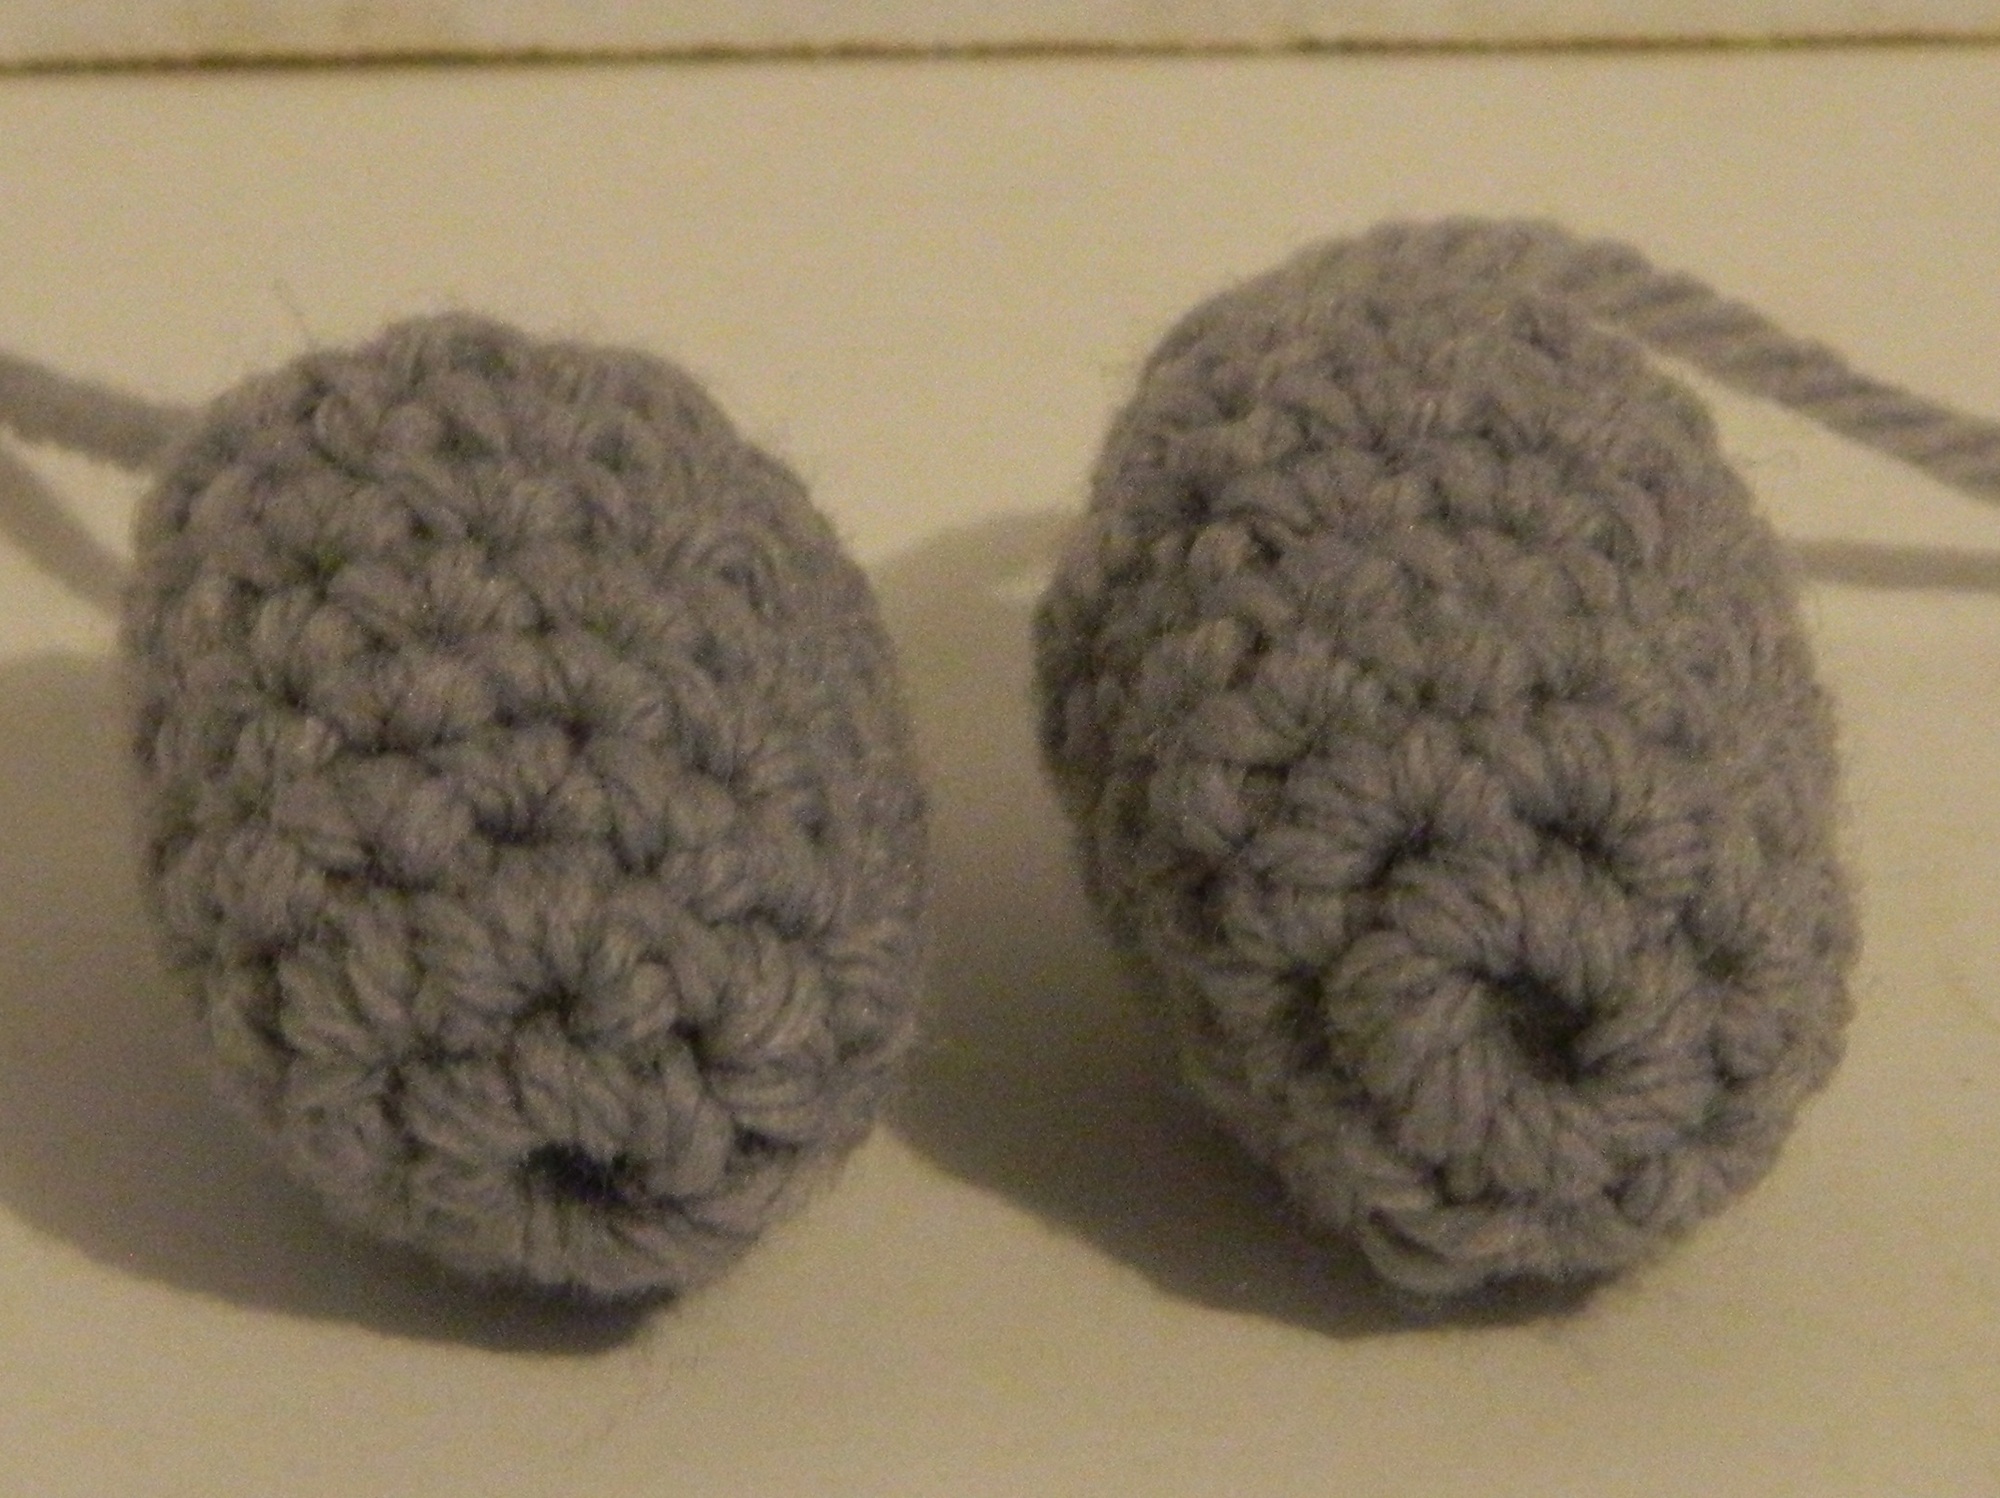
Head Bolts (Make Two)
Use the gray yarn.
Round 1: CH x 2 (2 stitches)
Round 2: SC x 6 in the first CH (6 stitches)
Round 3: SC x 6 (6 stitches)
Fasten off leaving enough yarn to sew the head bolts to the head. Add a little stuffing to each head bolt.
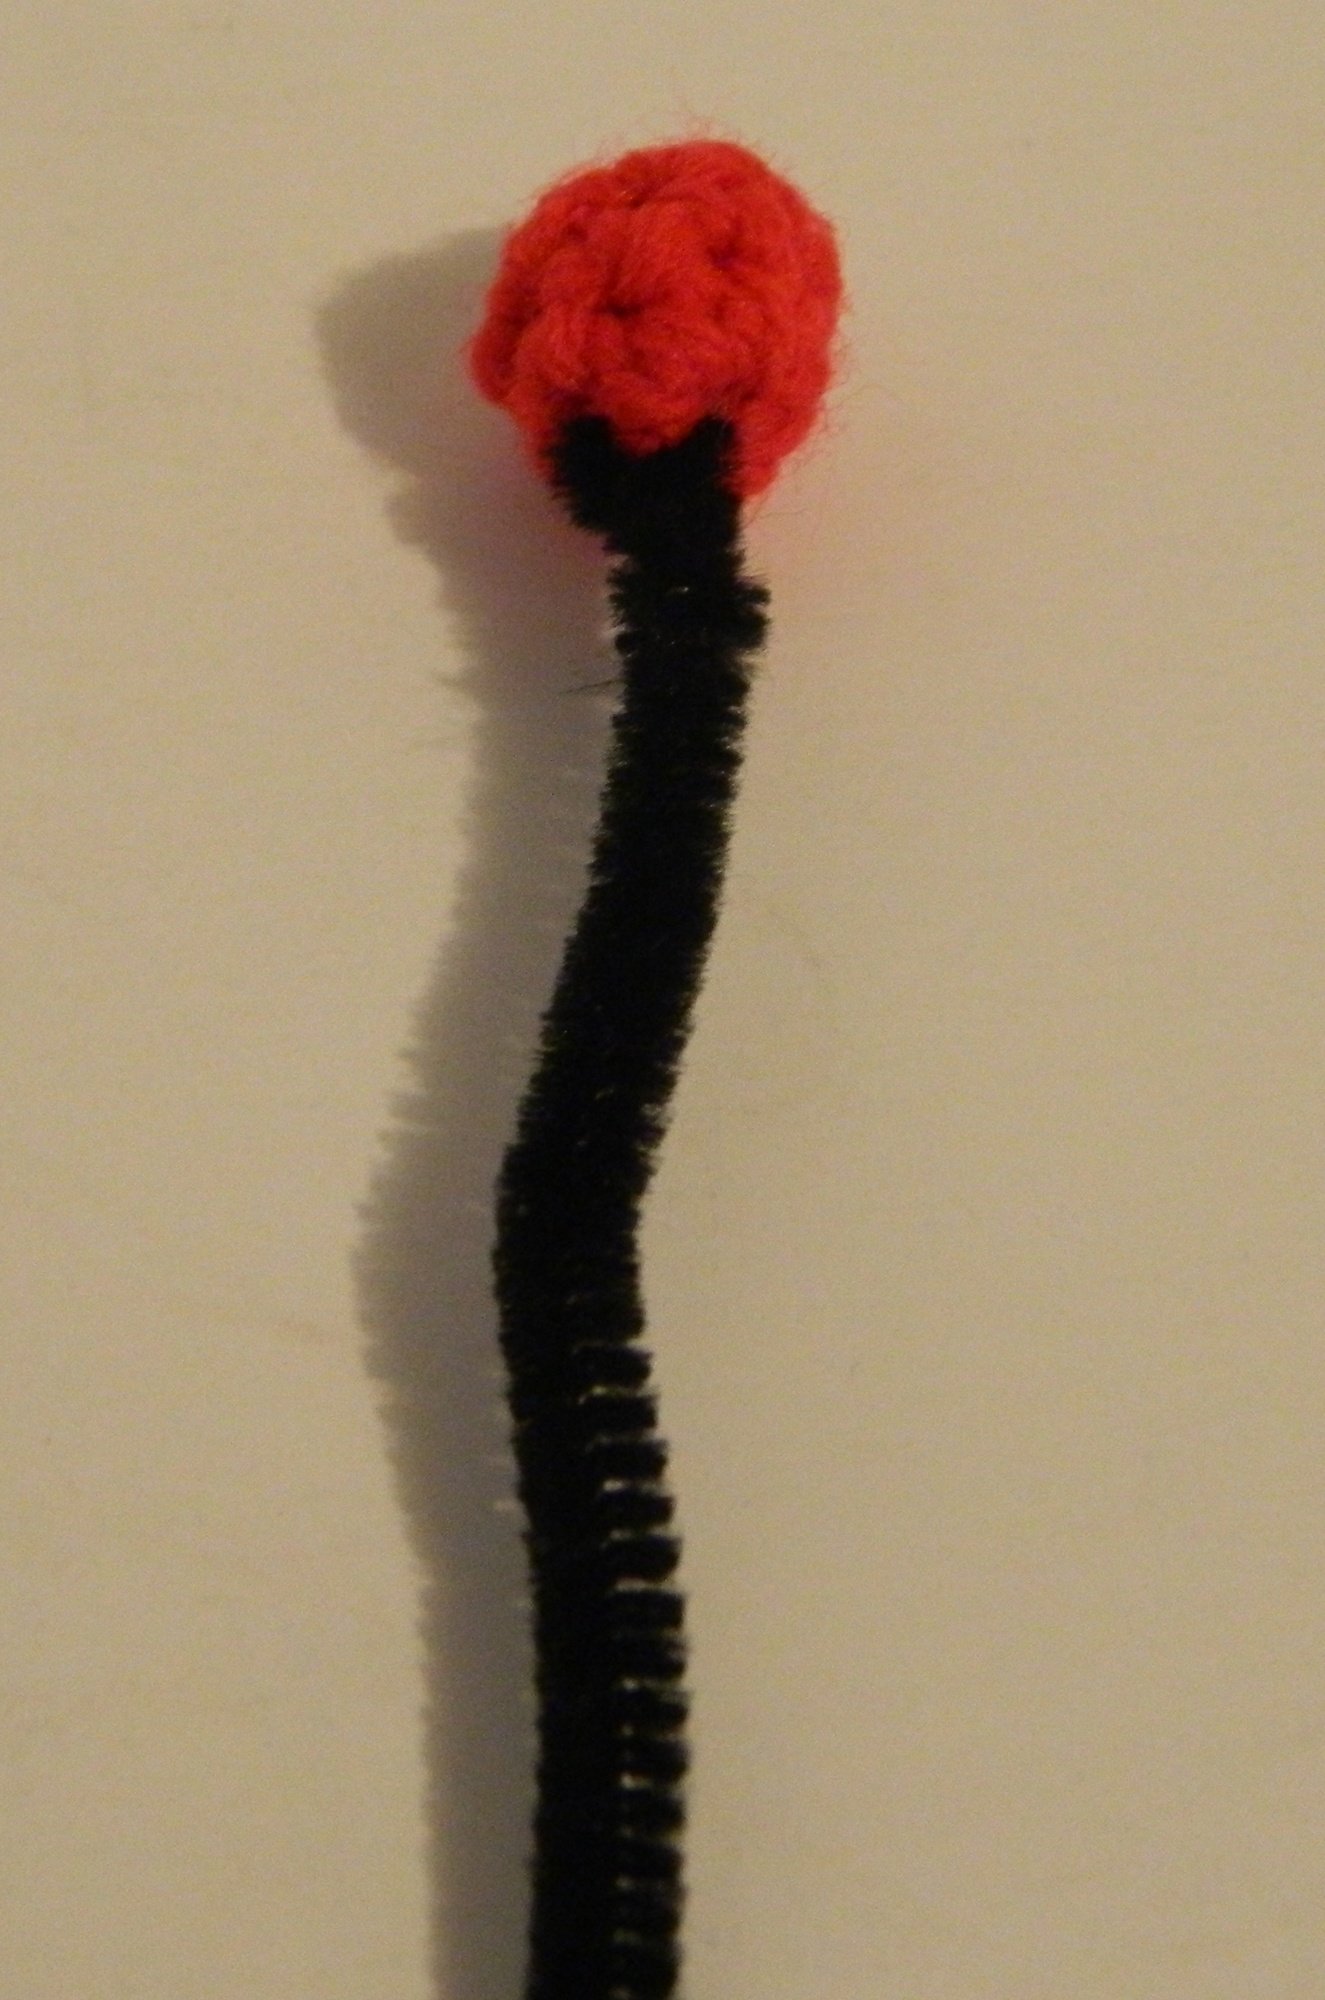
Antenna
Use the red yarn.
Round 1: CH x 2 (2 stitches)
Round 2: SC x 6 in the first CH (6 stitches)
Rounds 3-4: SC x 6 (6 stitches)
Fasten off leaving enough yarn to sew up the bottom. Before sewing up the bottom add the desired amount of stuffing. Attach the black pipe cleaner in order to complete the antenna.
Body
Use the gray yarn. Starting with round 12 or so start stuffing the body and continue adding stuffing every couple rounds.
Round 1: CH x 2 (2 stitches)
Round 2: SC x 6 in the first CH (6 stitches)
Round 3: INC x 6 (12 stitches)
Round 4: | INC, SC, INC, SC x 3 | x 2 (16 stitches)
Round 5: SC, INC, SC x 2, INC, SC x 4, INC, SC x 2, INC, SC x 3 (20 stitches)
Round 6: SC x 2, INC, SC x 3, INC, SC x 5, INC, SC x 3, INC, SC x 3 (24 stitches)
Round 7: SC x 3, INC, SC x 3, INC, SC x 7, INC, SC x 3, INC, SC x 4 (28 stitches)
Round 8: SC x 4, INC, SC x 3, INC, SC x 9, INC, SC x 3, INC, SC x 5 (32 stitches)
Rounds 9-17: SC x 32 (32 stitches)
Round 18: DEC x 16 (16 stitches)
Round 19: DEC x 8 (8 stitches)
Round 20: DEC x 4 (4 stitches)
Fasten off leaving enough yarn to sew up the bottom of the body.

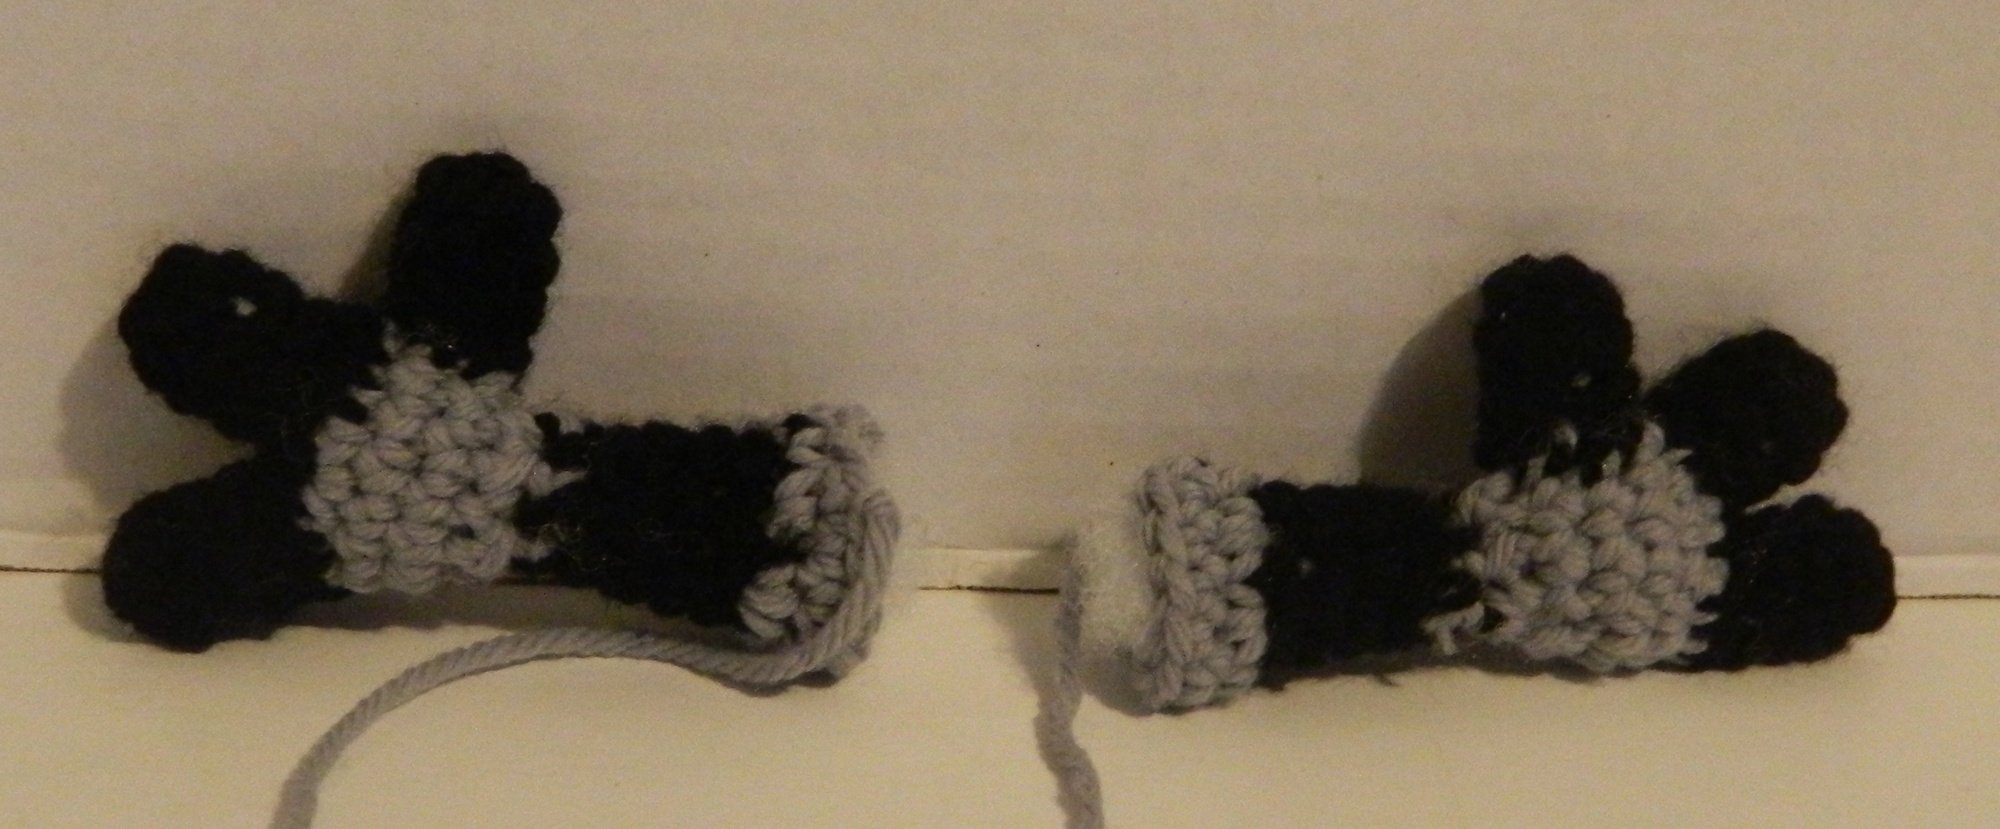
Arms (Make Two)
Start with the gray yarn.
Round 1: CH x 2 (2 stitches)
Round 2: SC x 6 in the first CH (6 stitches)
Round 3: INC x 6 (12 stitches)
Rounds 4-5: SC x 12 (12 stitches)
Round 7: DEC x 6 (6 stitches)
Switch to the black yarn.
Rounds 8-13: SC x 6 (6 stitches)
Switch back to the gray yarn.
Round 14: INC x 6 (12 stitches)
Round 15: SC x 12 (12 stitches)
Round 16: SL (1 stitch)
Fasten off leaving enough yarn to sew the arms to the body. Place the desired amount of stuffing into the arms.

Fingers (Make Six)
Use the black yarn.
Round 1: CH x 2 (2 stitches)
Round 2: SC x 6 in the first CH (6 stitches)
Rounds 3-5: SC x 6 (6 stitches)
Round 6: SL (1 stitch)
Fasten off leaving enough yarn to sew the fingers to the arms. Stuff the fingers with the desired amount of stuffing.

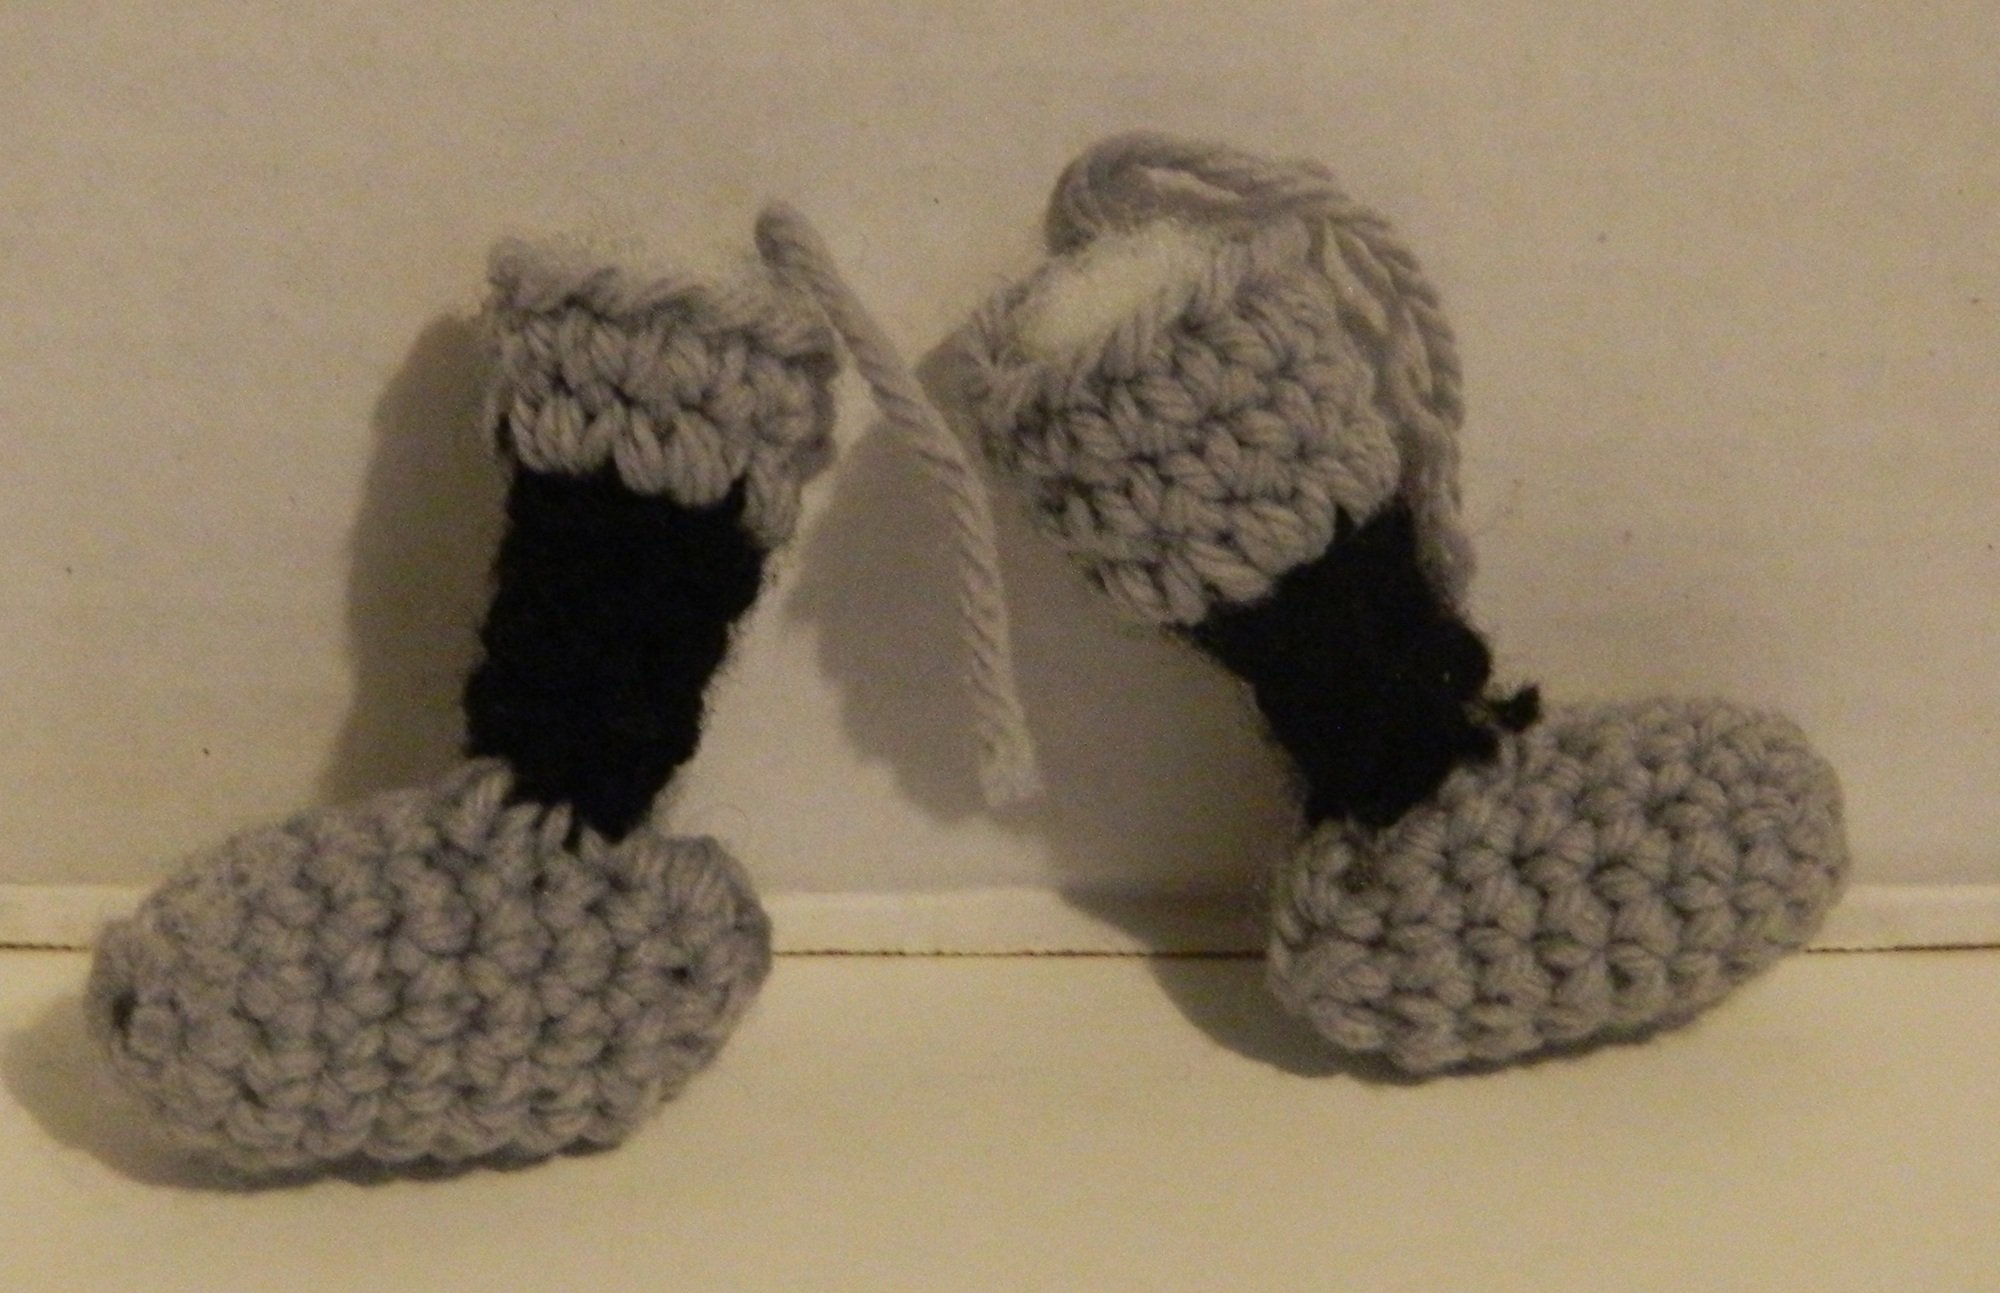
Legs (Make Two)
Start with the black yarn.
Round 1: CH x 2 (2 stitches)
Round 2: SC x 6 in the first CH (6 stitches)
Rounds 3-6: SC x 6 (6 stitches)
Switch to gray yarn.
Round 7: INC x 6 (12 stitches)
Round 8: SC x 12 (12 stitches)
Round 9: SL (1 stitch)
Fasten off leaving enough yarn to sew the legs to the body. Stuff the legs with the desired amount of stuffing.
Feet (Make Two)
Use the gray yarn.
Round 1: CH x 2 (2 stitches)
Round 2: SC x 6 in the first CH (6 stitches)
Round 3: INC x 6 (12 stitches)
Round 4-9: SC x 12 (12 stitches)
Round 10: DEC x 6 (6 stitches)
Fasten off leaving enough yarn to sew up the back of the foot and to sew the feet to the legs. Before sewing up the back of the foot add the desired amount of stuffing.
Assembly
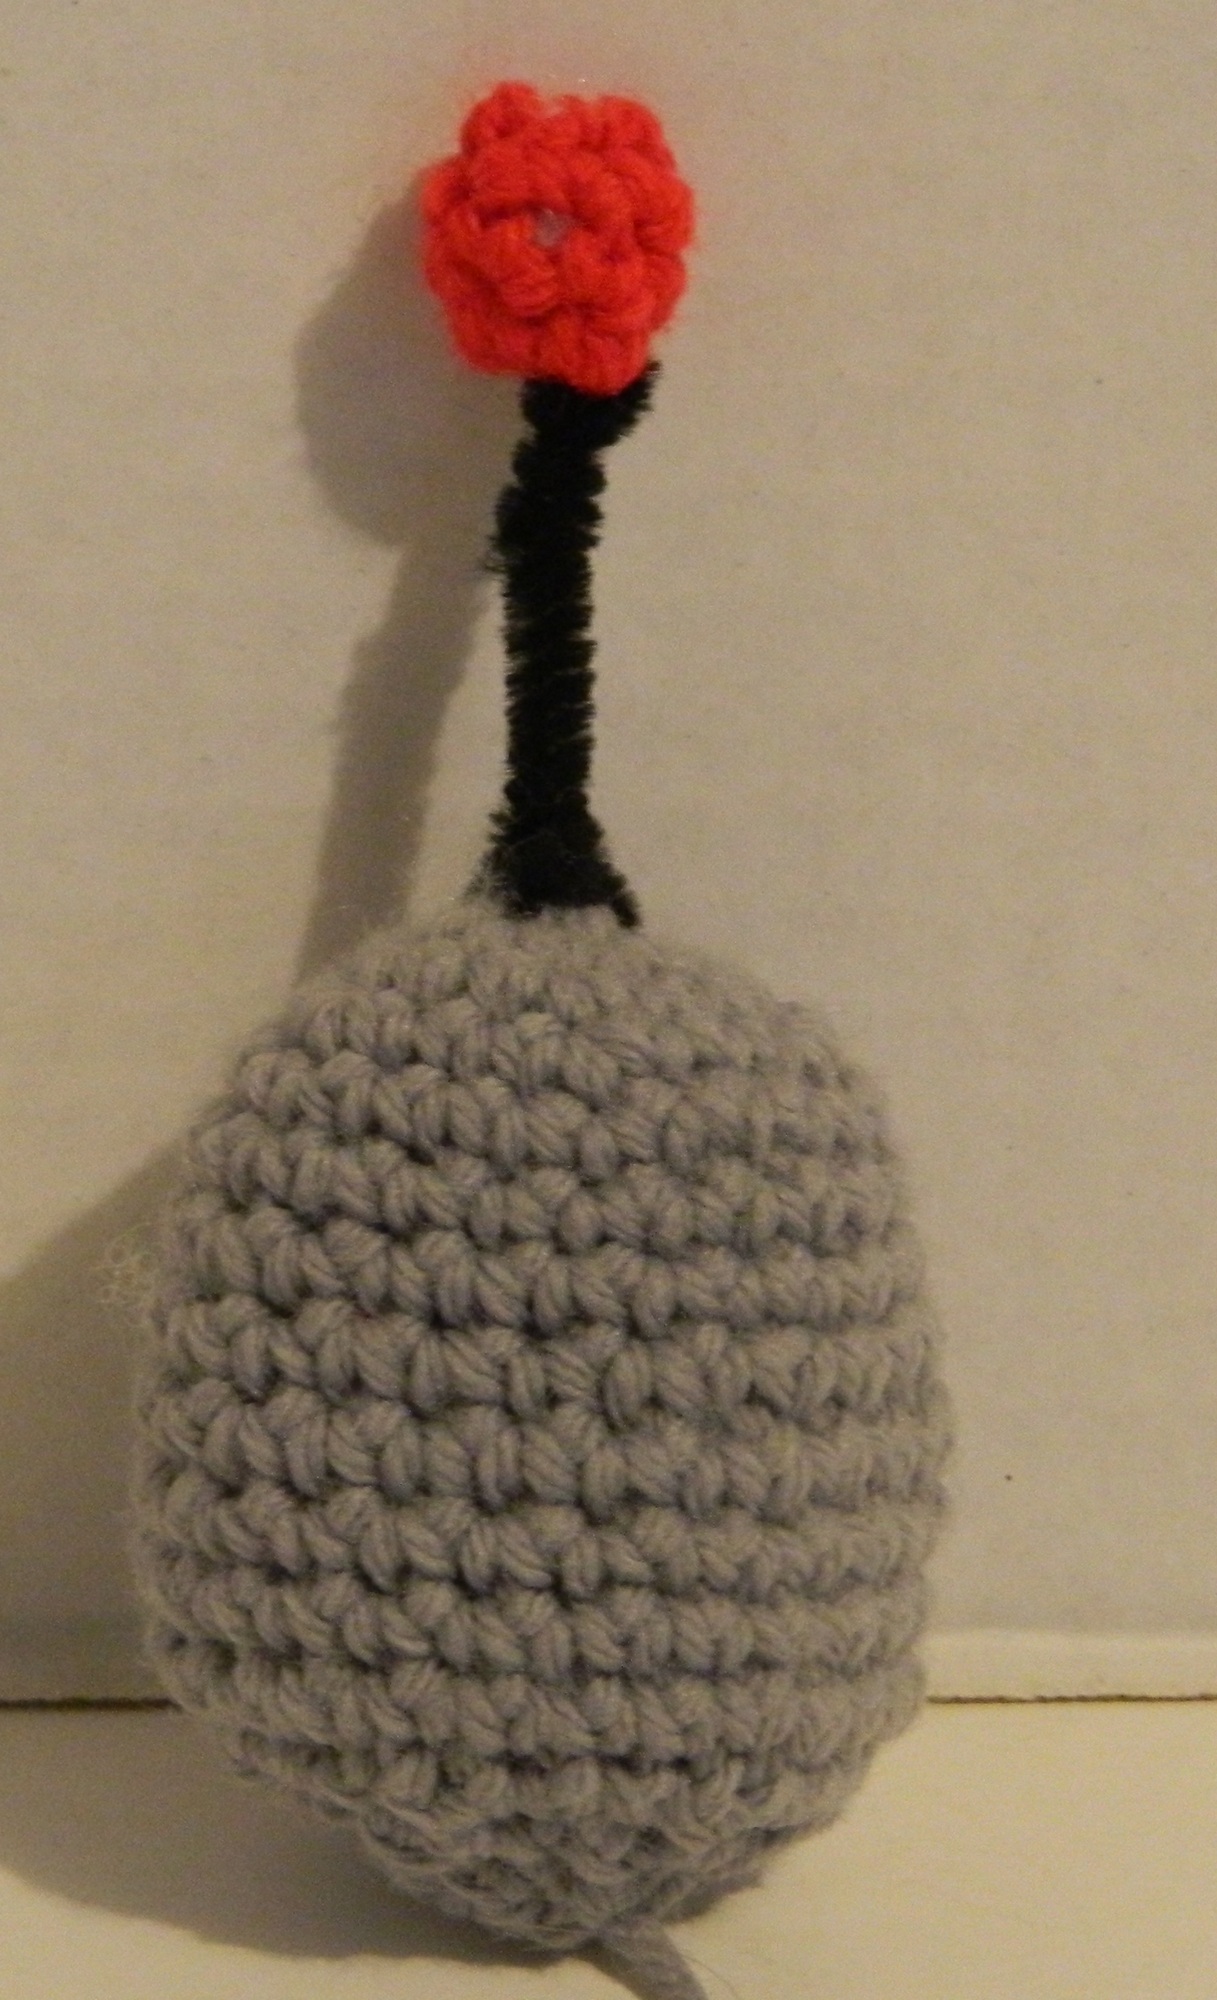
Use the bottom of the antenna’s pipe cleaner to attach it to the top of the head (the side without the extra yarn). To make the antenna more sturdy you may want to wrap the pipe cleaner around the bottom of the antenna.
Use the extra yarn from the eyes to sew them onto the head. When attaching the eyes to the head place them high enough to allow room to add the mouth.
To assemble the hands you will sew three fingers to each hand using the extra yarn from each finger. Two fingers should be sewn close to each other at the top of the hand while the third finger should be sewn to the side of the hand.
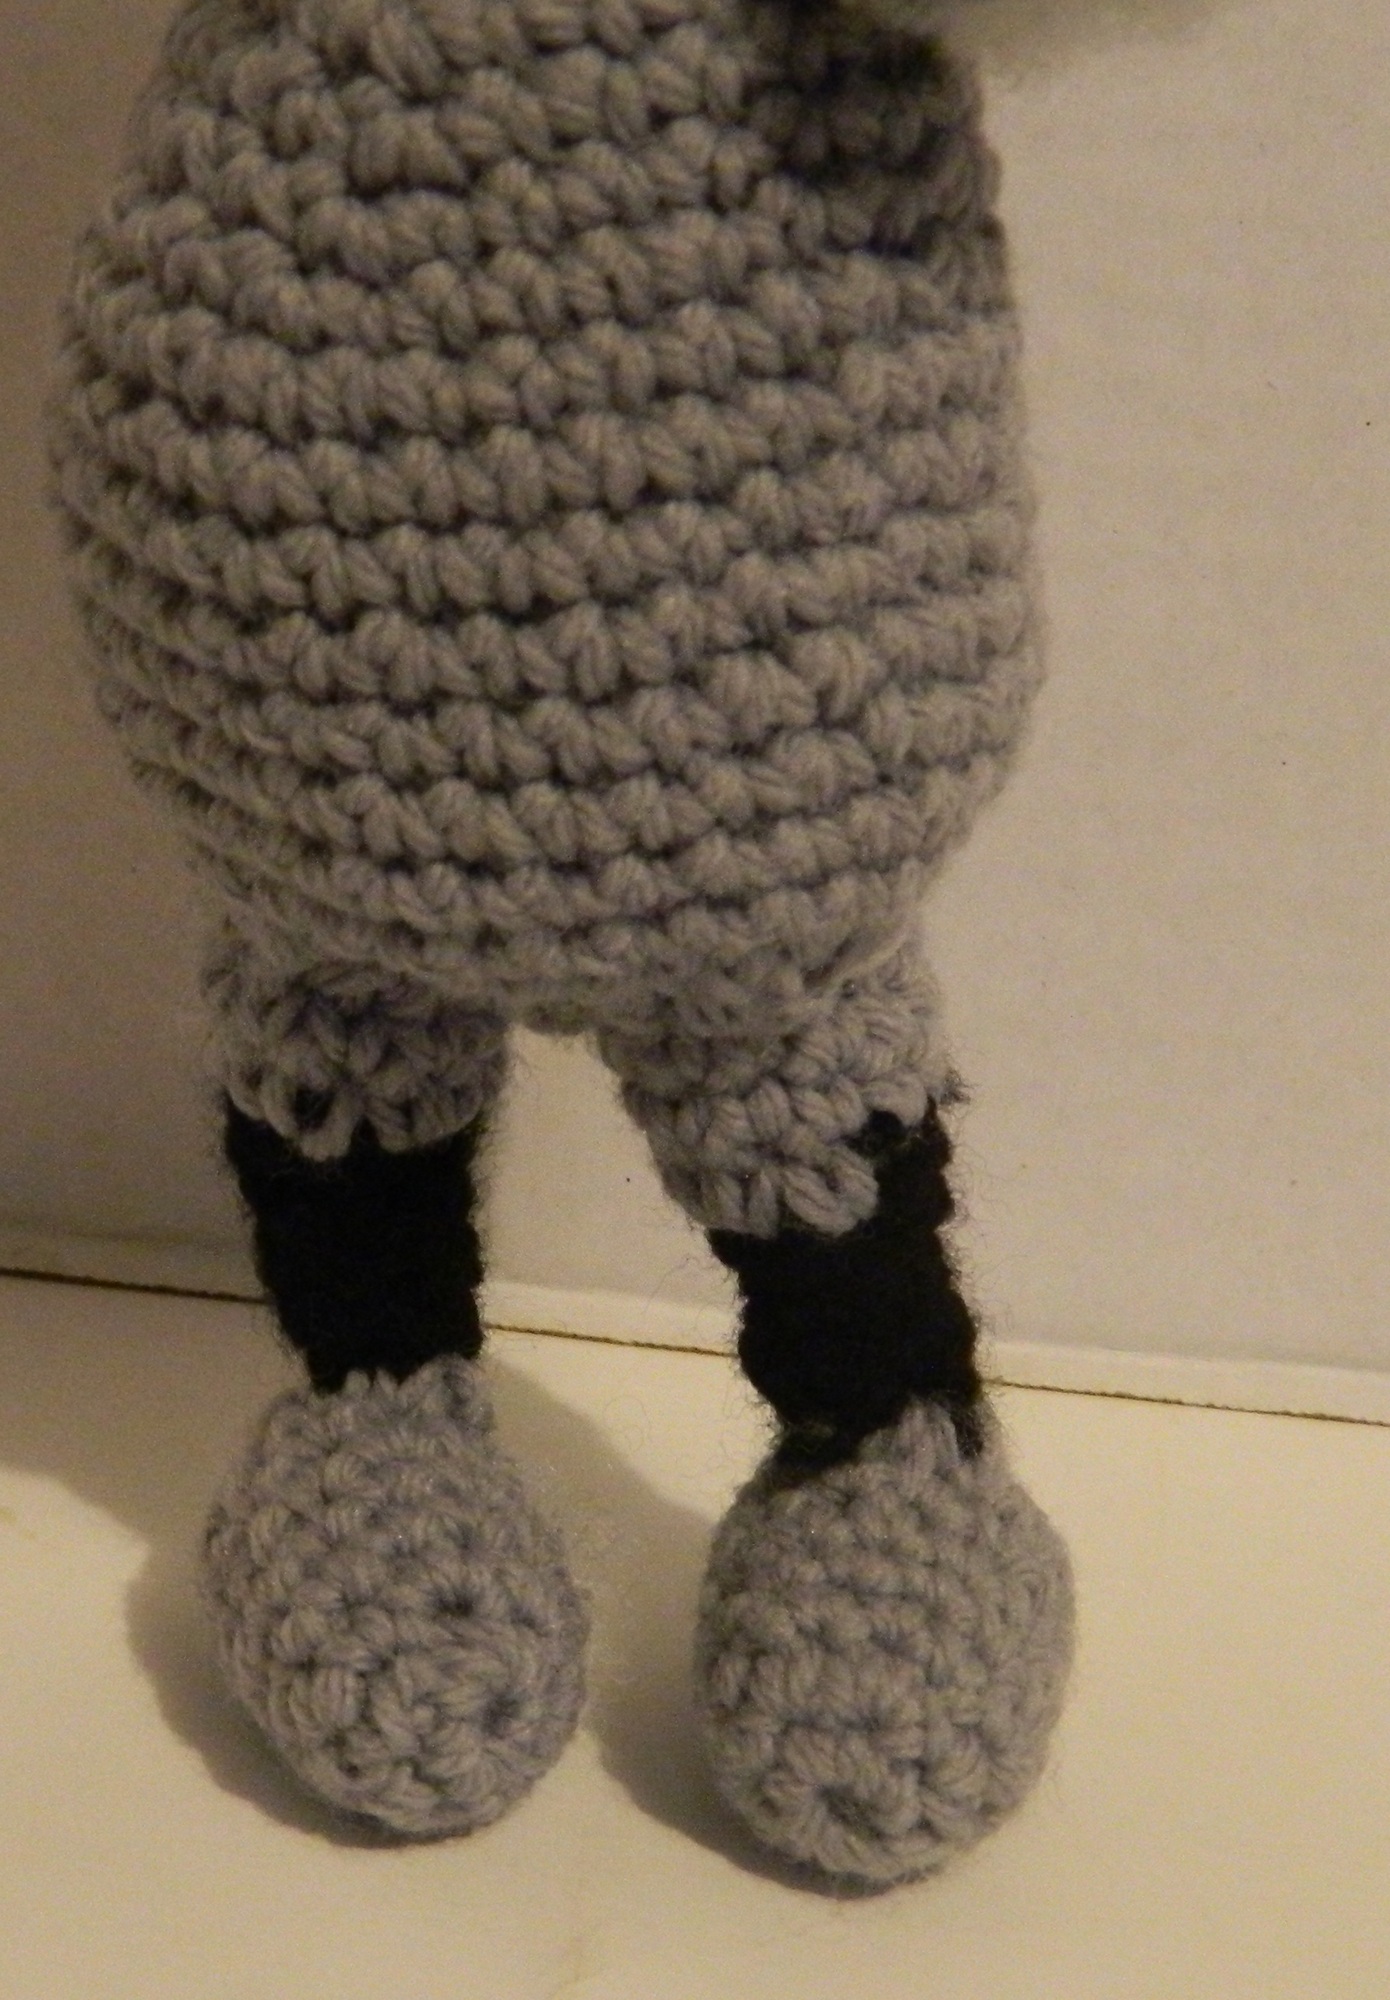
To assemble the legs use the extra yarn from the feet to sew them to the bottom of the legs.
Next add the legs to the body using the extra yarn from the legs.
The arms are attached to the sides of the body using the extra yarn from the arms.
Using the extra yarn from the head, attach it to the body.
Use some black yarn to sew a mouth onto the head. The mouth should extend from the left side to the right side.

To complete the Clank amigurumi sew the two bolts to the sides of the head making sure they touch the ends of the mouth.