
When you think of crochet, what is the first thing that comes to your mind? Was it a grandmother crocheting a hat or scarf? A lot of people associate crochet with the elderly and I would admit that I was one of them before I tried it. Instead of just a hobby for the elderly though, crochet is a pretty easy and affordable hobby that is quite relaxing.
Crocheting is a craft that has been around since around the 1800s. Crochet uses yarn and a tool aptly called a crochet hook which you use to create loops in the yarn. These loops are created through different types of stitches which look different and change the shape of the object you are working on. Crochet’s original use was mostly for making clothes and other household objects. A couple of decades ago, a special type of crochet began in Japan known as Amigurumi. Amigurumi uses crochet (or knitting) to create 3D figures/stuffed animals. In the early 2000s, Amigurumi started gaining worldwide popularity.
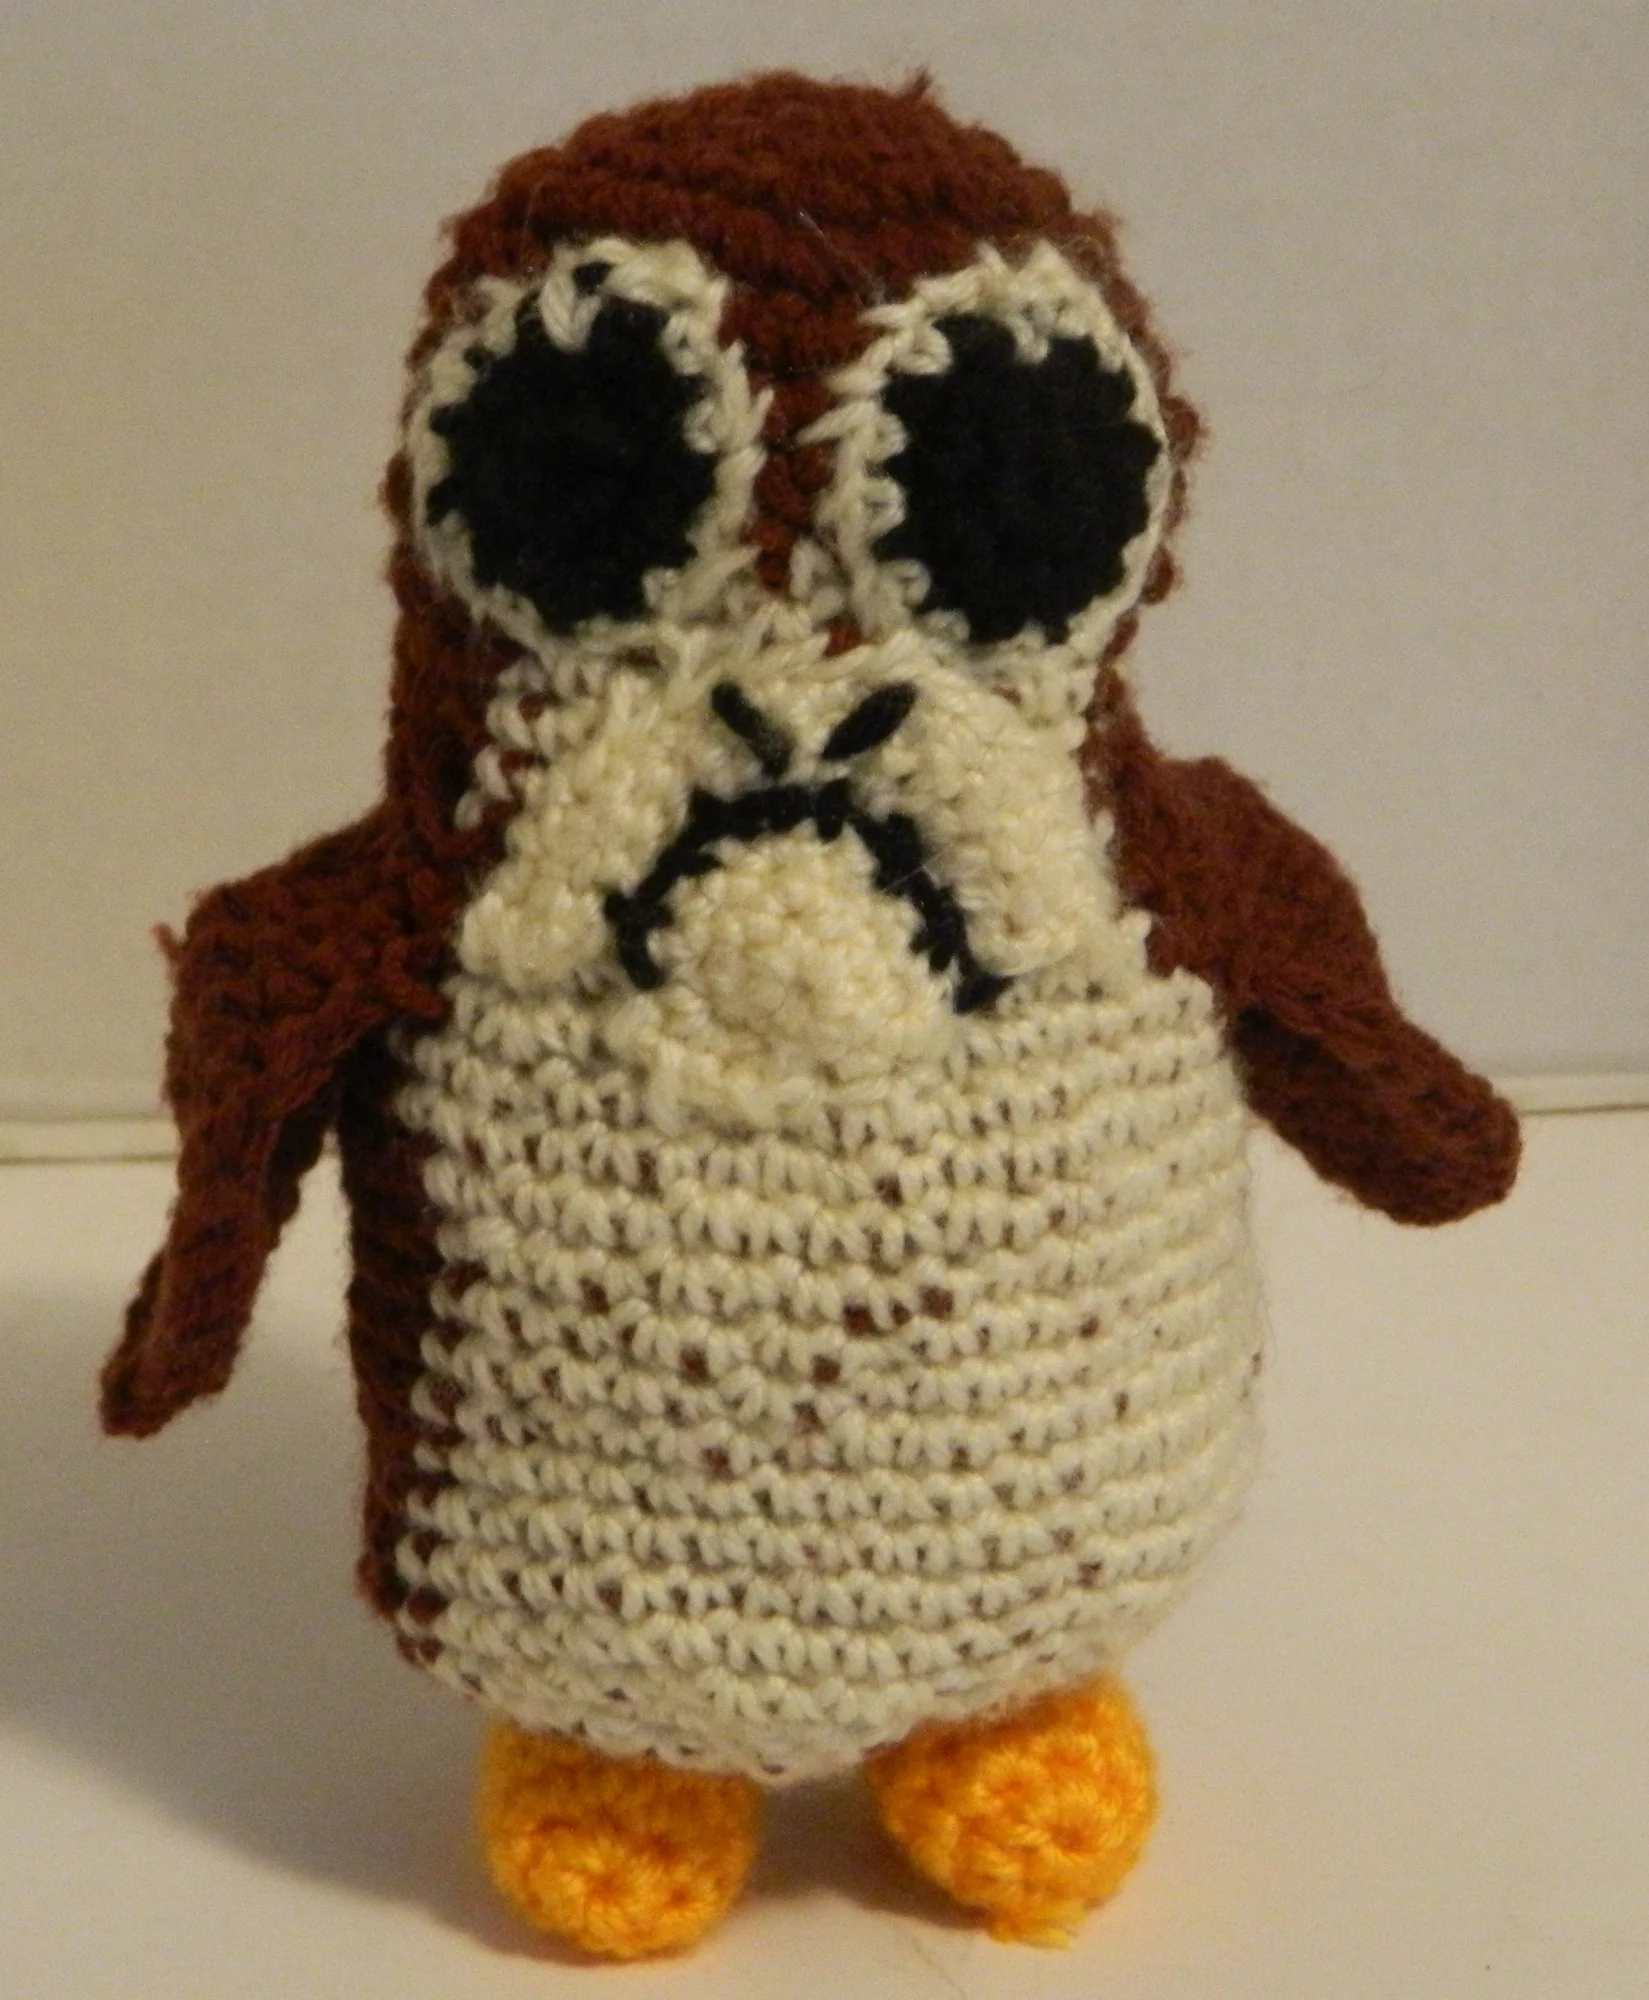
So why did I decide to learn how to crochet? One day at a thrift store I ran into a book called Star Wars Crochet written by Lucy Collin which is part of a crochet set which you can find on Amazon. Being a fan of Star Wars and looking at the different creations in the book, I thought it would be interesting to see if I could learn how to crochet while creating something that I was actually interested in.
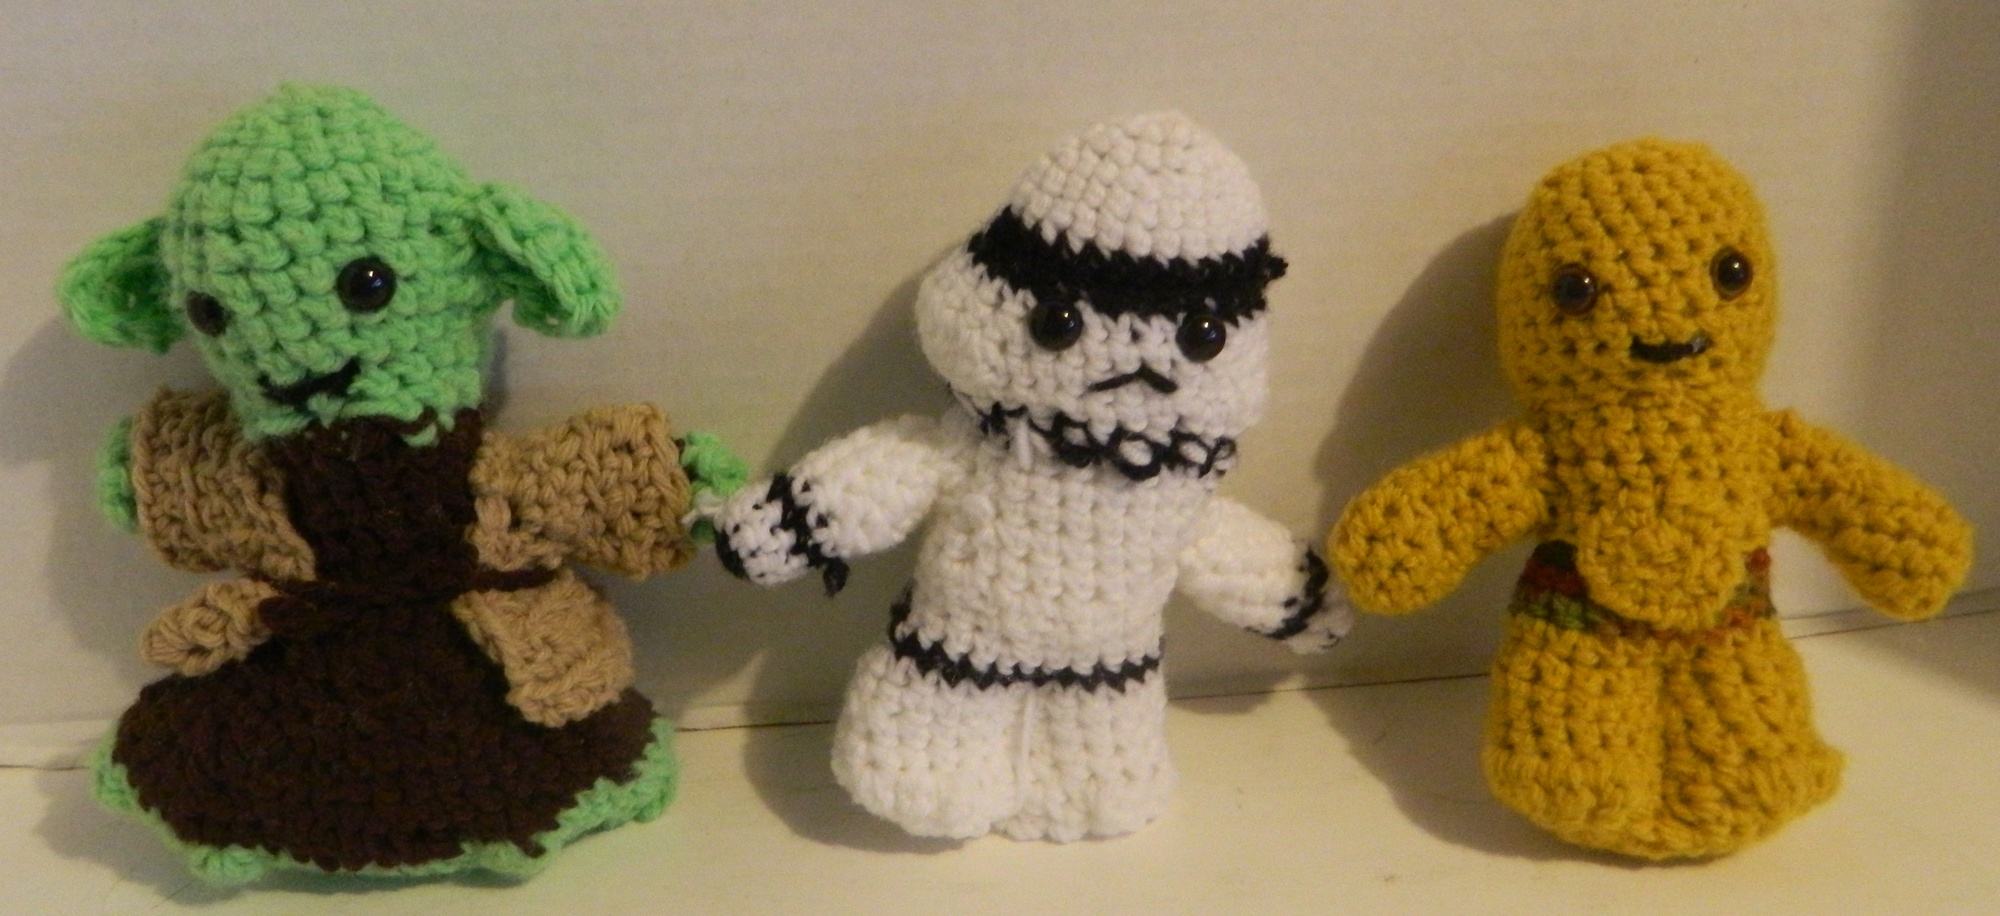
Taking a look at my first three creations you can probably tell which one was my first attempt at crochet. Looking at Yoda you can tell that I was not a quick study in crochet. While crochet is not as complicated as you would think, it does take some time to get a hang of how to create the different stitches. Your first creation is probably going to be far from perfect. For example Yoda taught me the key concept of using the crochet hook size mentioned in the pattern because otherwise your creation will not look right. So I ended up making two more of the designs from the book and then decided to move on since I was a little sick of creating Star Wars characters.
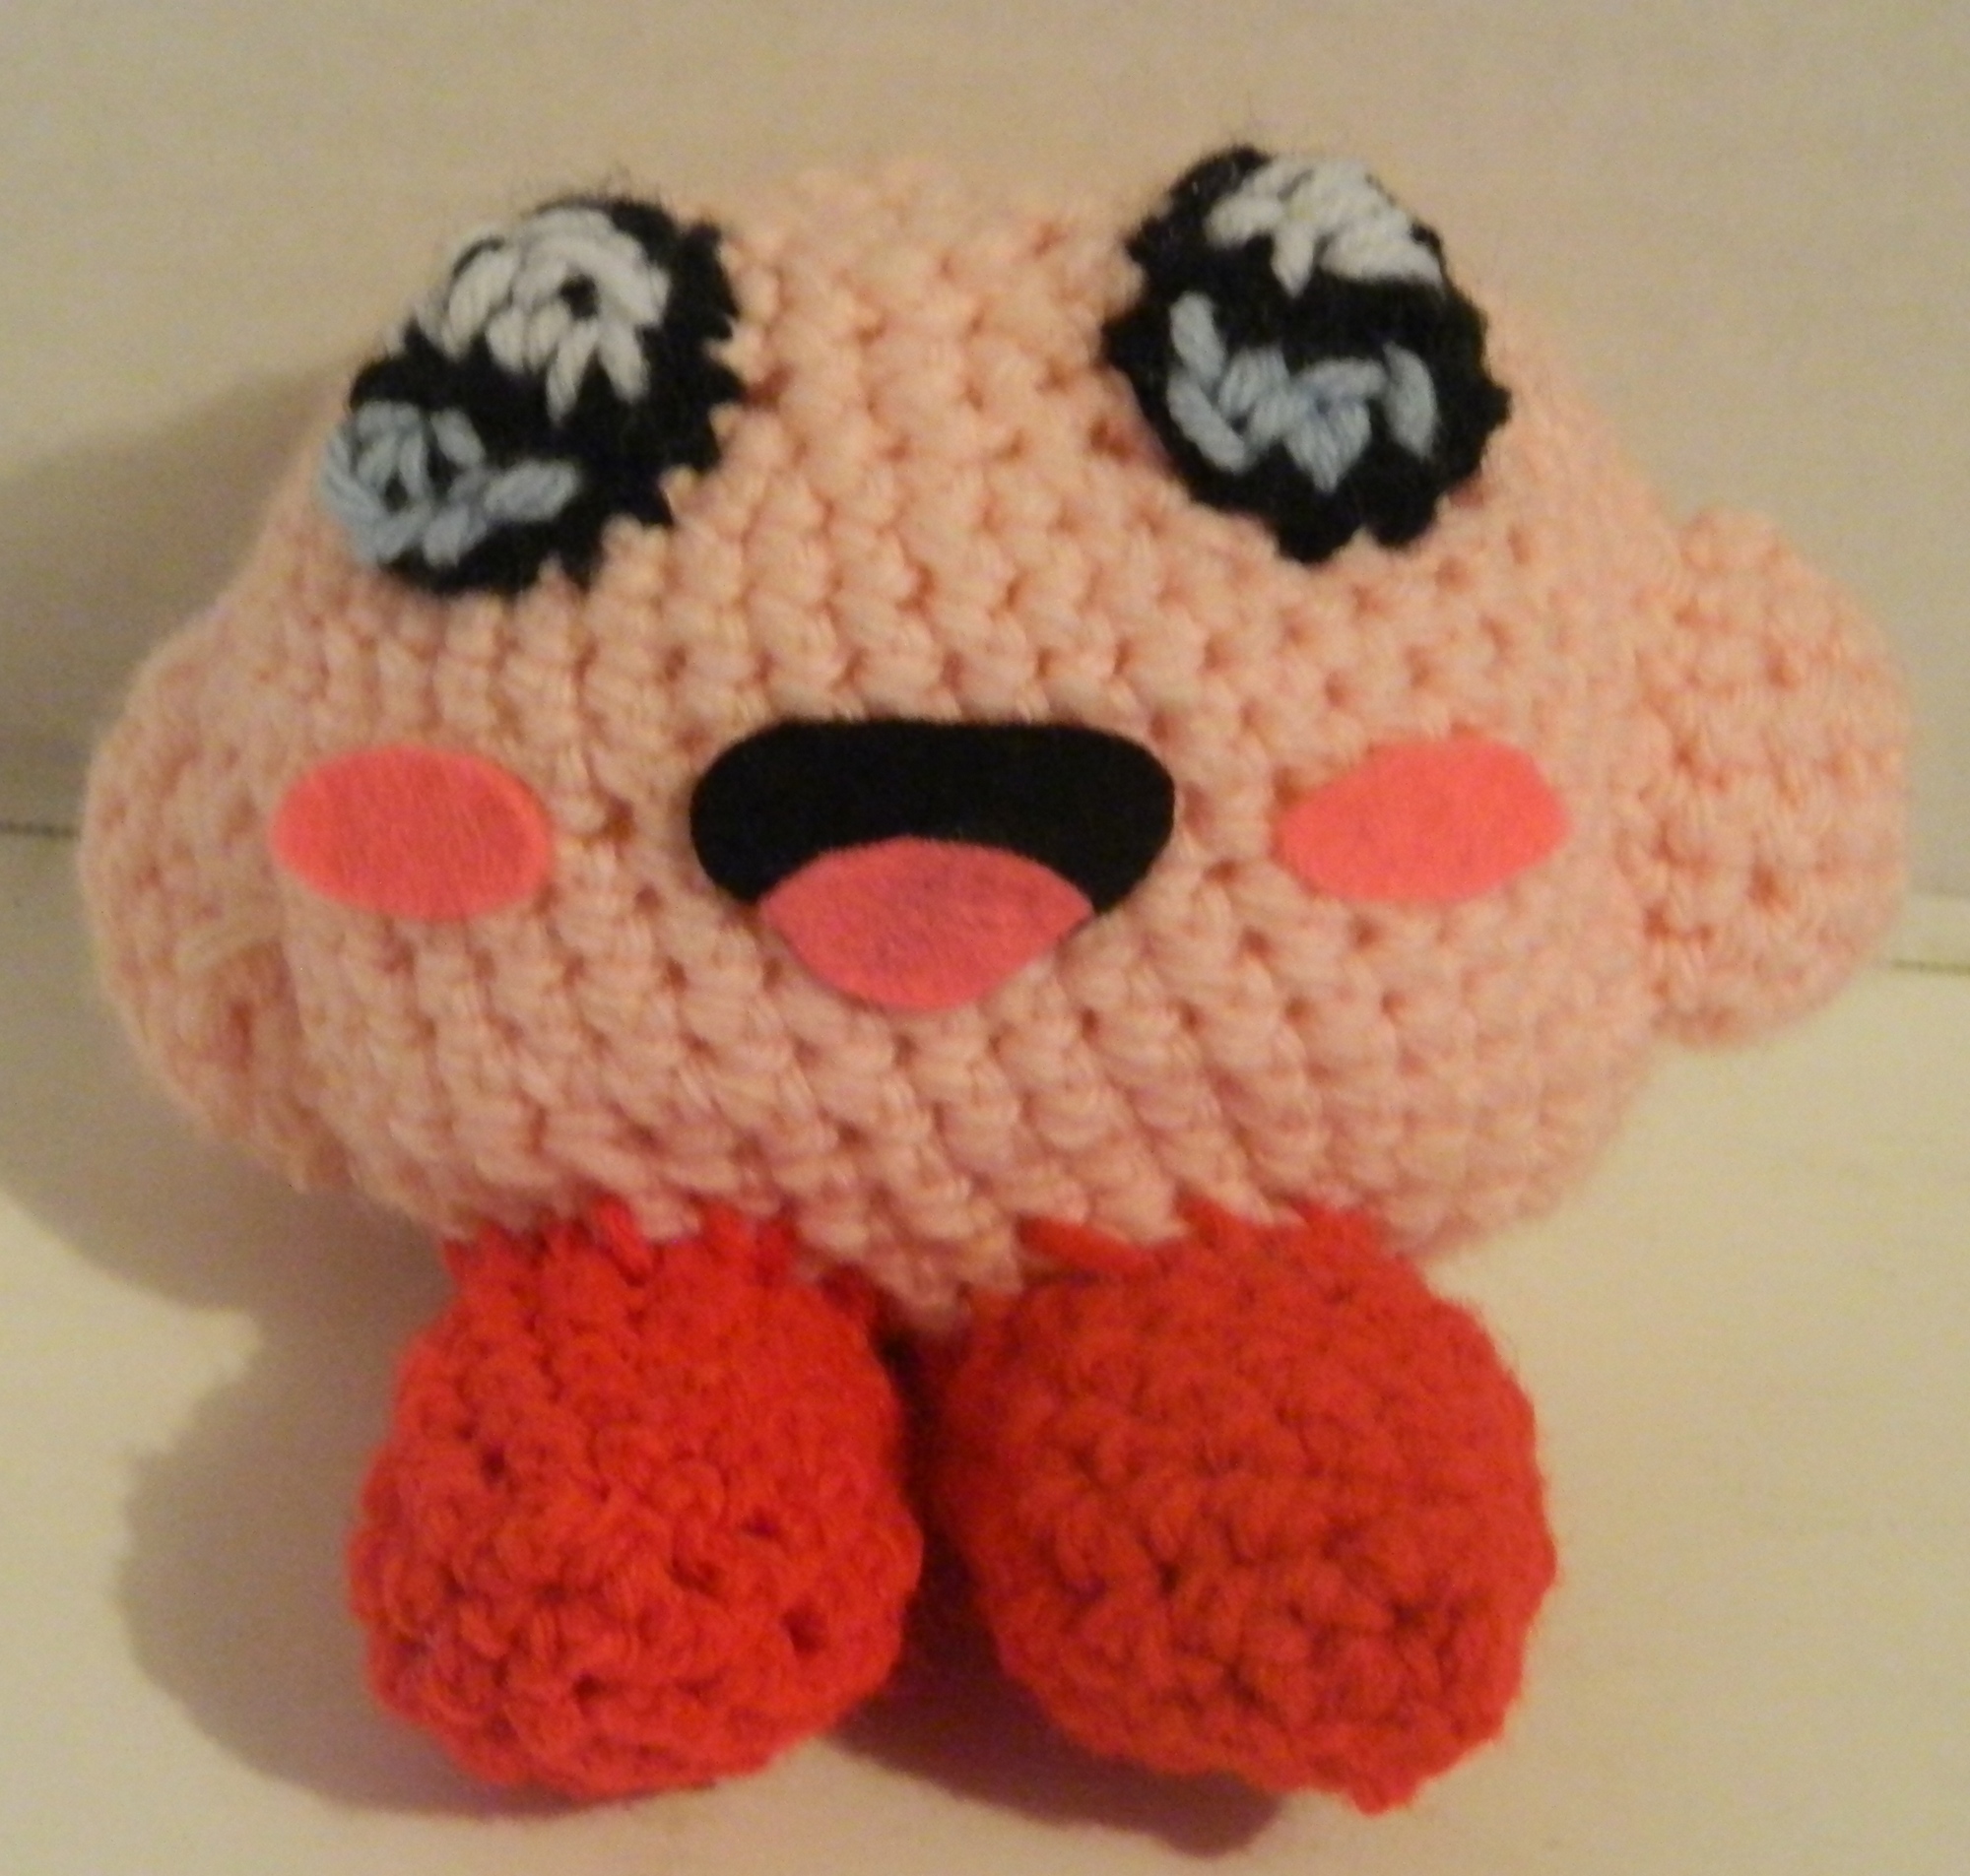
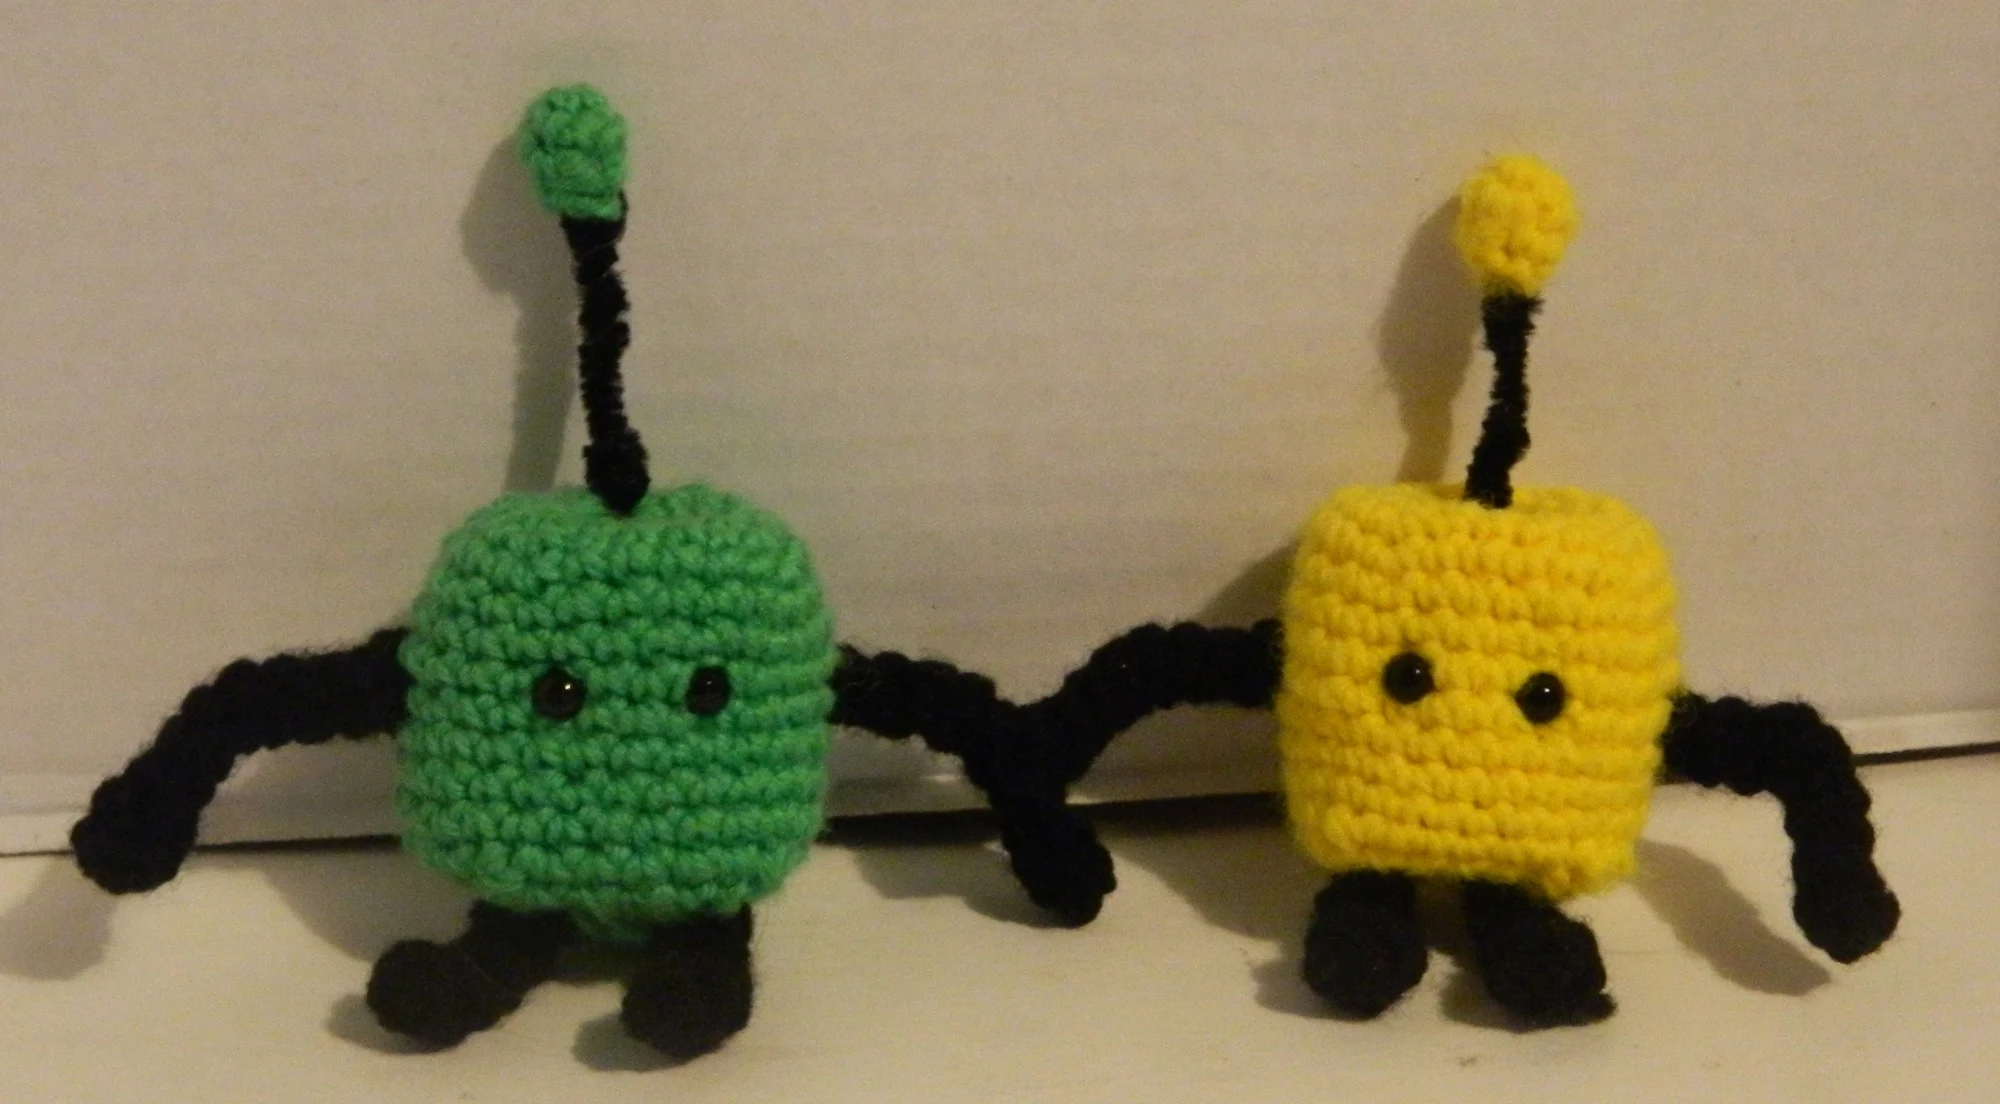
So I began surfing the internet looking for other patterns to create some characters unrelated to Star Wars. I wanted to start with something simple and ended up settling on Kirby since he is basically a ball with arms and feet so he seemed easy to make. I ended up finding a Kirby pattern on Nerdigurumi which was quite easy to follow even though I decided to crochet my own eyes instead of using felt like the pattern recommended.
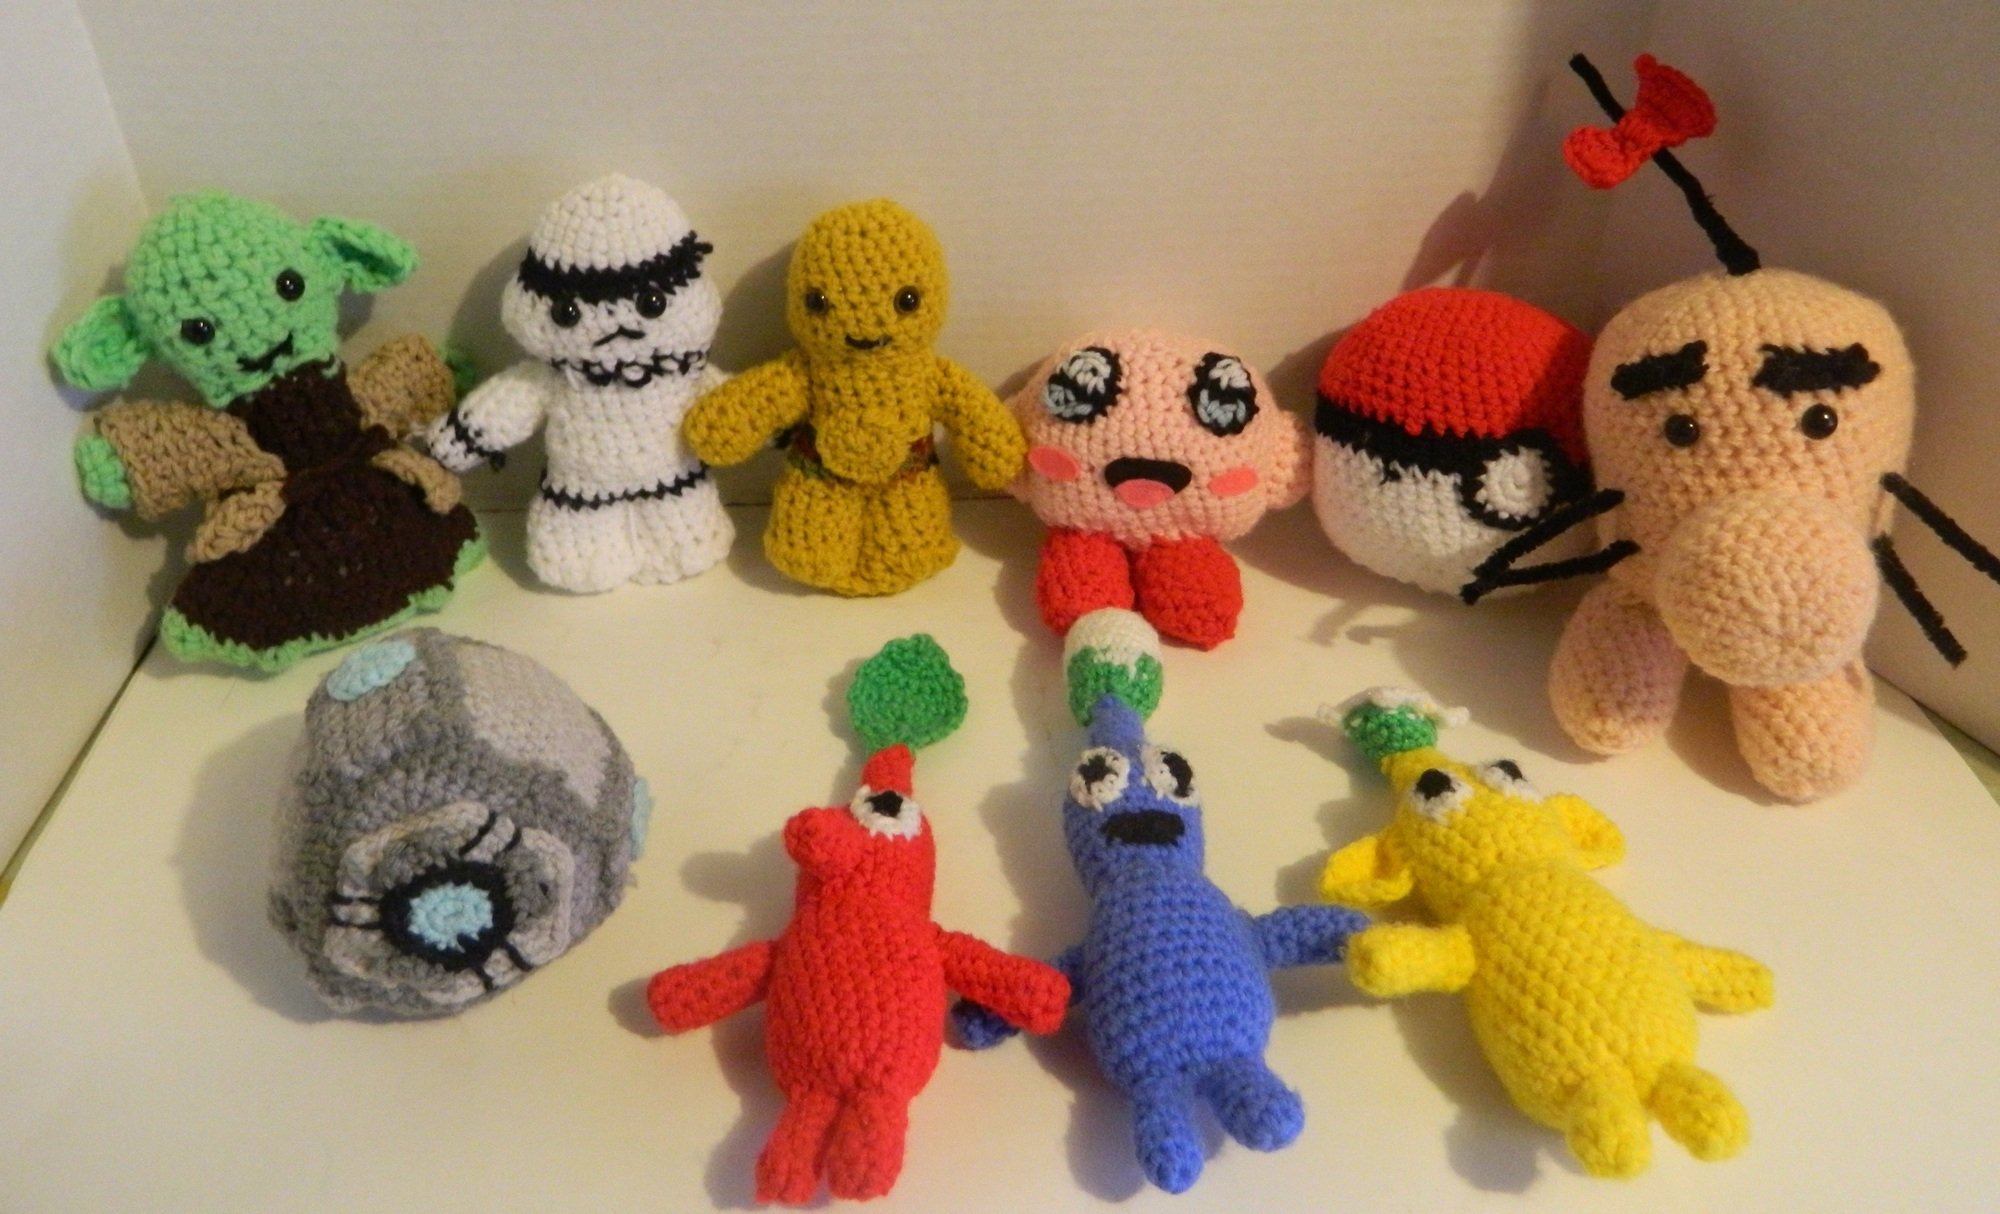
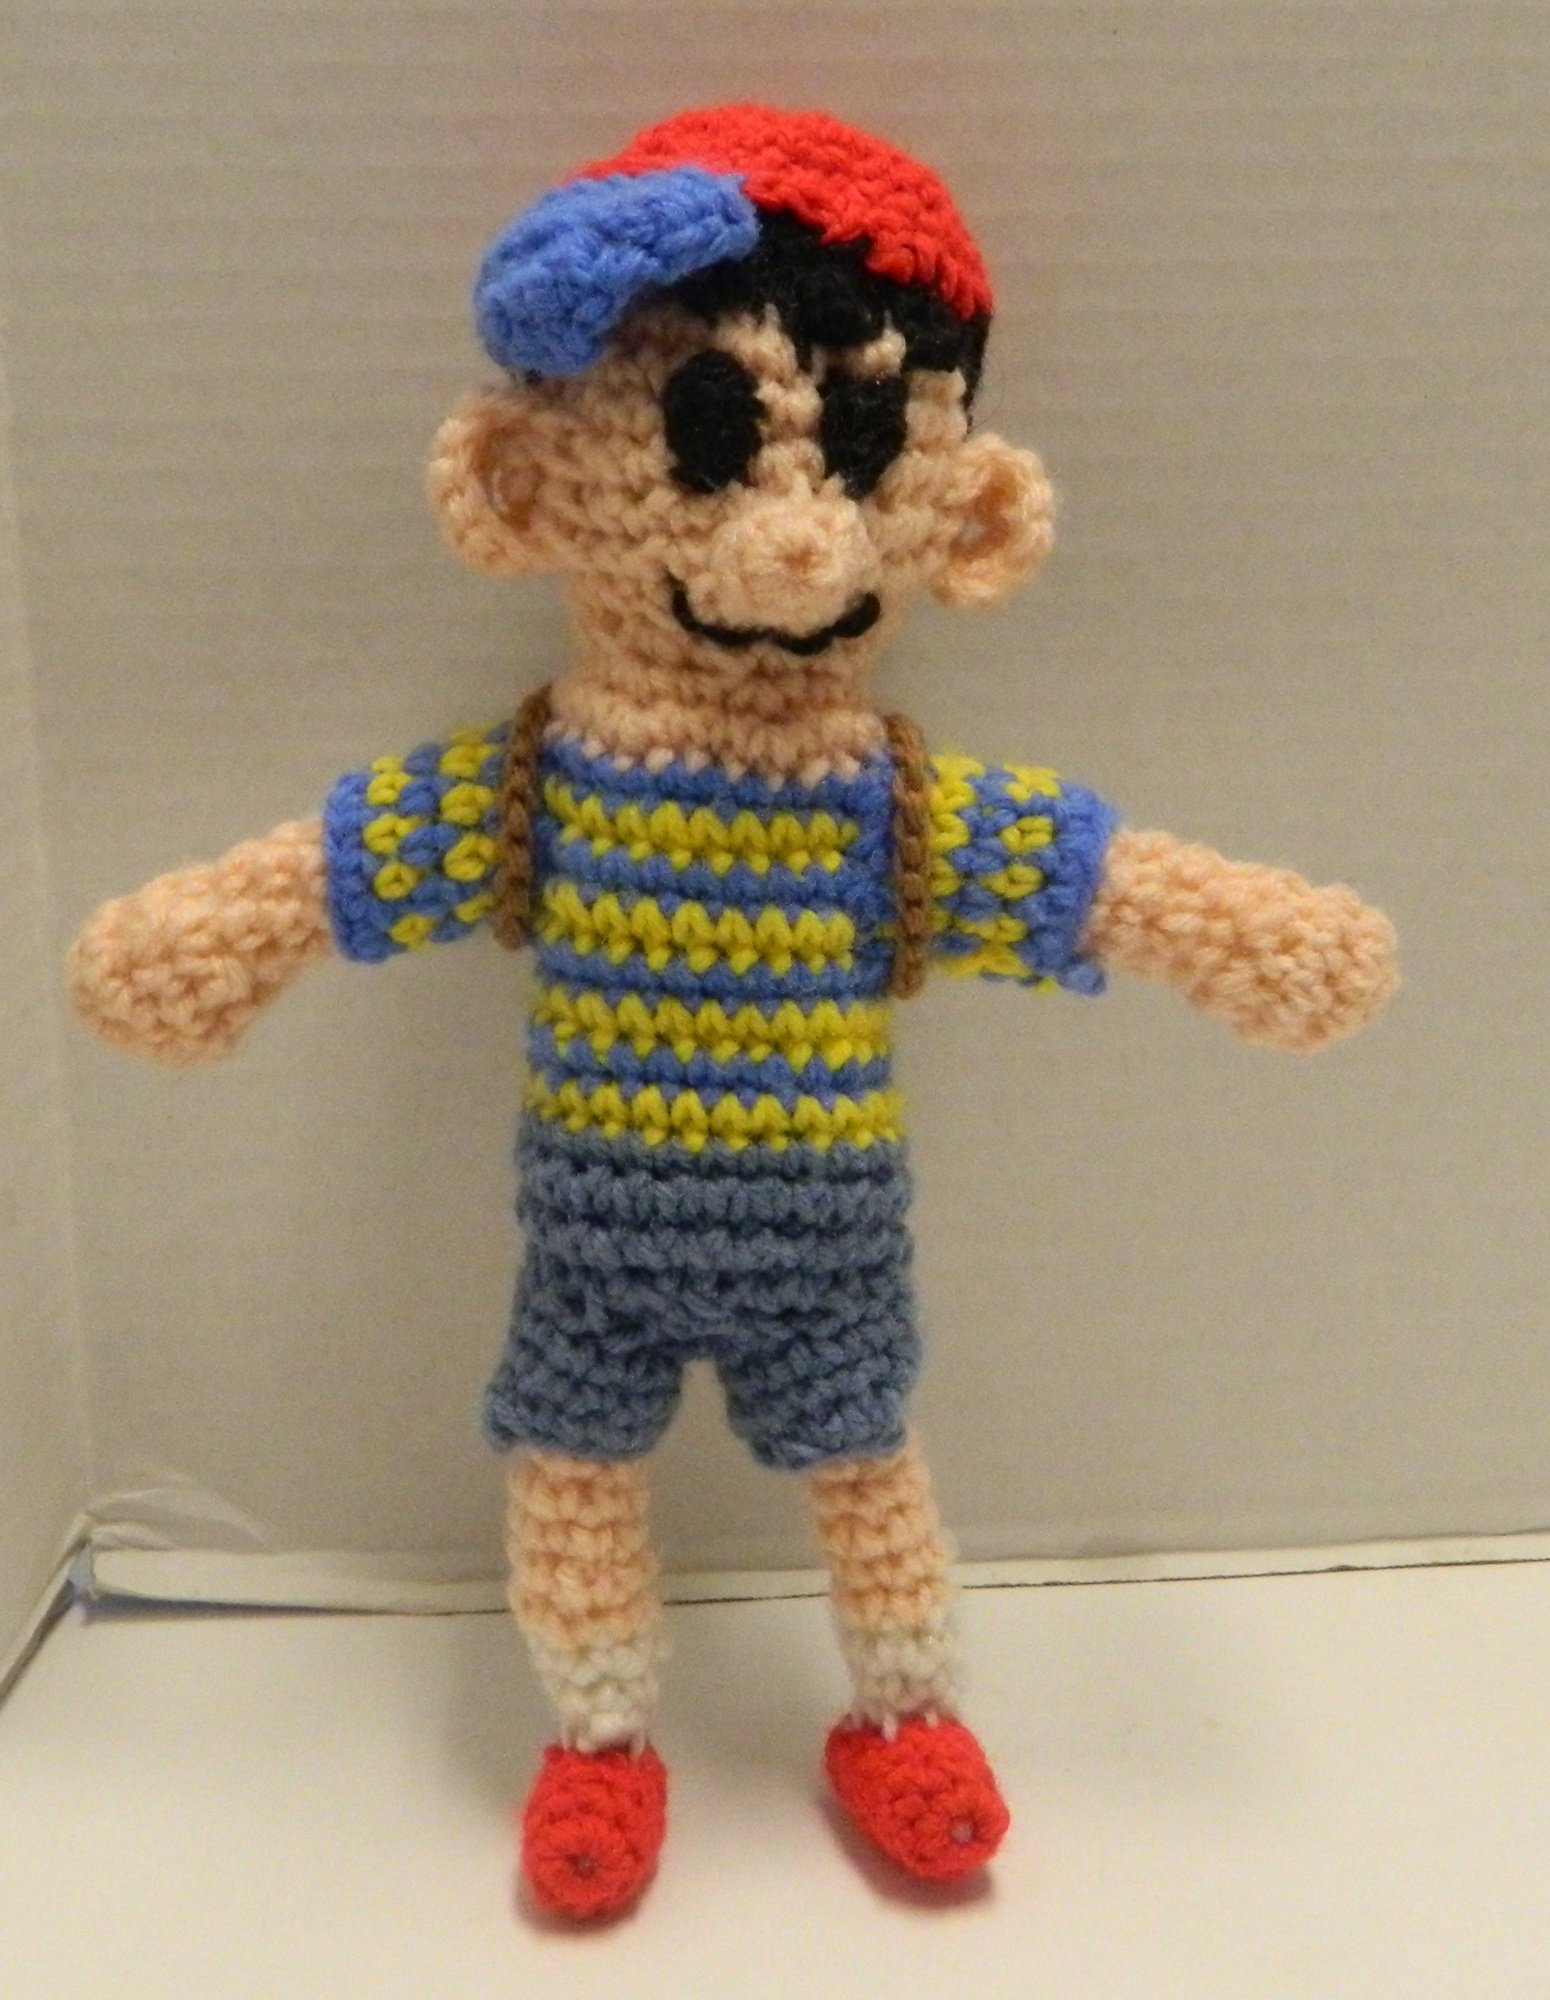
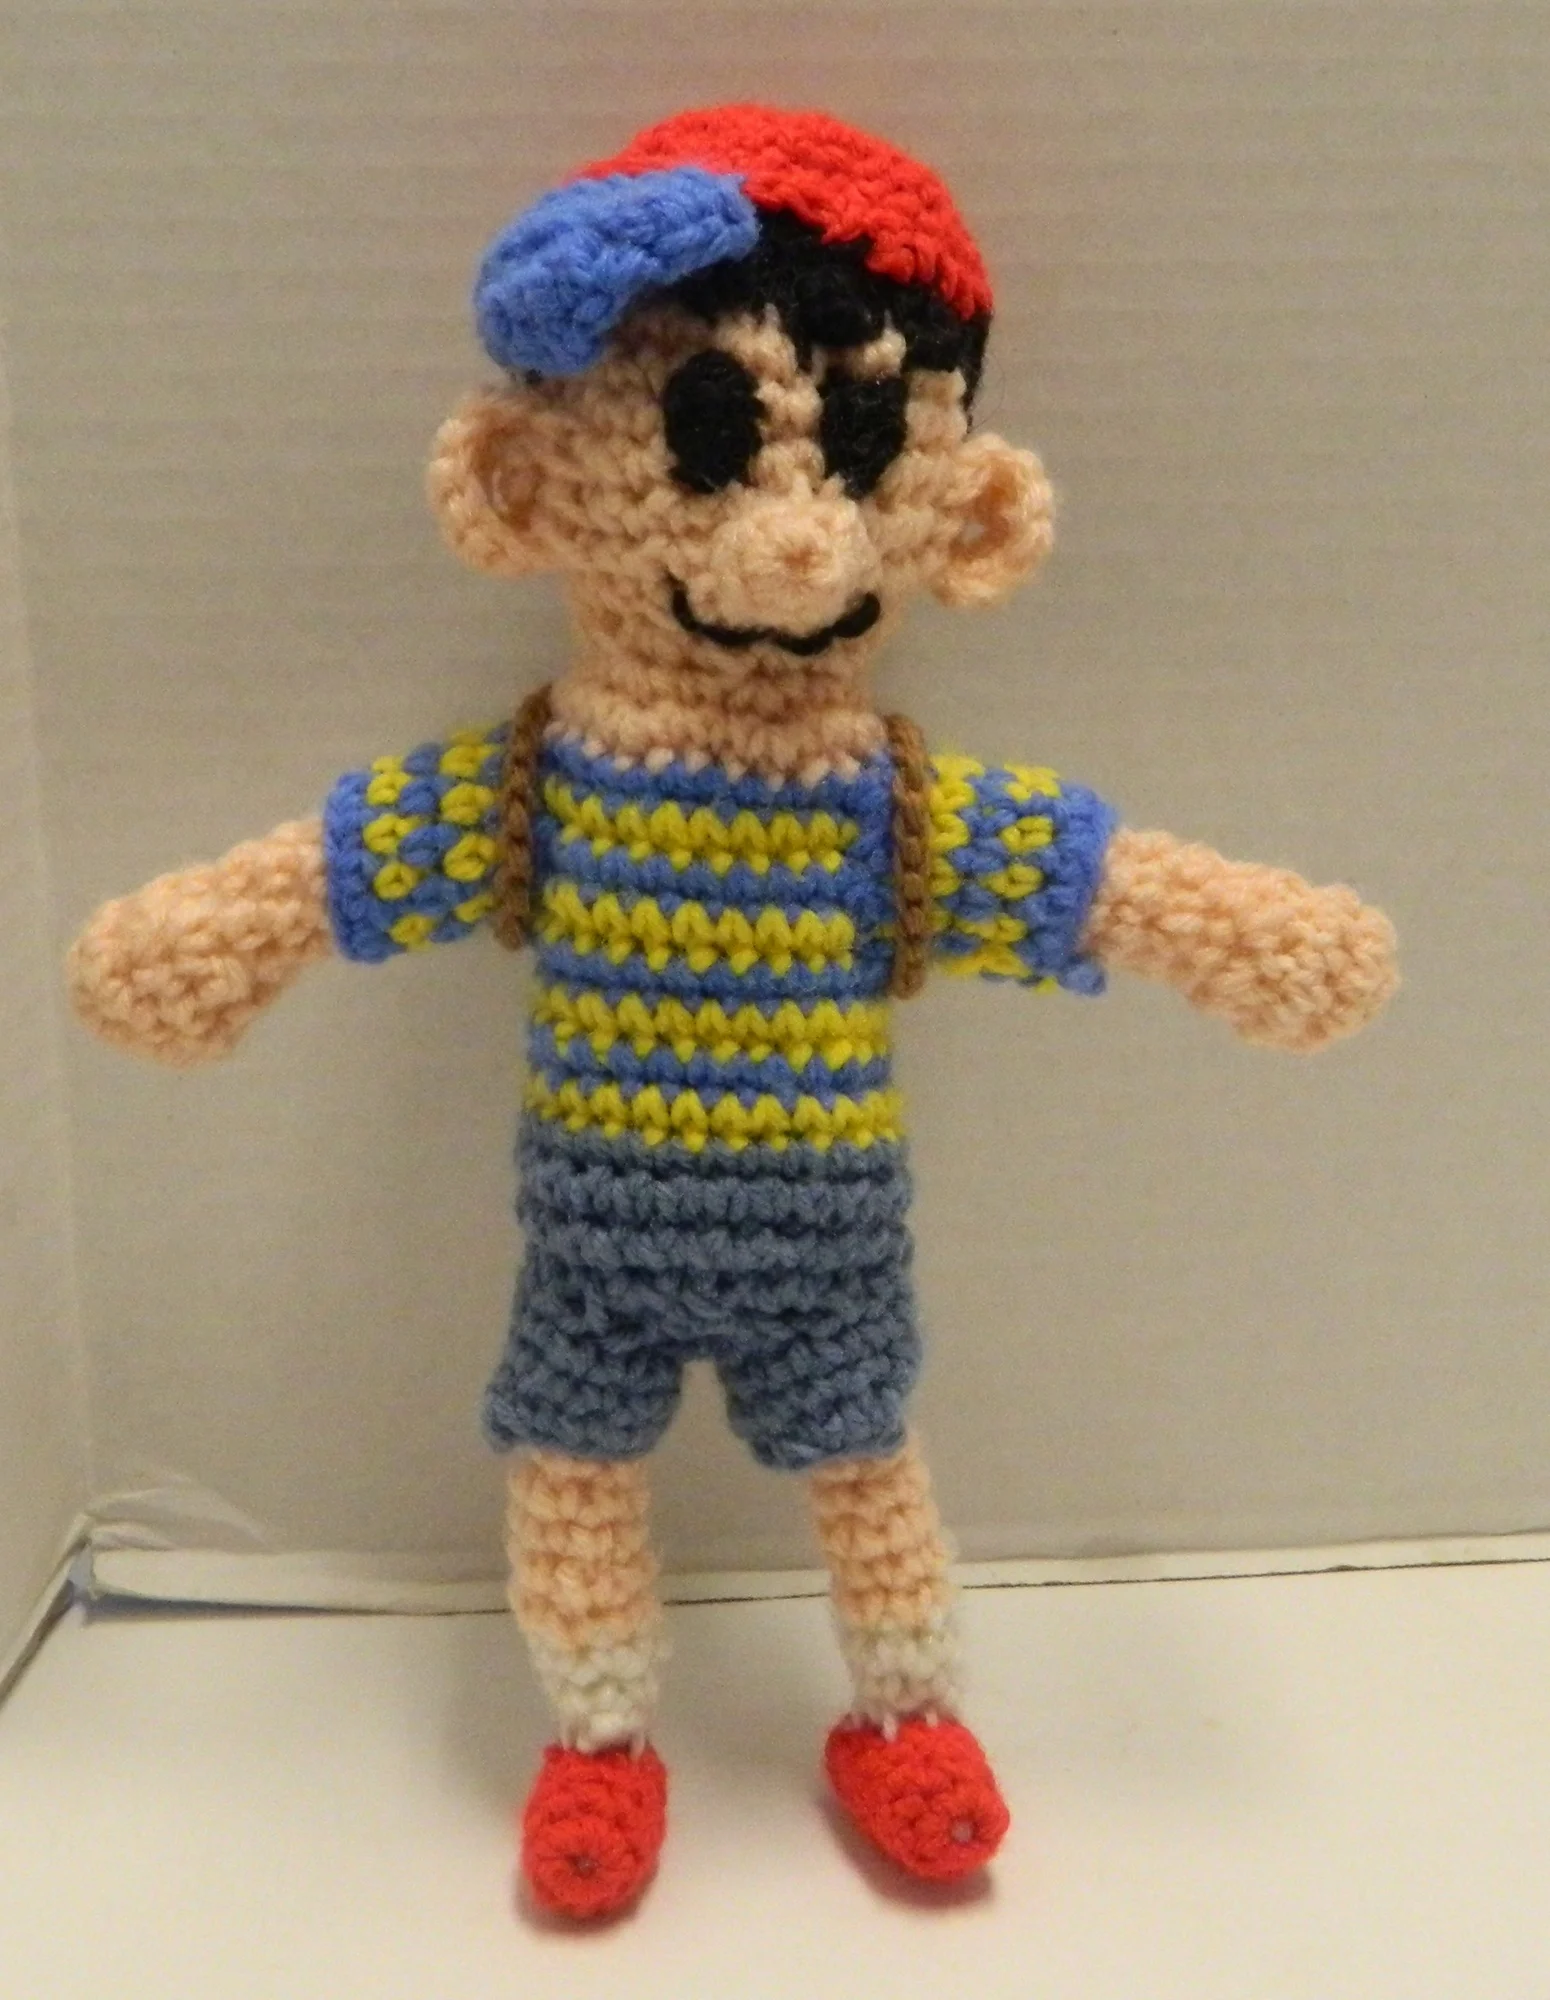
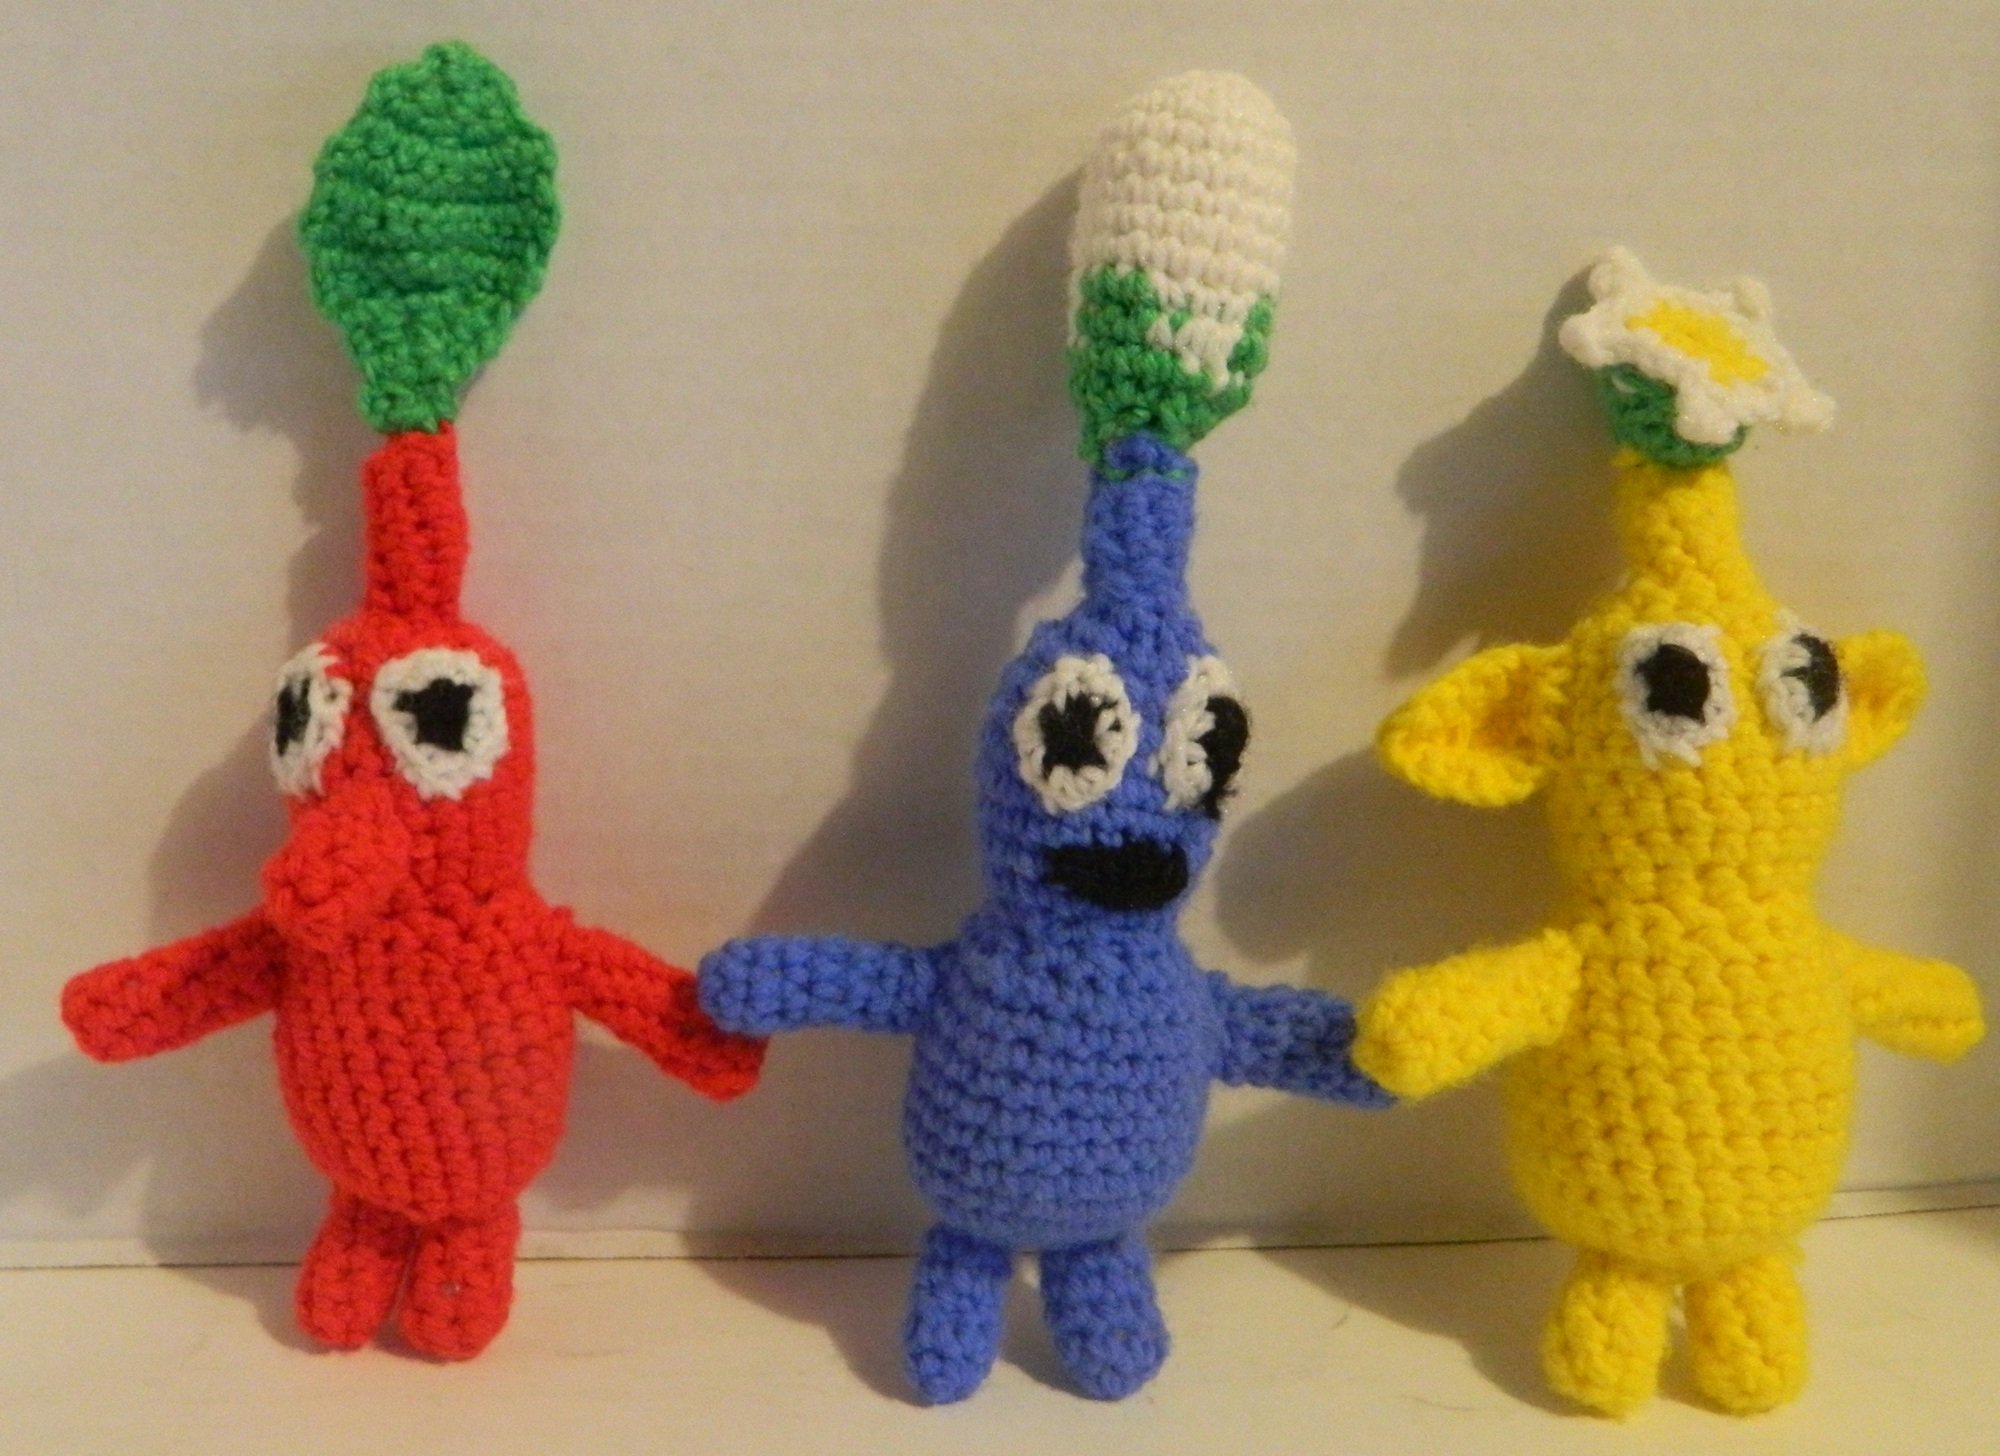
After creating Kirby I was feeling more confident about creating my own amigurumi creations. It is actually a lot easier to make your own creations than I thought since if you can break it down into the individual components you mostly just have to make basic shapes and sew them together. So far I have created a Pokeball, Mr. Saturn (from my favorite game Earthbound), a Rocket League ball, and three little Pikmin. In the upcoming weeks I will share the patterns for these amigurumi creations as I hope to make a regular feature for this blog with a new pattern every week or two.
Things You Need For Crochet
Before beginning to crochet and create amigurumi creations you will need the following supplies:
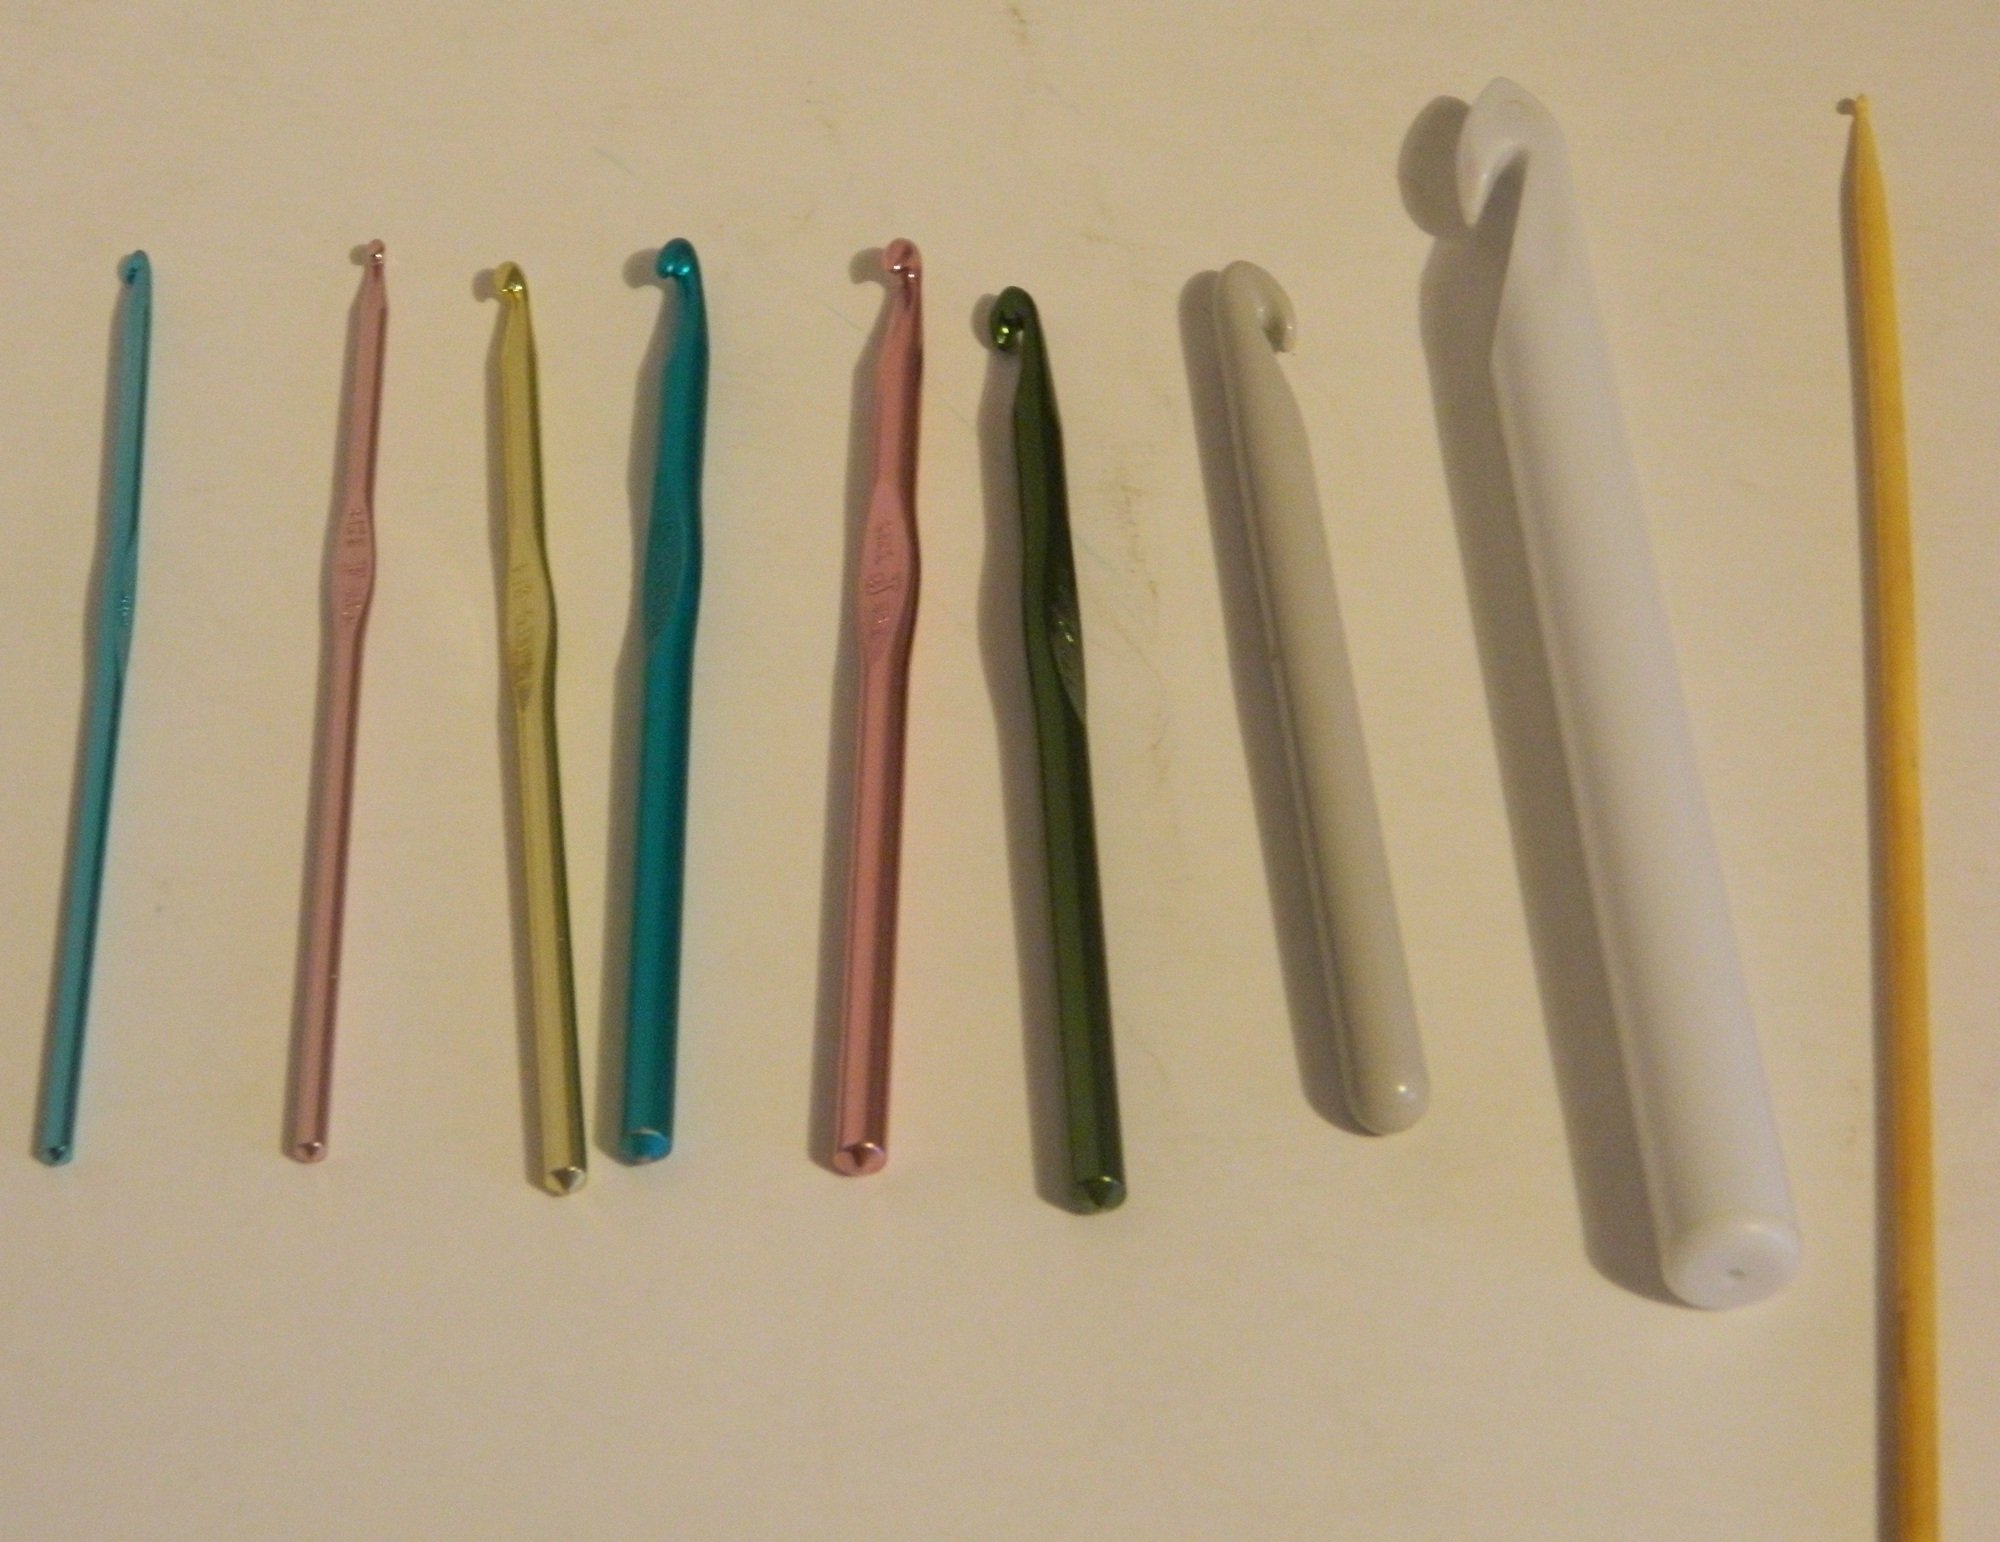
Crochet Hook(s): Crochet hooks come in many different sizes. The size of a crochet hook is based on how big the hook at the end of the crochet hook is. Small numbers/earlier letters in the alphabet indicate smaller hooks. Using a smaller hook allows you to create smaller stitches which means that there aren’t as big of gaps between the stitches. This is important for amigurumi since big gaps between the stitches allows the stuffing to show between the stitches. If you use a crochet hook that is too small, the stitches will be really small which means that you will have to make more stitches to make something the same size as you would if you were using a larger hook. I personally recommend using an E/4 3.50 MM hook. Using the wrong hook may not seem important at first but it can lead to an amigurumi creature looking different than you intended (like the Yoda I showed earlier). Buy on Amazon

Yarn: This is pretty obvious since you won’t have anything to crochet without the yarn. While looking at yarns you need to find the right color and thickness. You are most likely going to want medium to thicker yarns. “Worsted” yarns usually work well for amigurumi crochet. Buy on Amazon
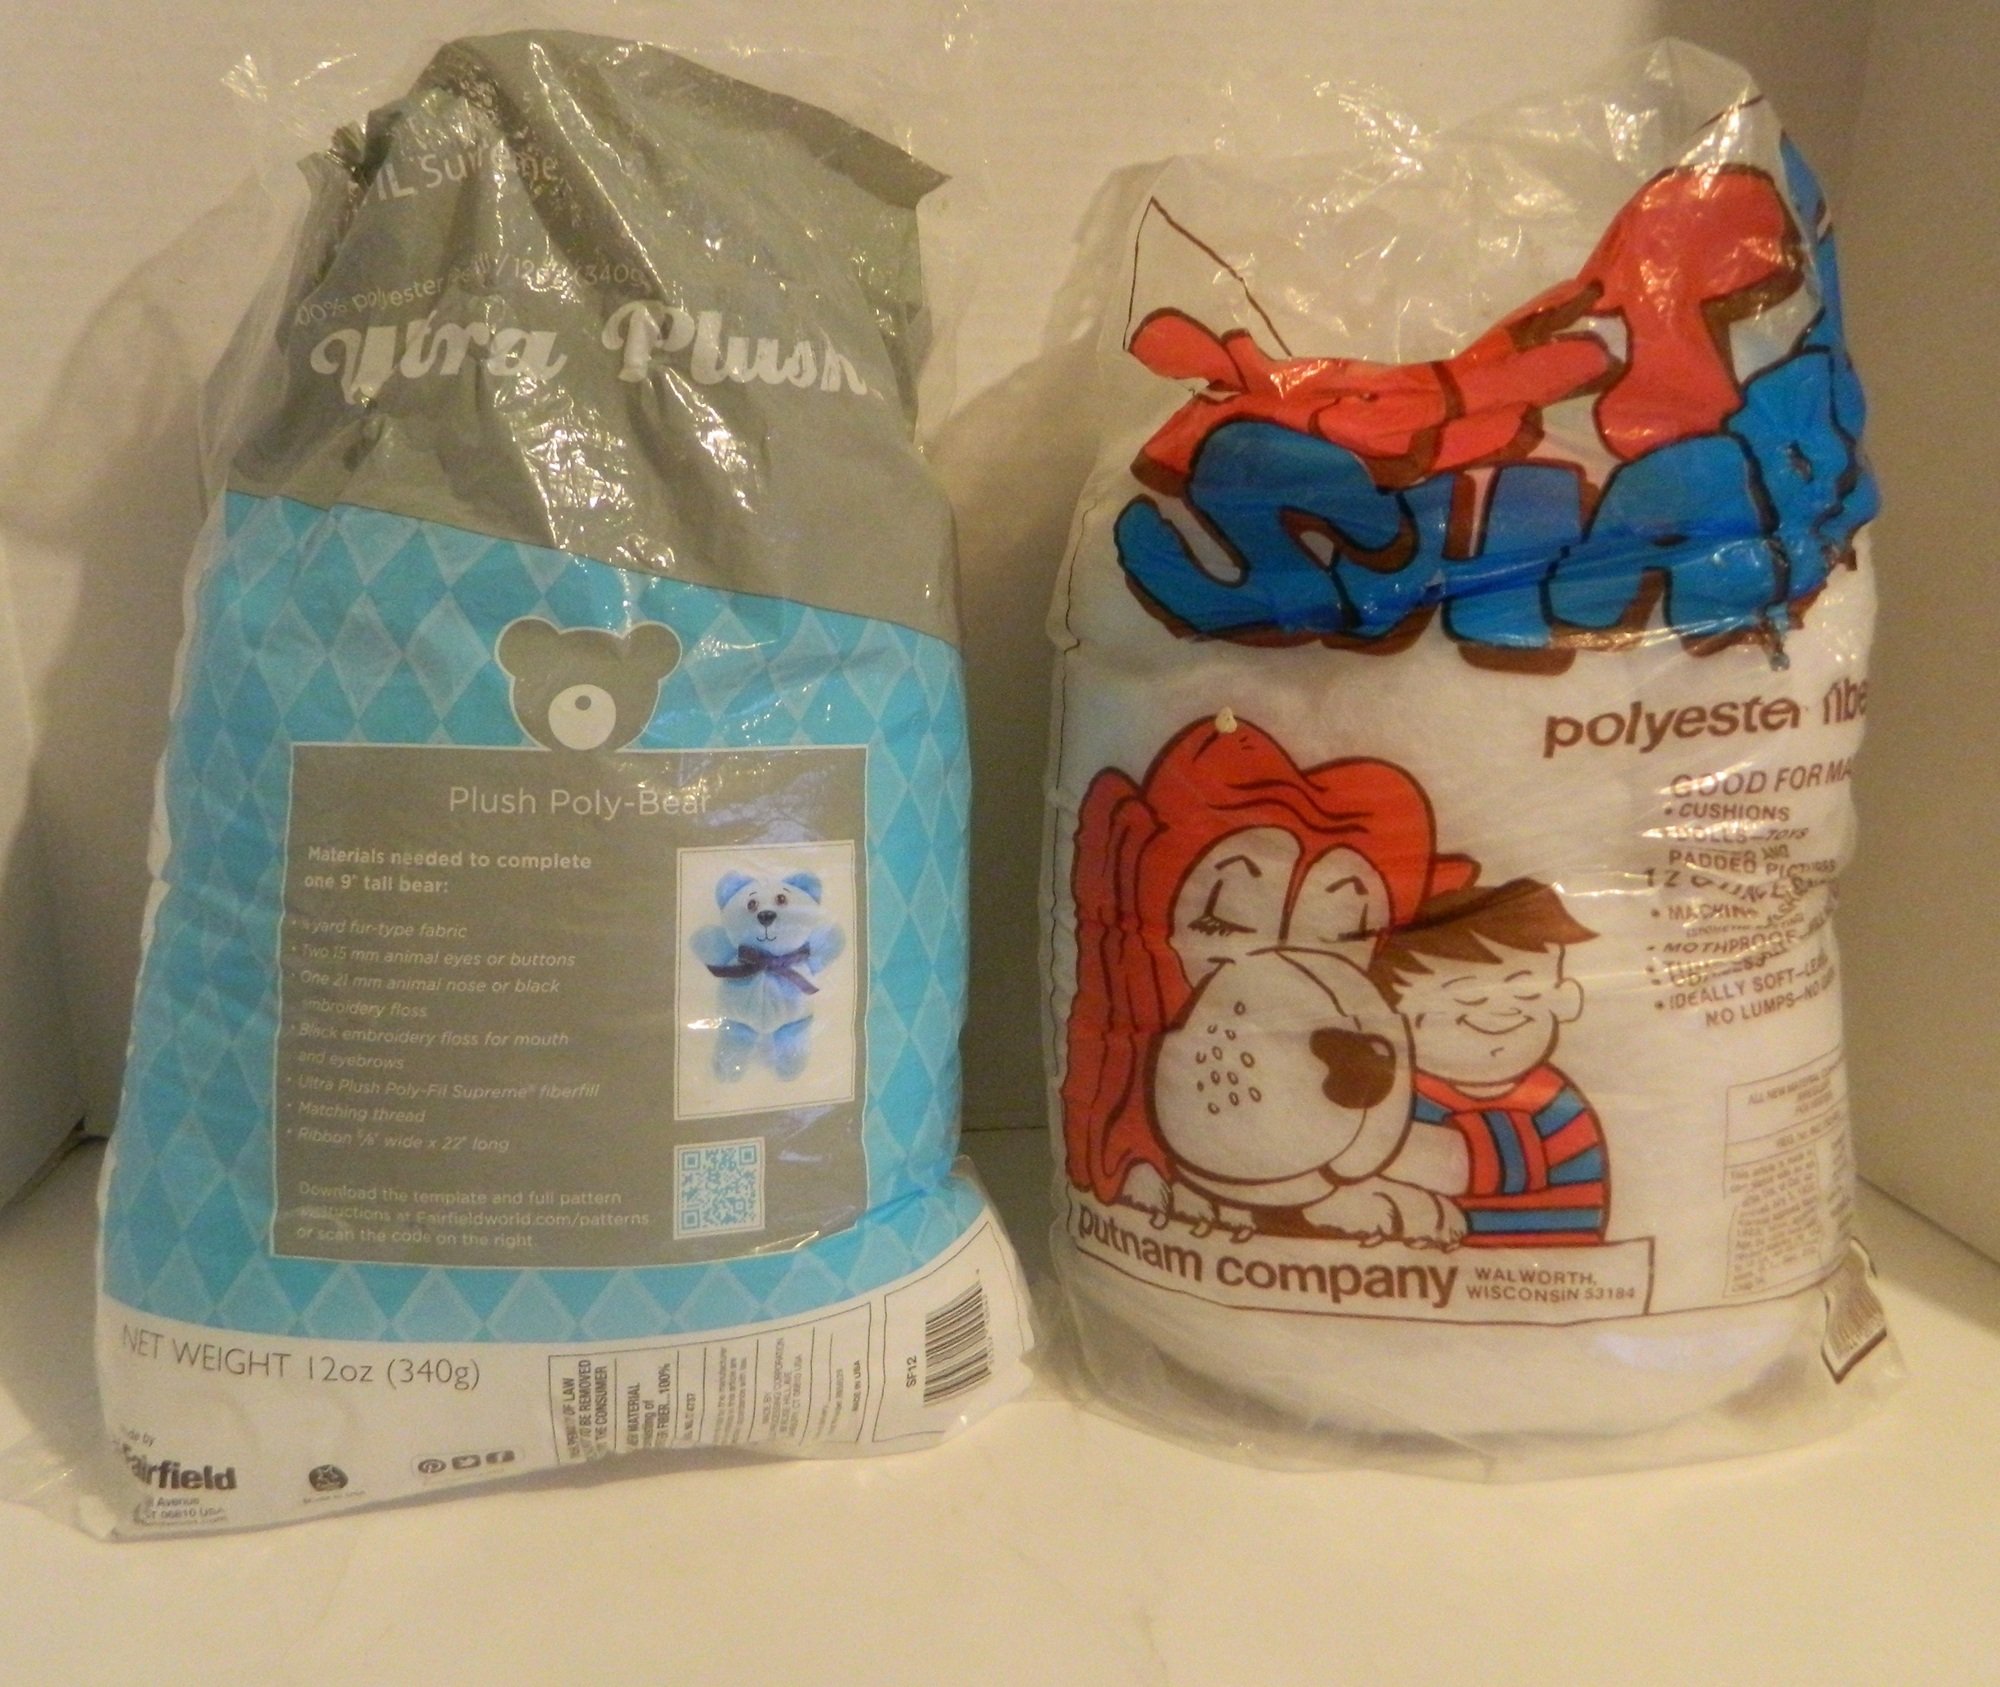
Stuffing: While this isn’t necessary if you are crocheting a flat object, you are going to need stuffing in order to fill in your amigurumi figures. Without stuffing the figures will be hollow and won’t hold their shape. There really isn’t a specific type of stuffing that you have to use for amigurumi. I would suggest using the type of stuffing that has the right “fluffiness” for you. Buy on Amazon

Needle: While not necessary for every project, you will likely need a needle for most projects. Needles are used to sew up the bottoms of crocheted objects, add little details like mouths, and stitch different pieces together to create your amigurumi creature. Buy on Amazon
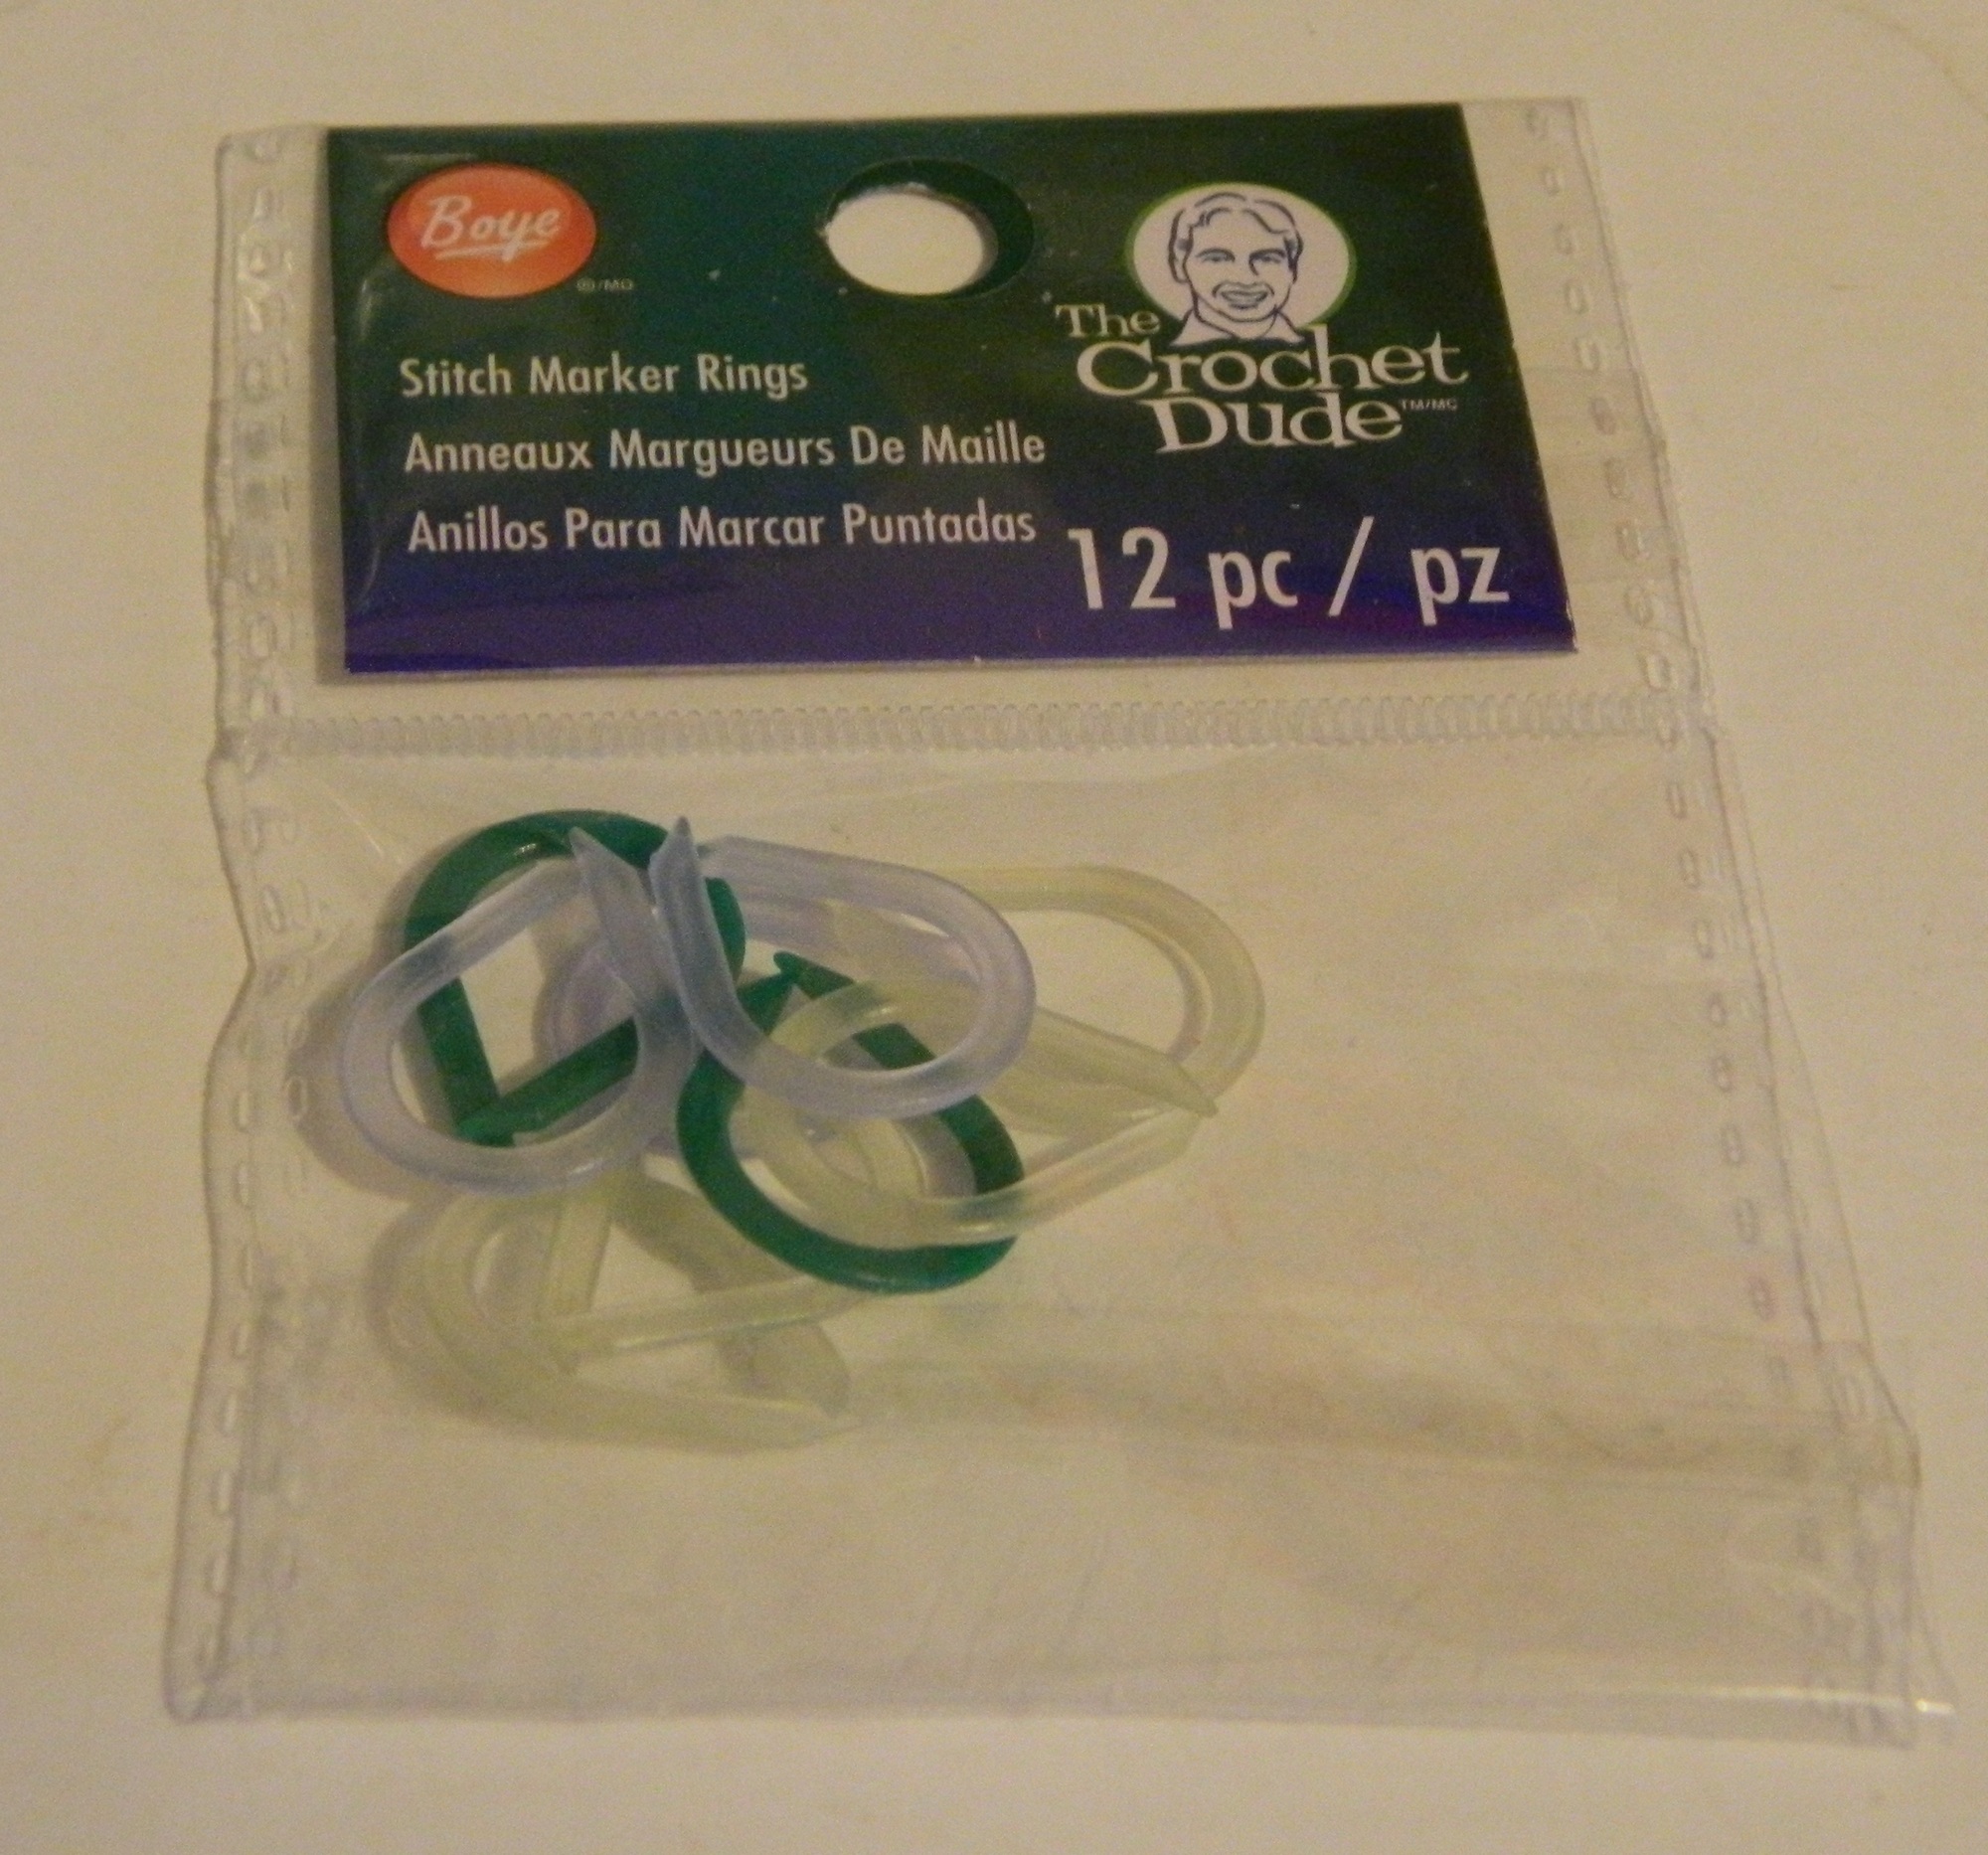
Stitch Markers: While not necessary I would highly recommend using stitch markers. Basically stitch markers are used to mark specific stitches which is helpful in marking the beginning of rounds. This makes it easier to go back to the beginning of a round if you make a mistake and want to restart the round. You can use a lot of different things for stitch markers including stitch markers specifically designed for crochet, paper clips, or even yarn of a different color. Buy on Amazon
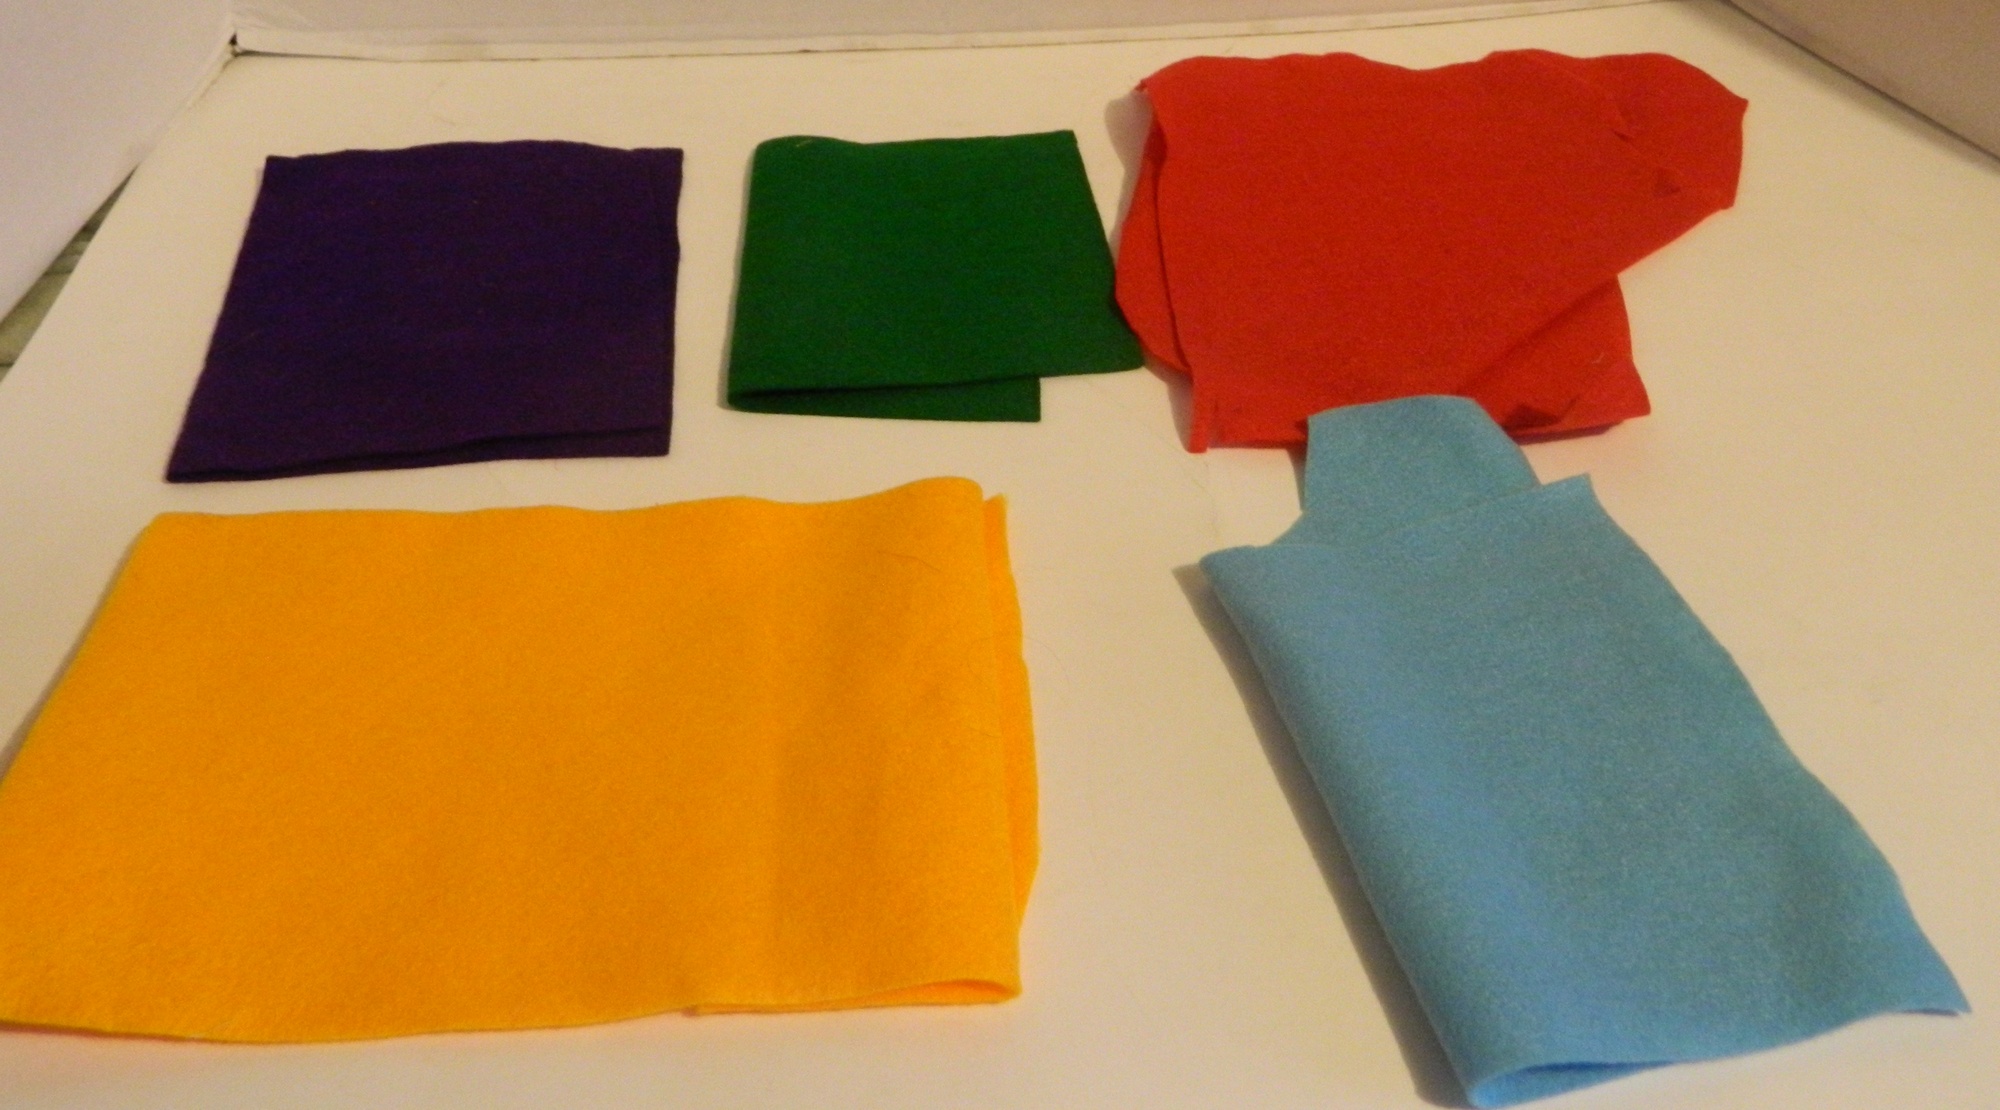
Felt: Felt is not needed for every project. Felt is a good alternative if you need to add little details to a creation which will be too hard to crochet or sew on. Buy on Amazon

Safety Eyes: If you are creating something that has eyes, you may want to consider using safety eyes to add eyes to your creation. Most safety eyes are small circular plastic pieces that you insert into a piece and then quickly fasten into place. Buy on Amazon
Other Accessories: Depending on what you are making you may need other accessories or craft materials for different cosmetic touches you want to add to your amigurumi creation.
Learning How to Crochet
Learning how to crochet may look intimidating at first. There are so many different stitches. Most people who crochet have been crocheting for years. You might think to yourself that it doesn’t pay to spend so much time learning something that you might not even like. The good news is that while there is a lot of different things that you can learn (there is a lot that I have yet to learn), to get started you don’t have to learn that much. While this guide is not exhaustive and I am far from a crochet expert, I hope it is a good start towards learning how to crochet and being able to create your own amigurumi creations.
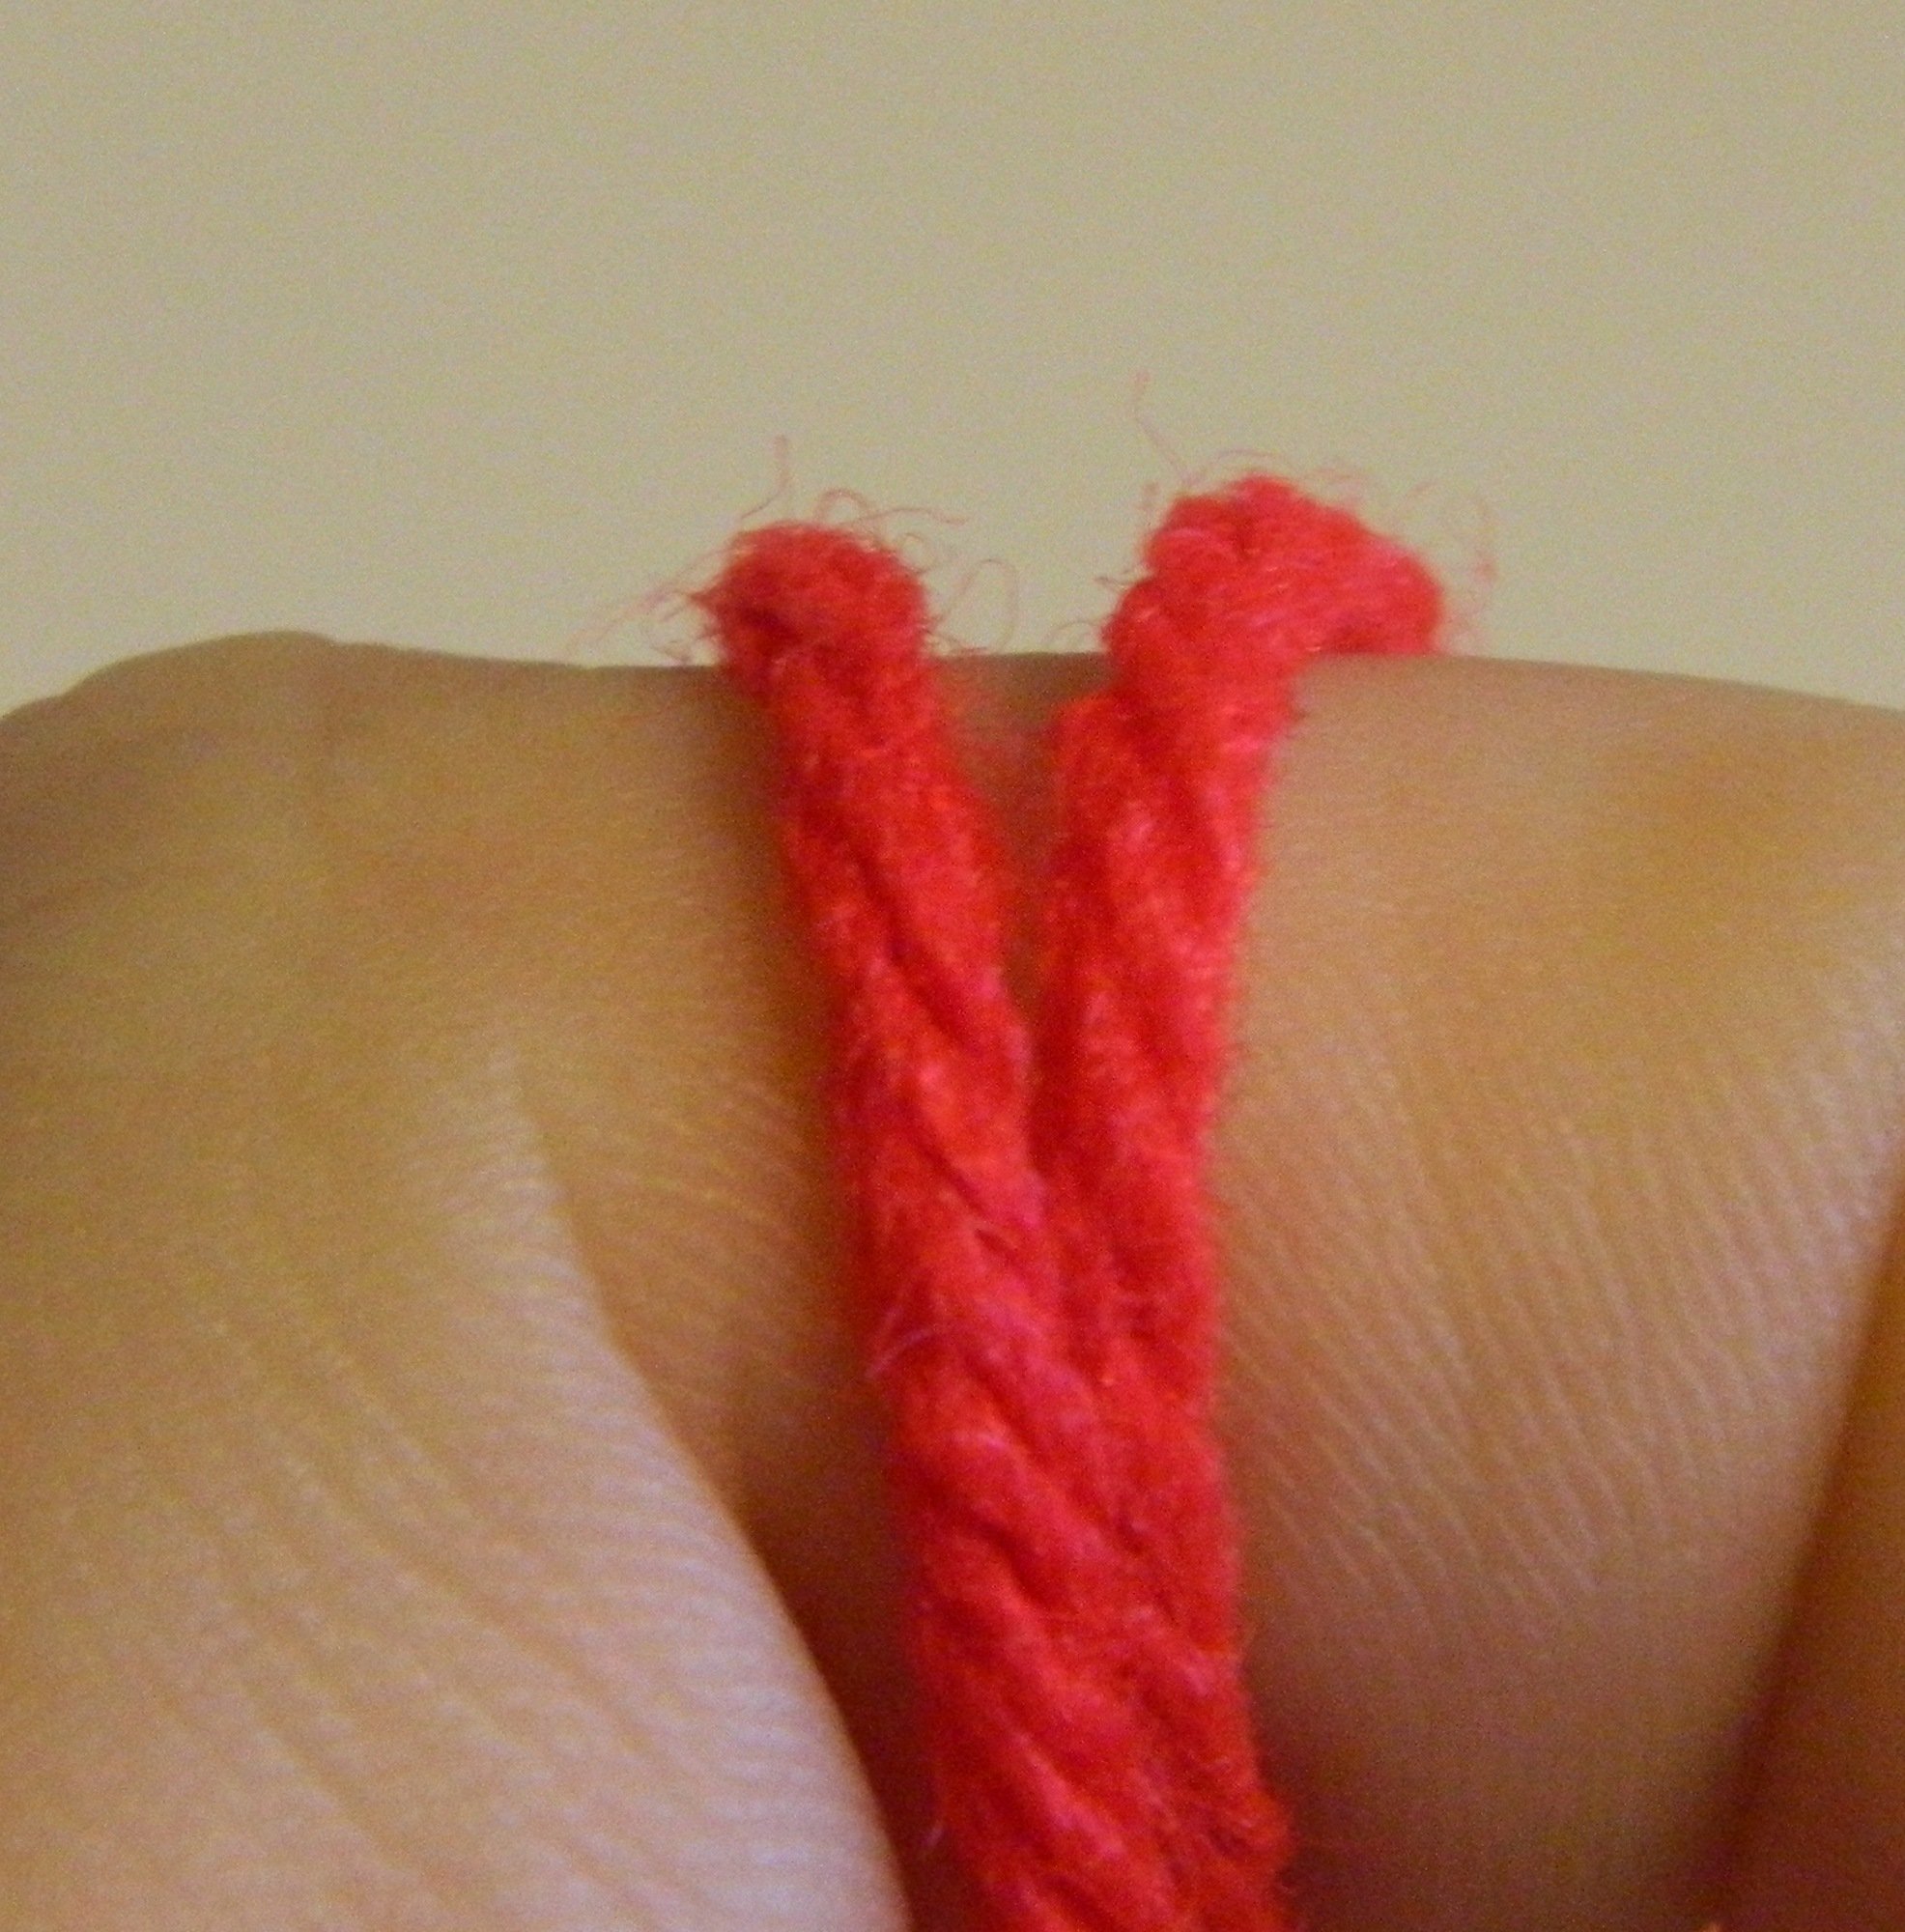
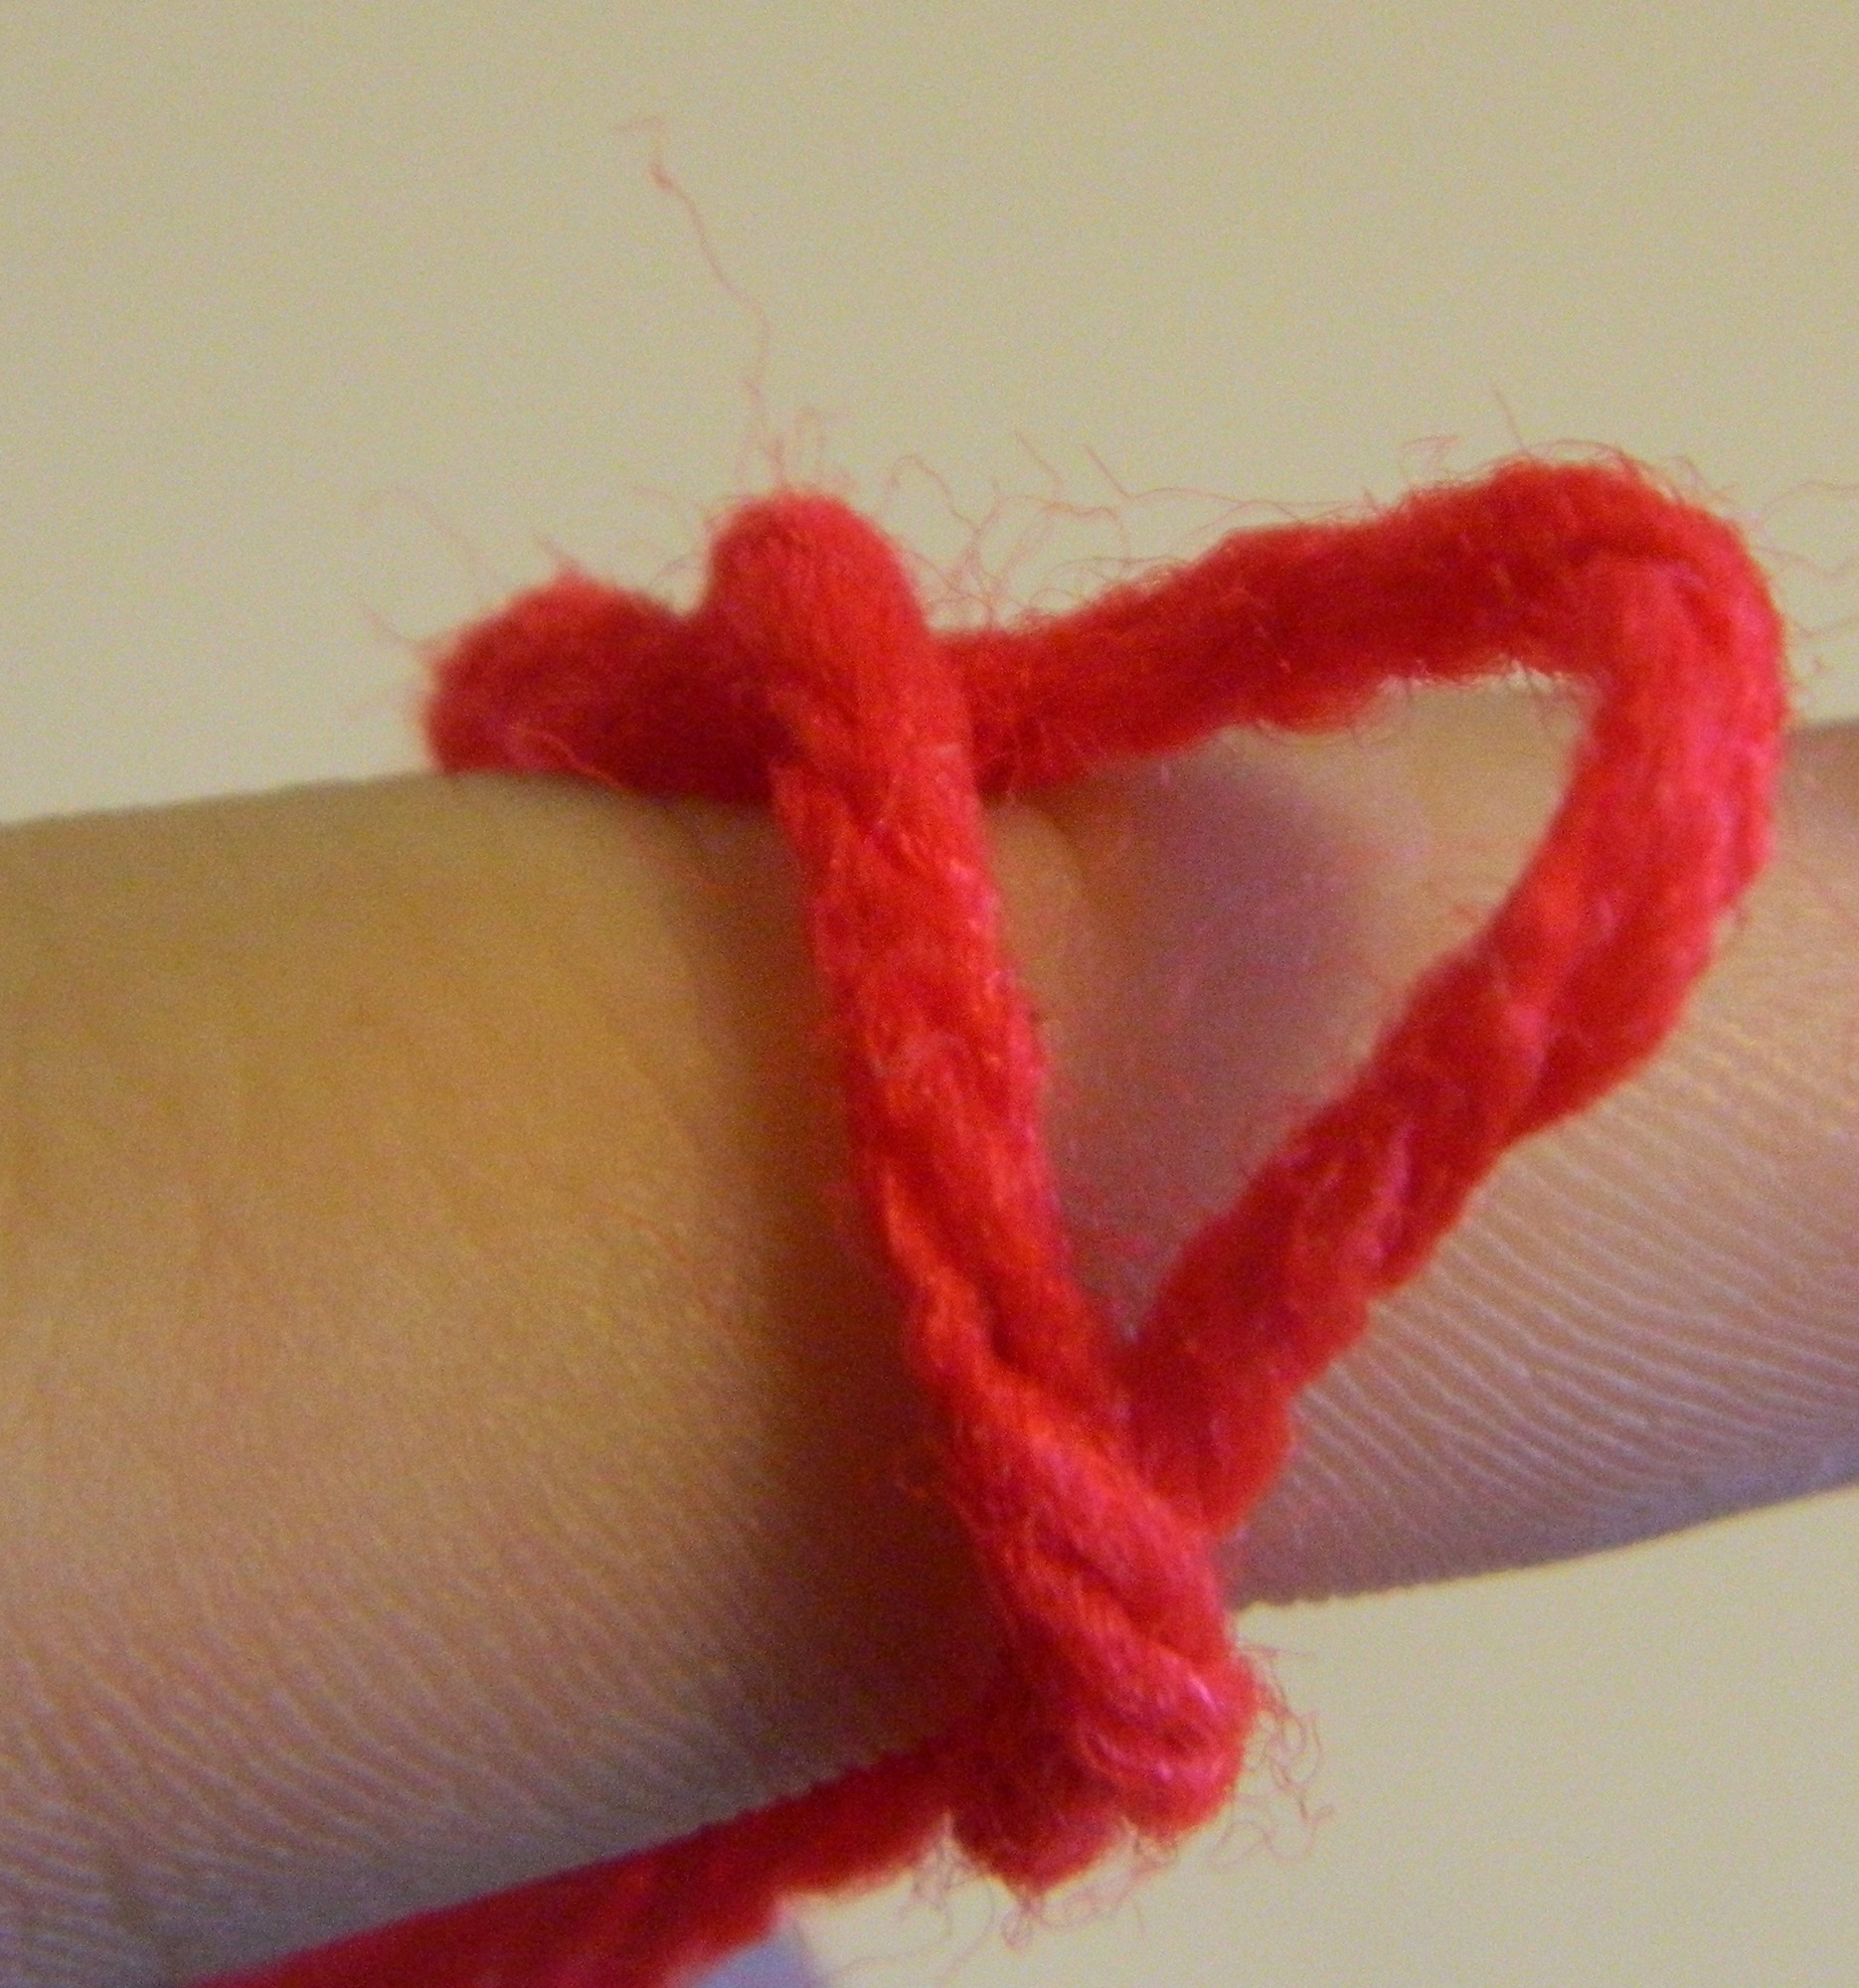
All pieces of crochet begin with a slipknot. A slipknot is basically the first loop that you will use to start each piece of crochet. An easy way to create a slip knot is to wrap the yarn around one of your fingers.
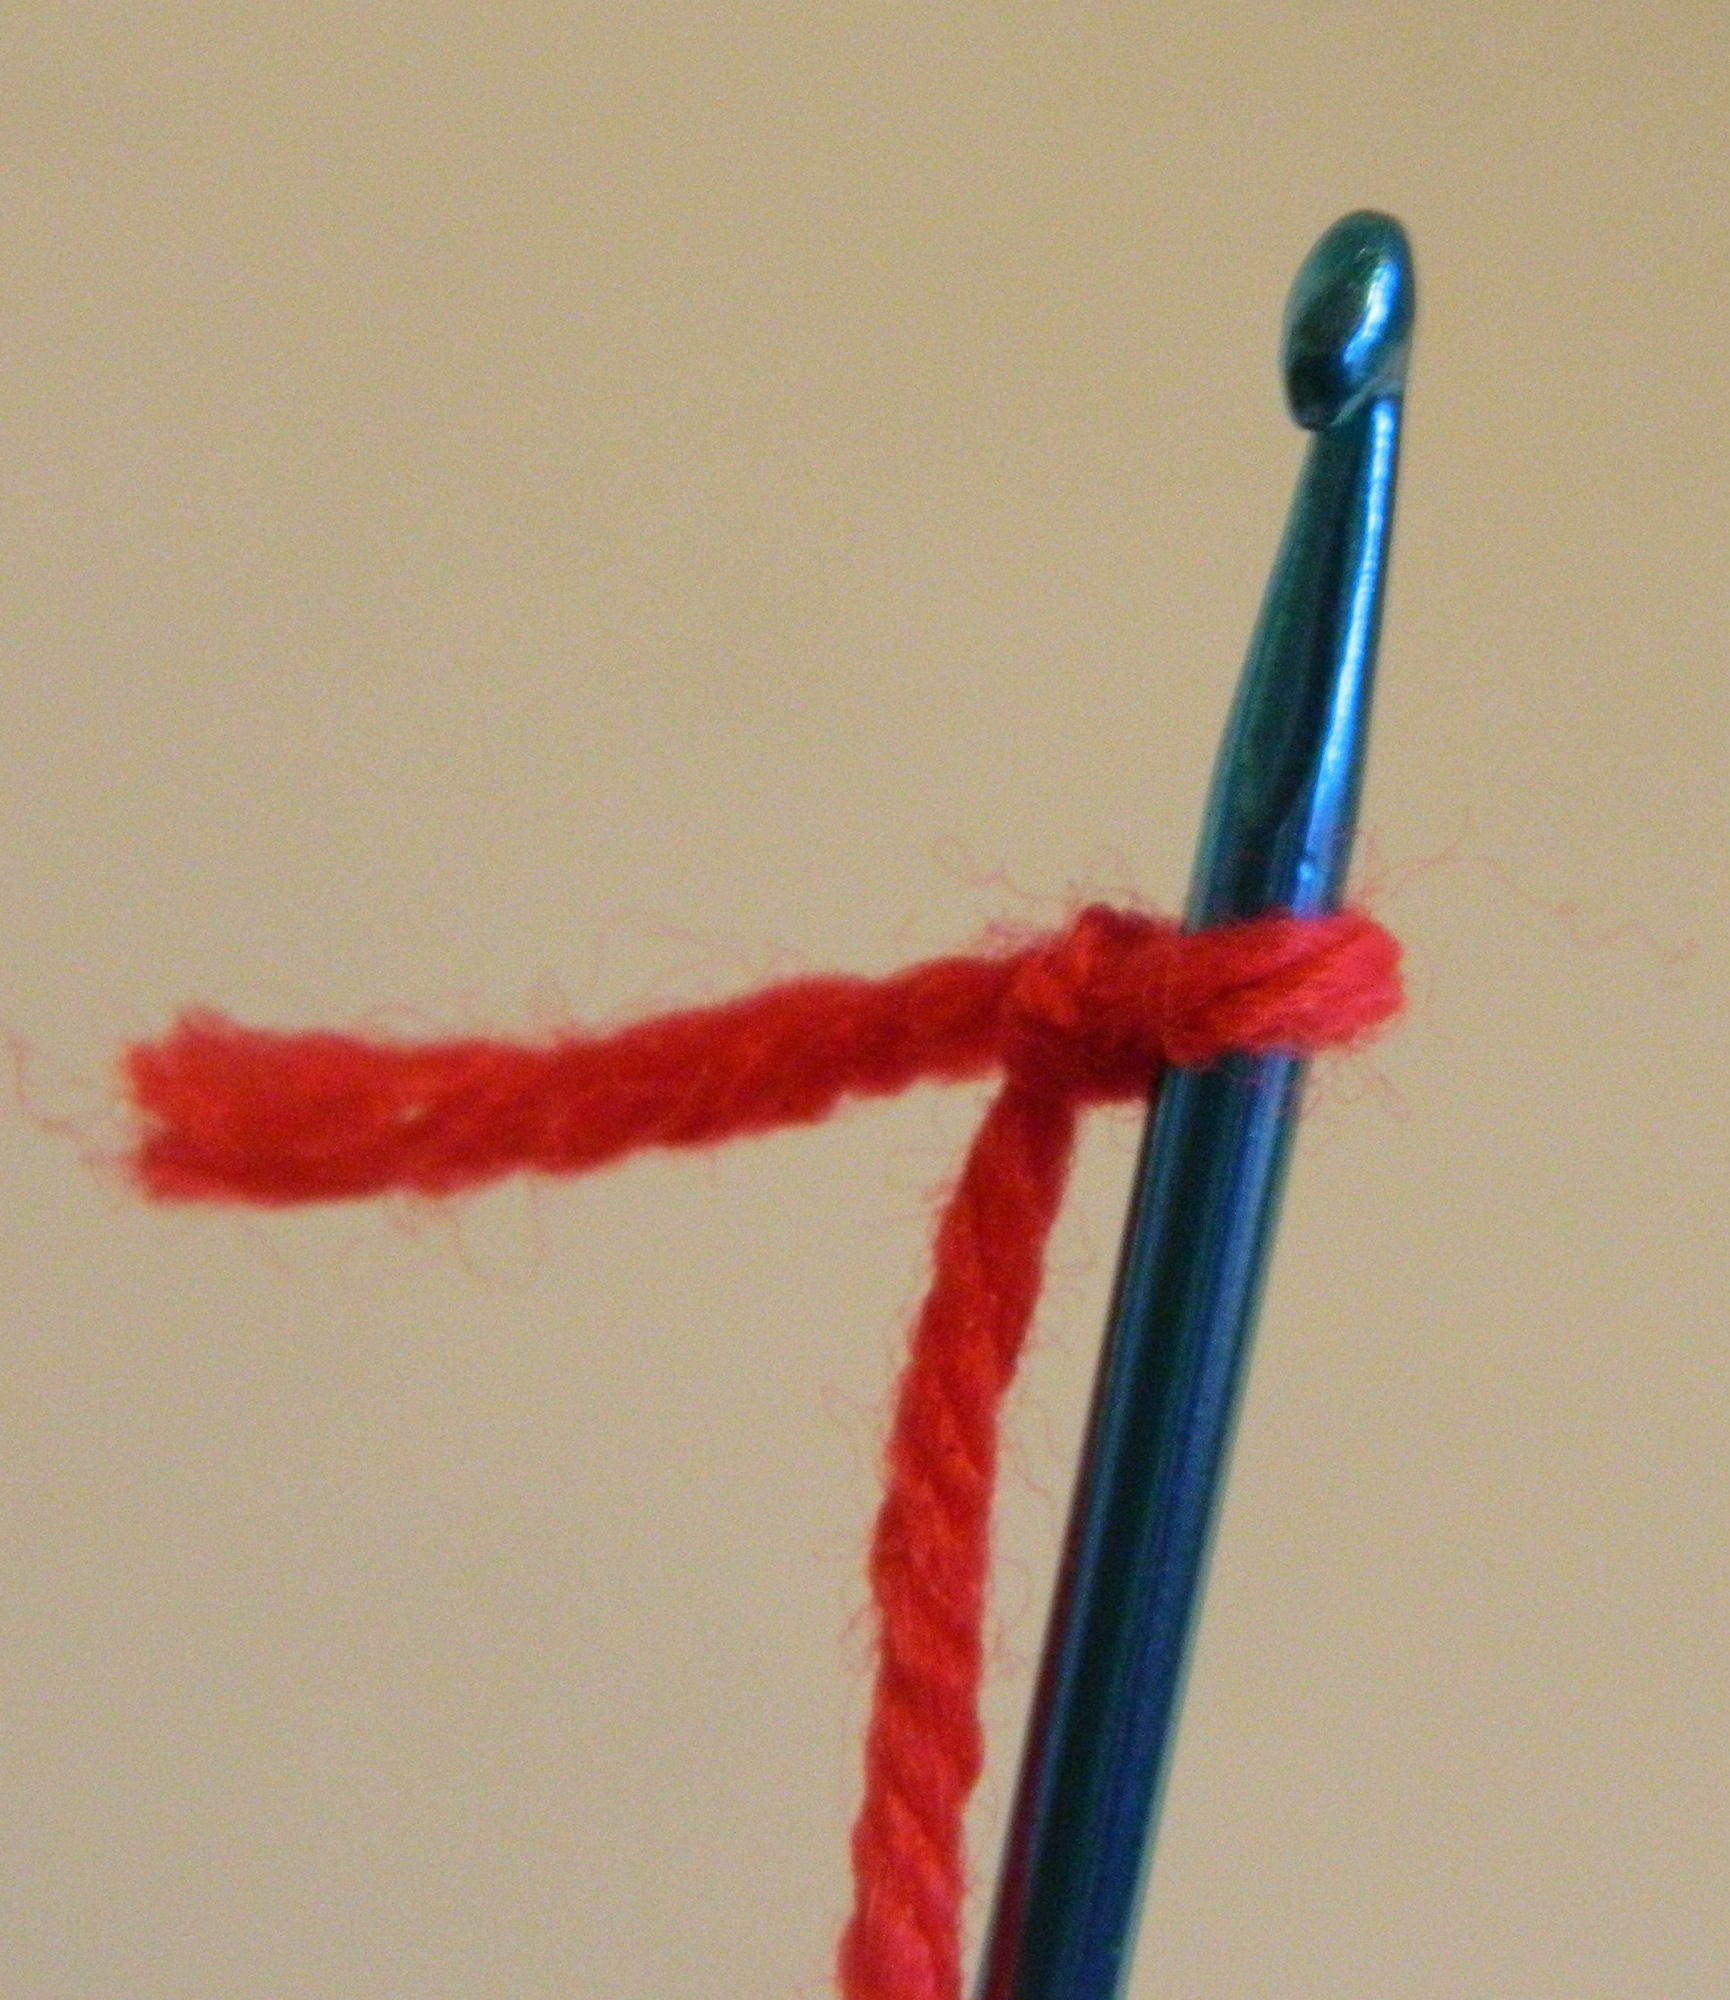
Once you have made one loop around your finger, grab the yarn and pull it under the loop around your finger.
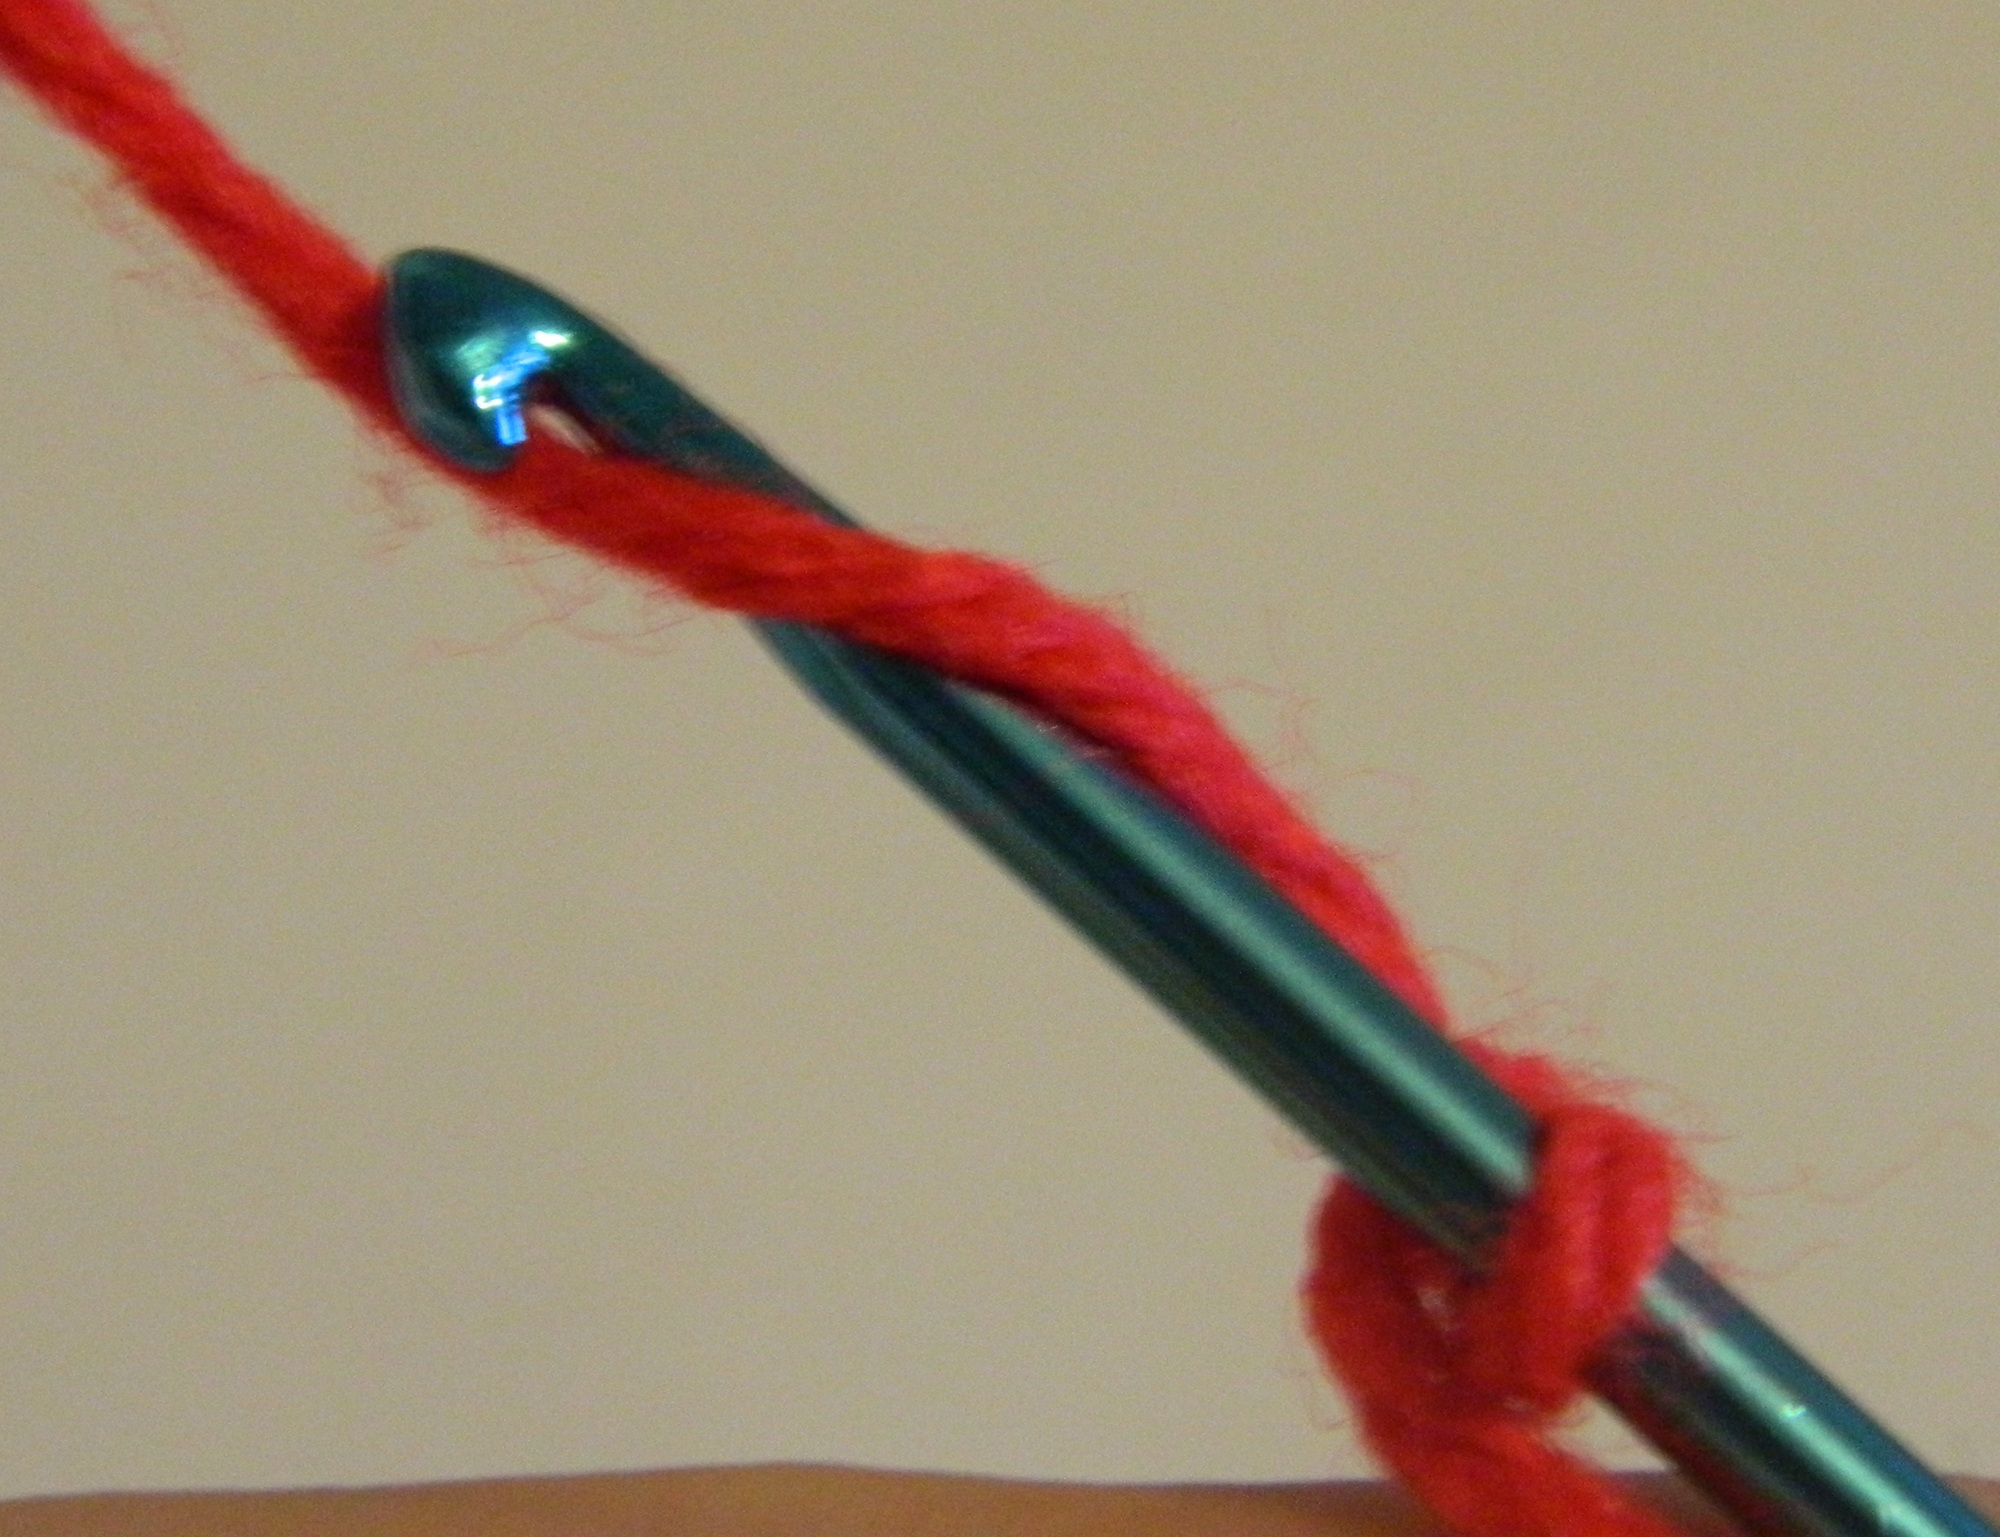
Insert your crochet hook into the loop and pull the loop tight around your crochet hook.
You have now successfully completed your first slipknot and are ready to begin crocheting.
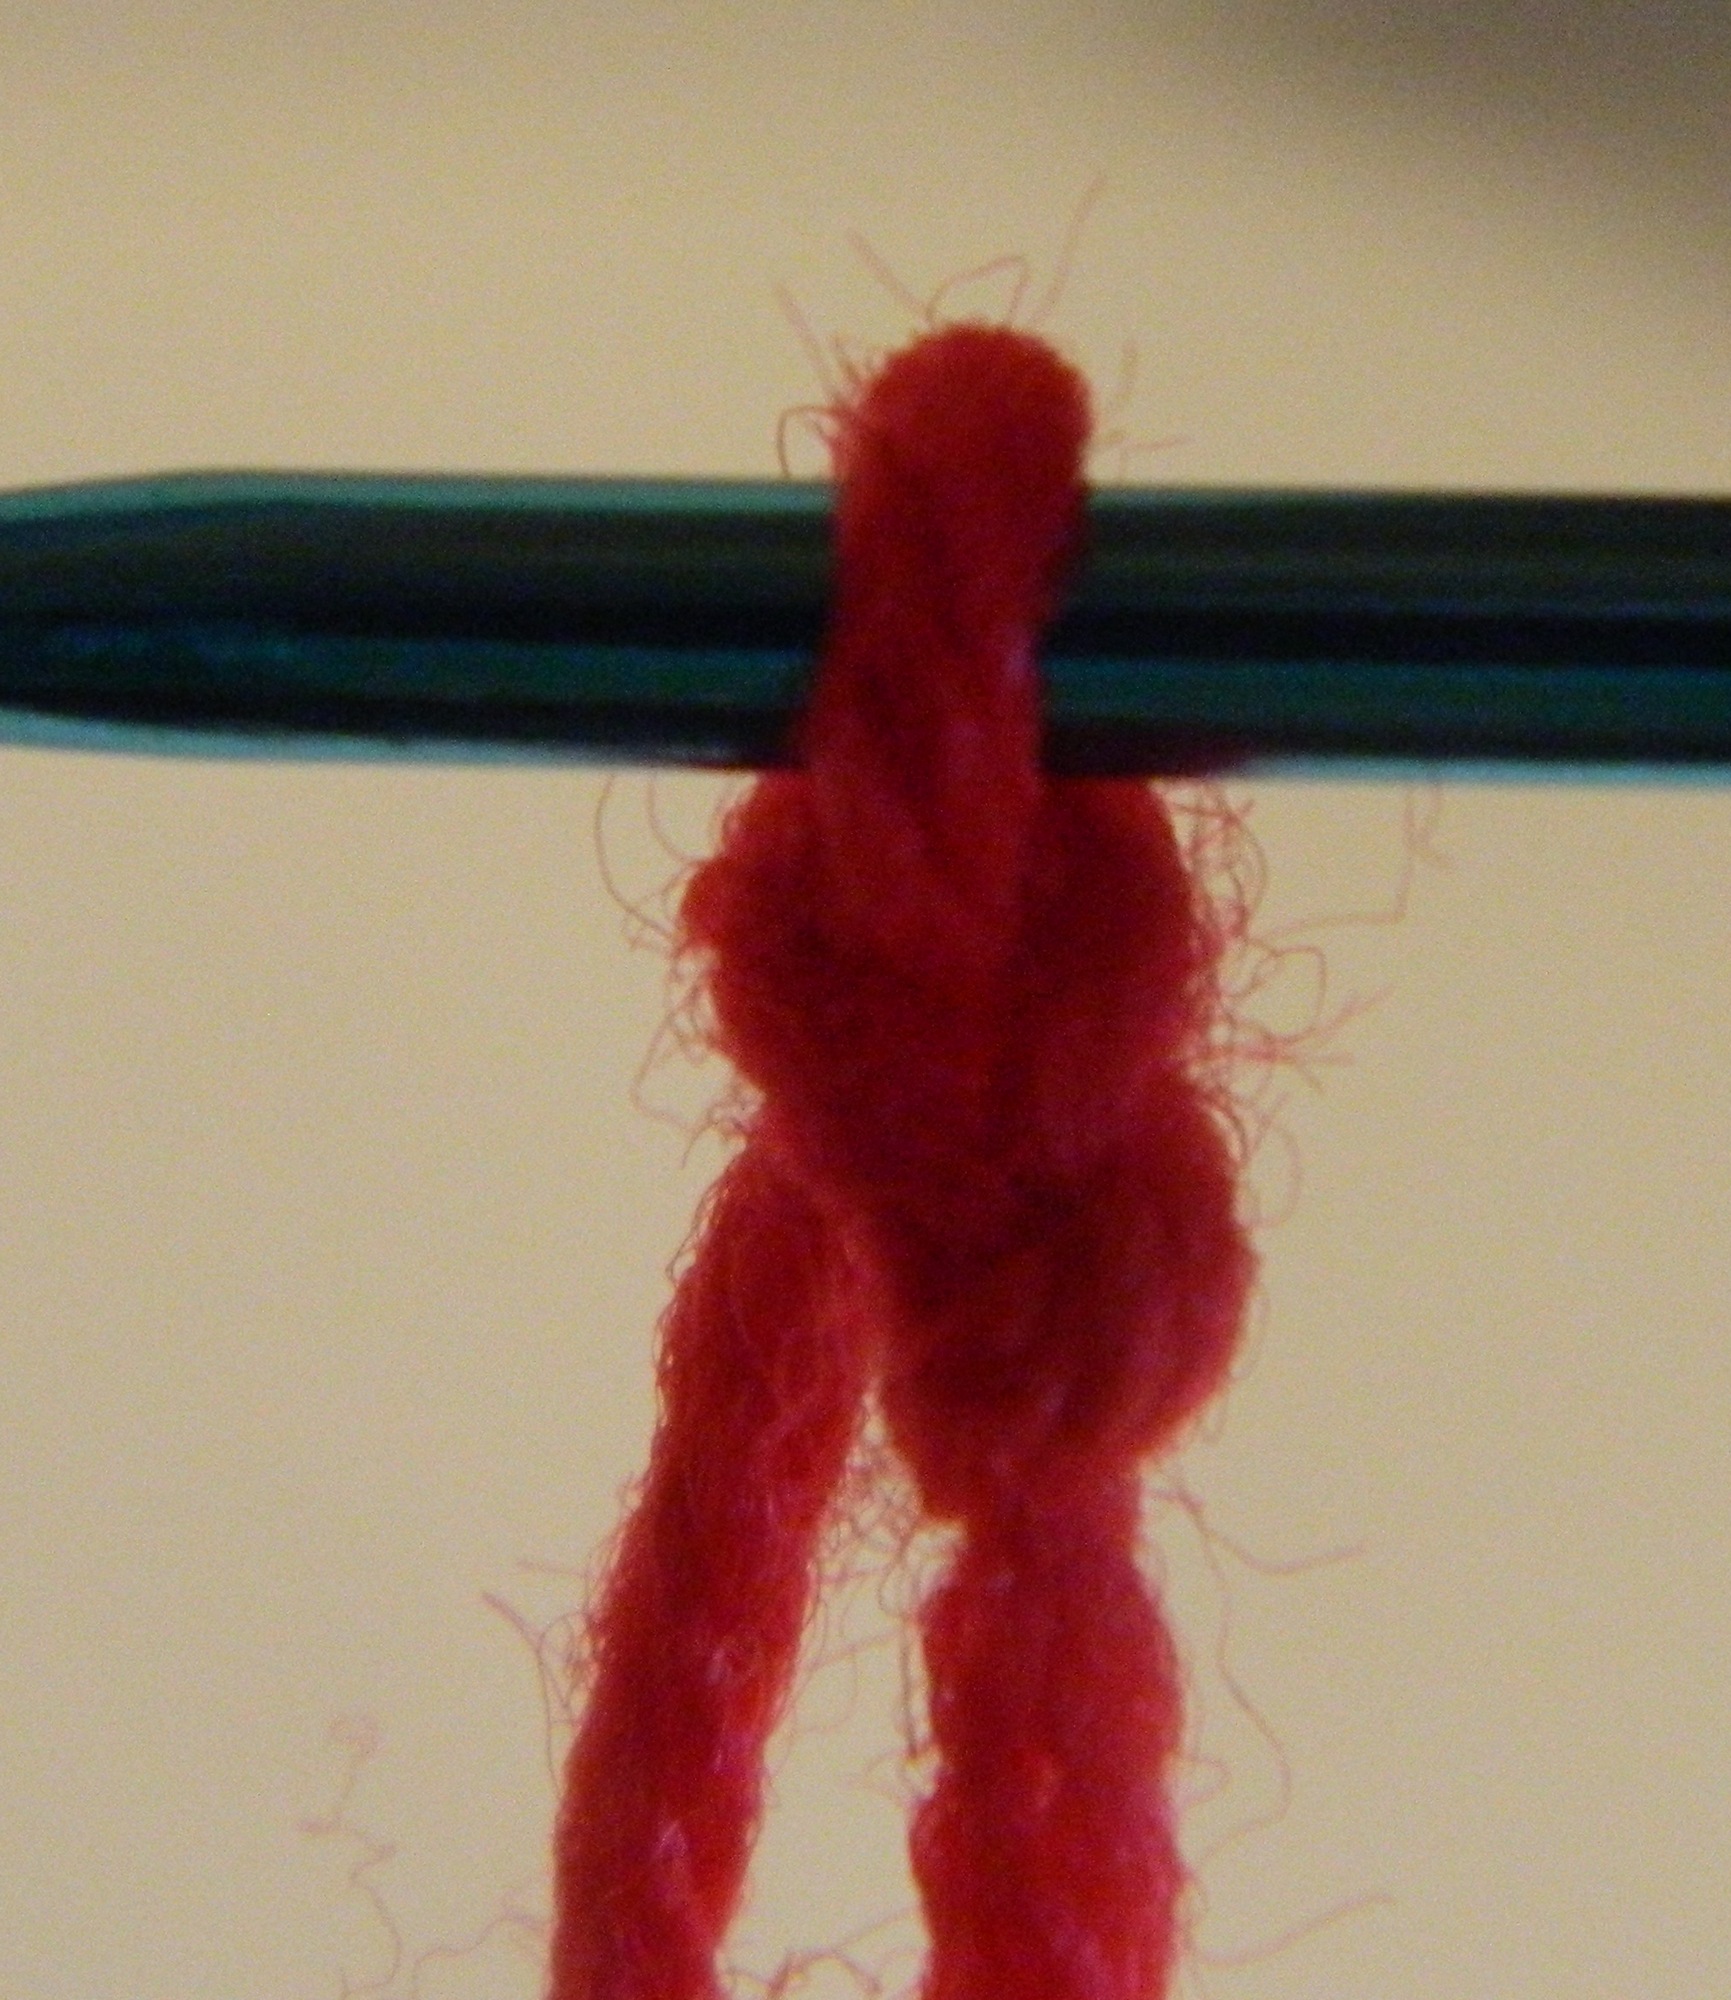
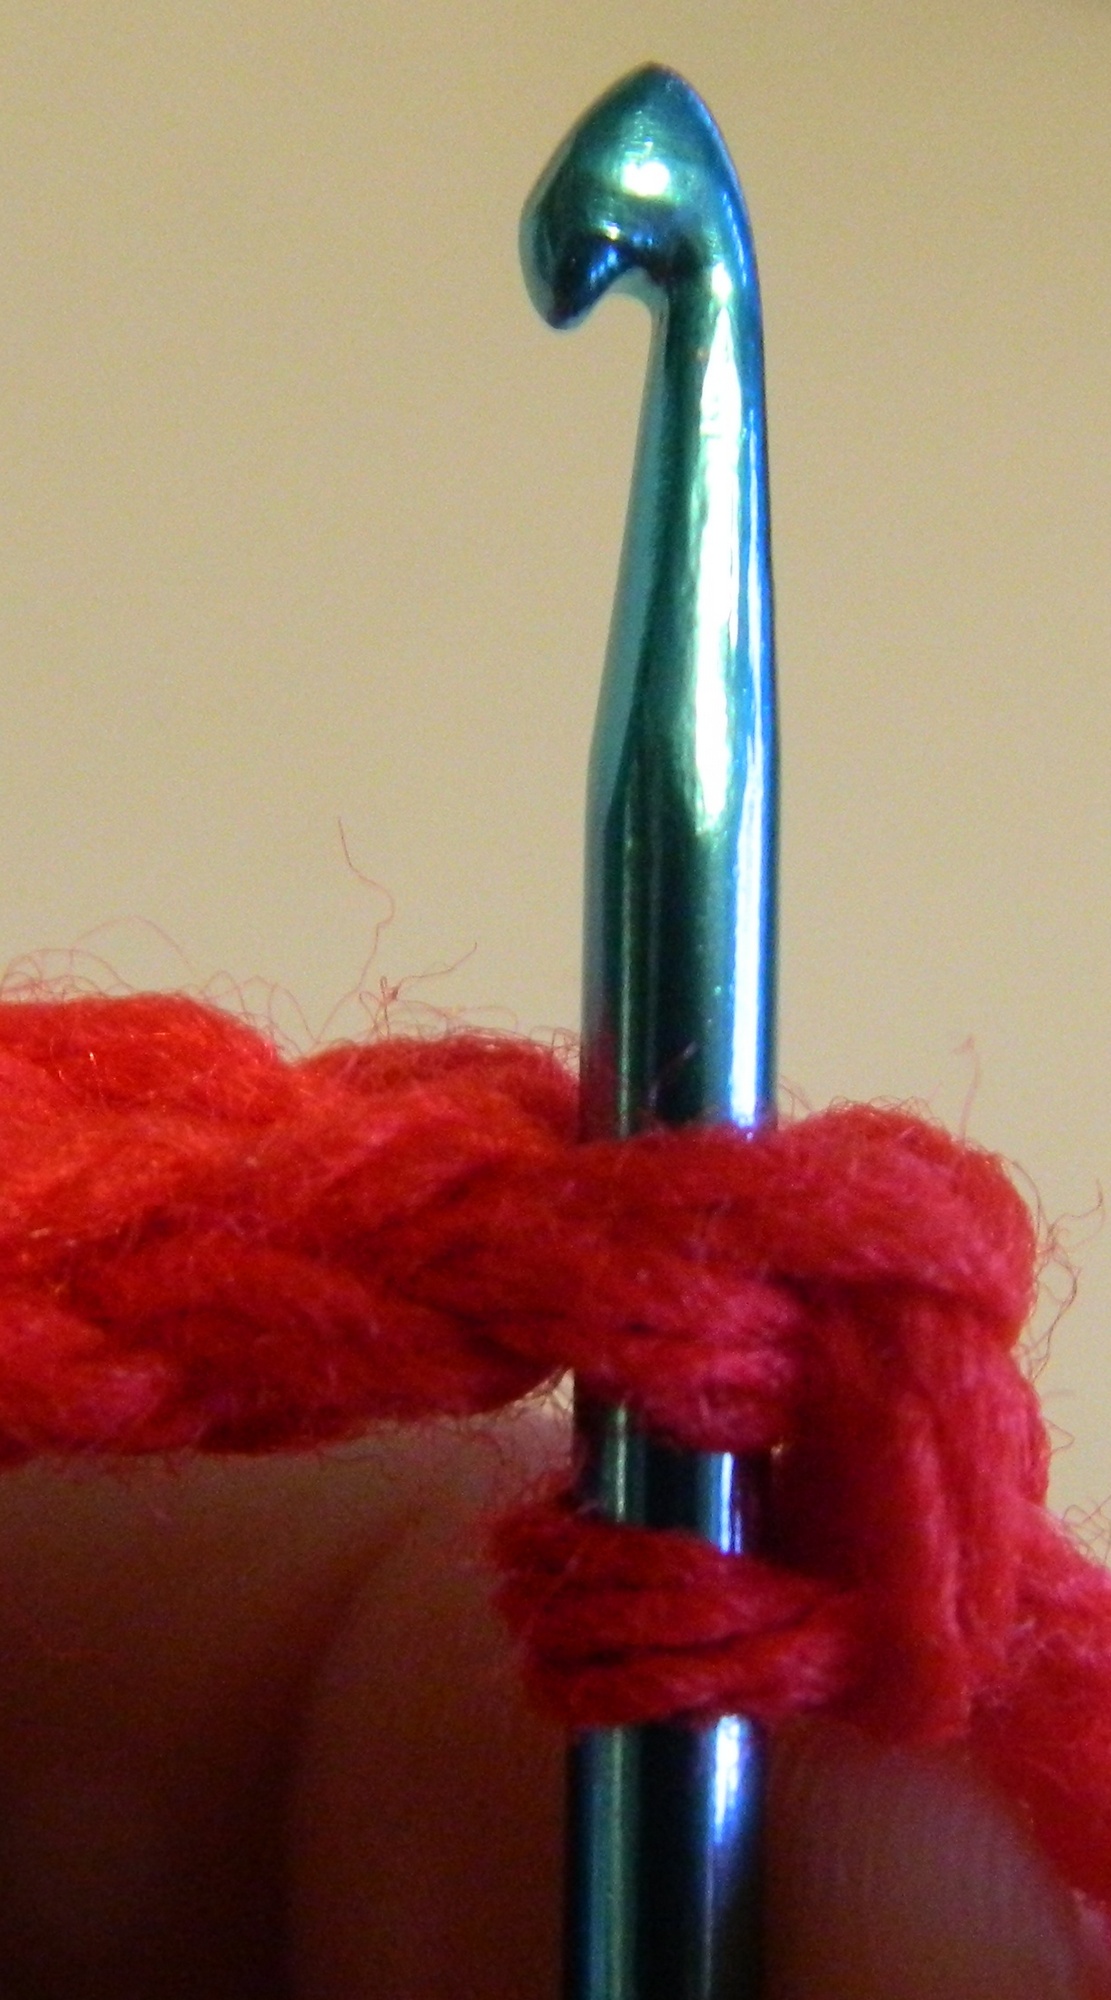
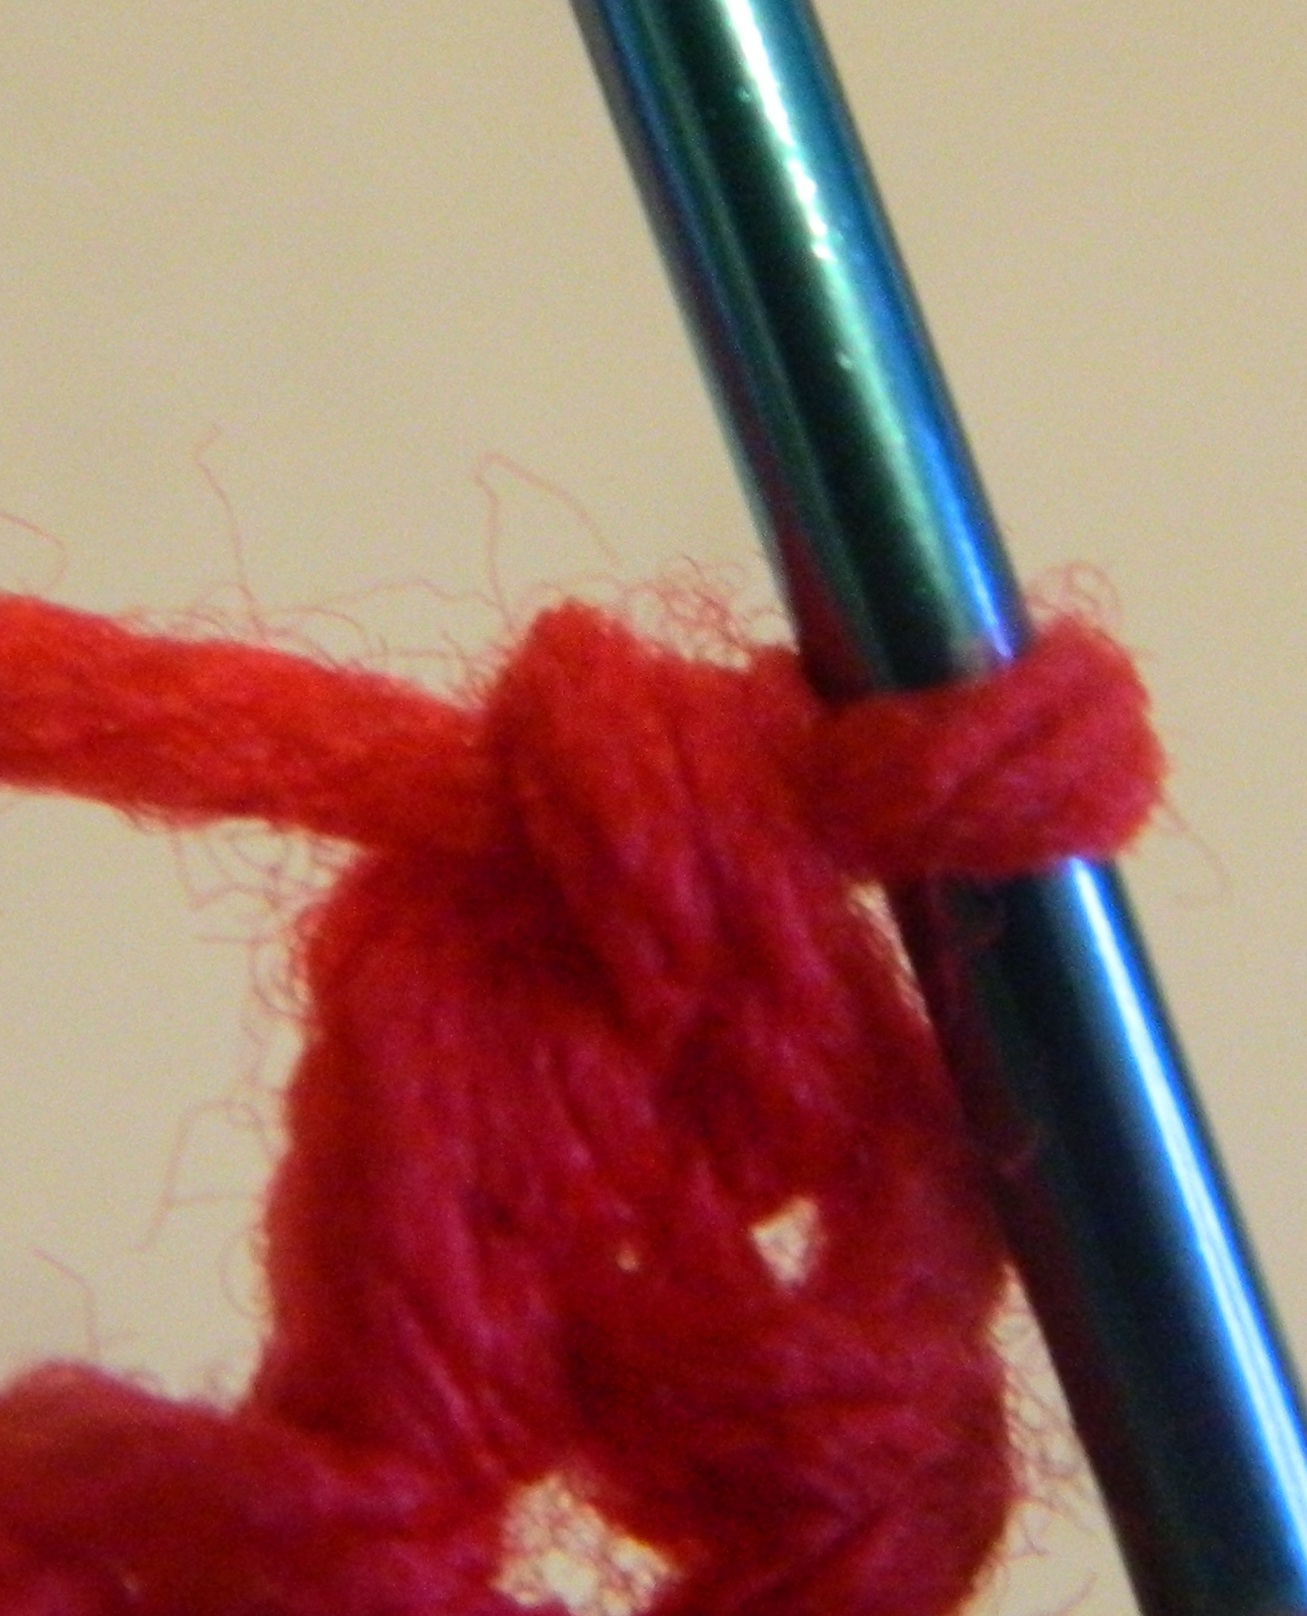
An important concept in crochet is the idea of yarn over (YO) since almost every stitch in crochet uses yarn over. In order to yarn over wrap the yarn around the back of the crochet hook until it catches in the hook.
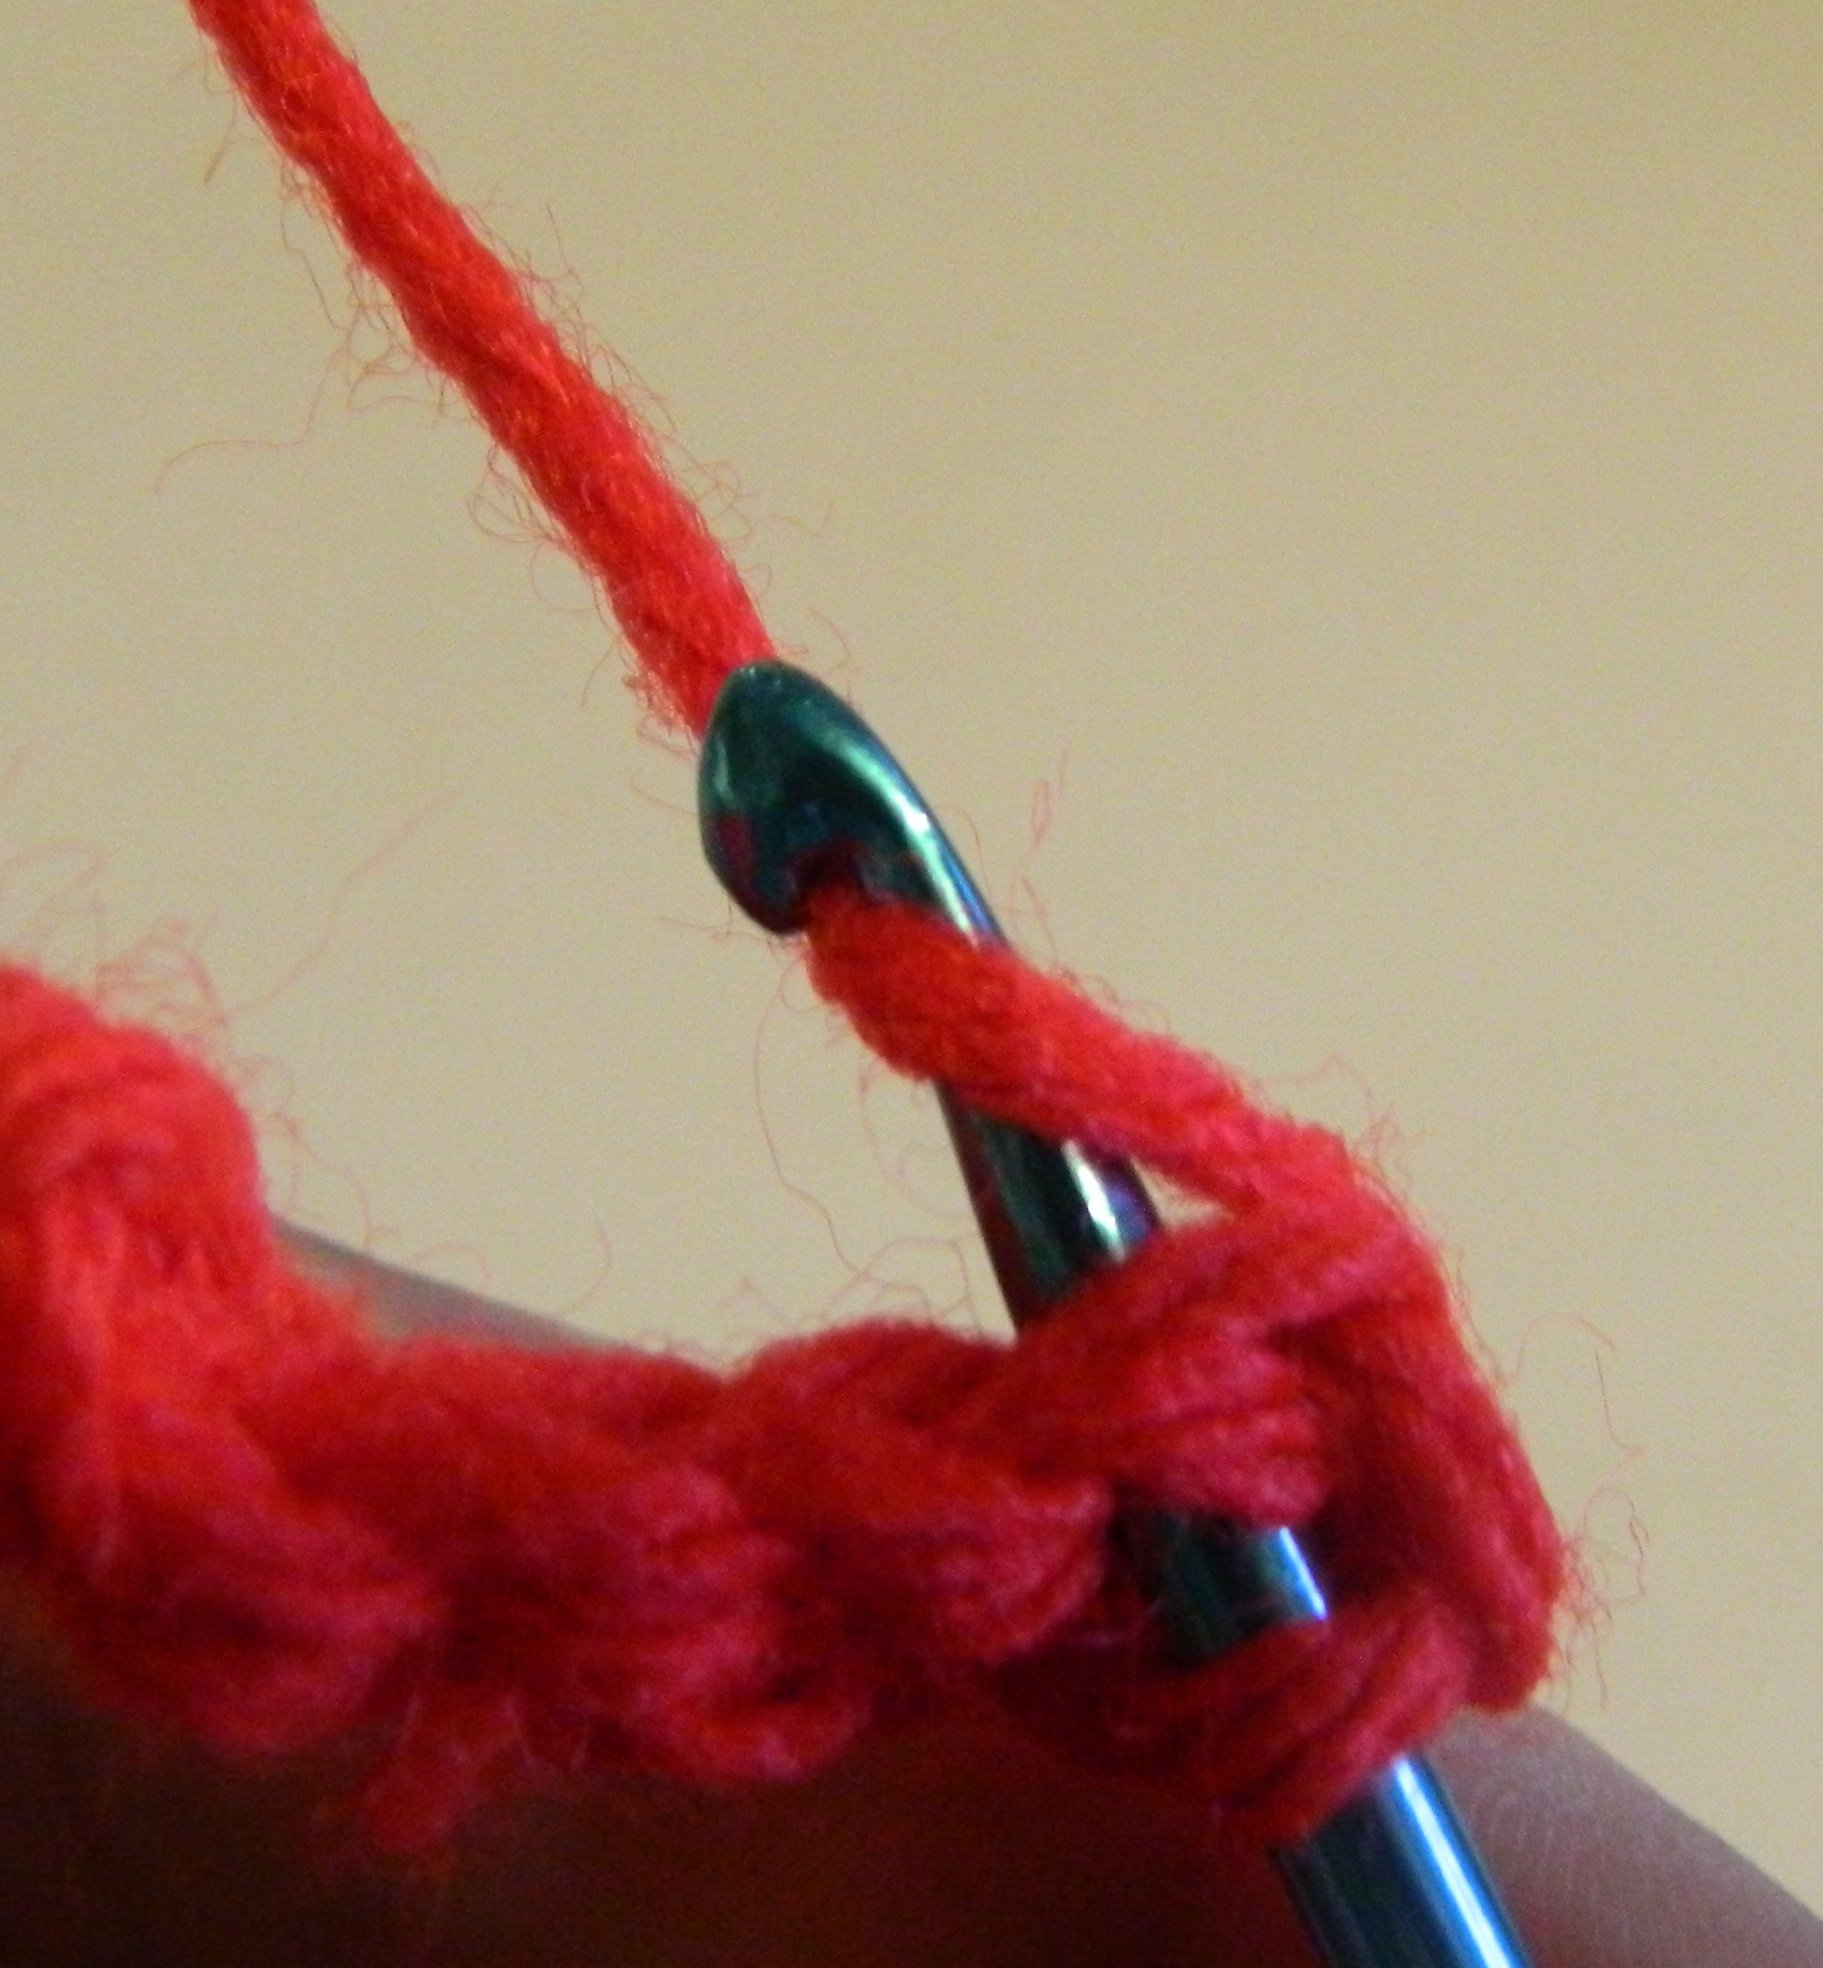
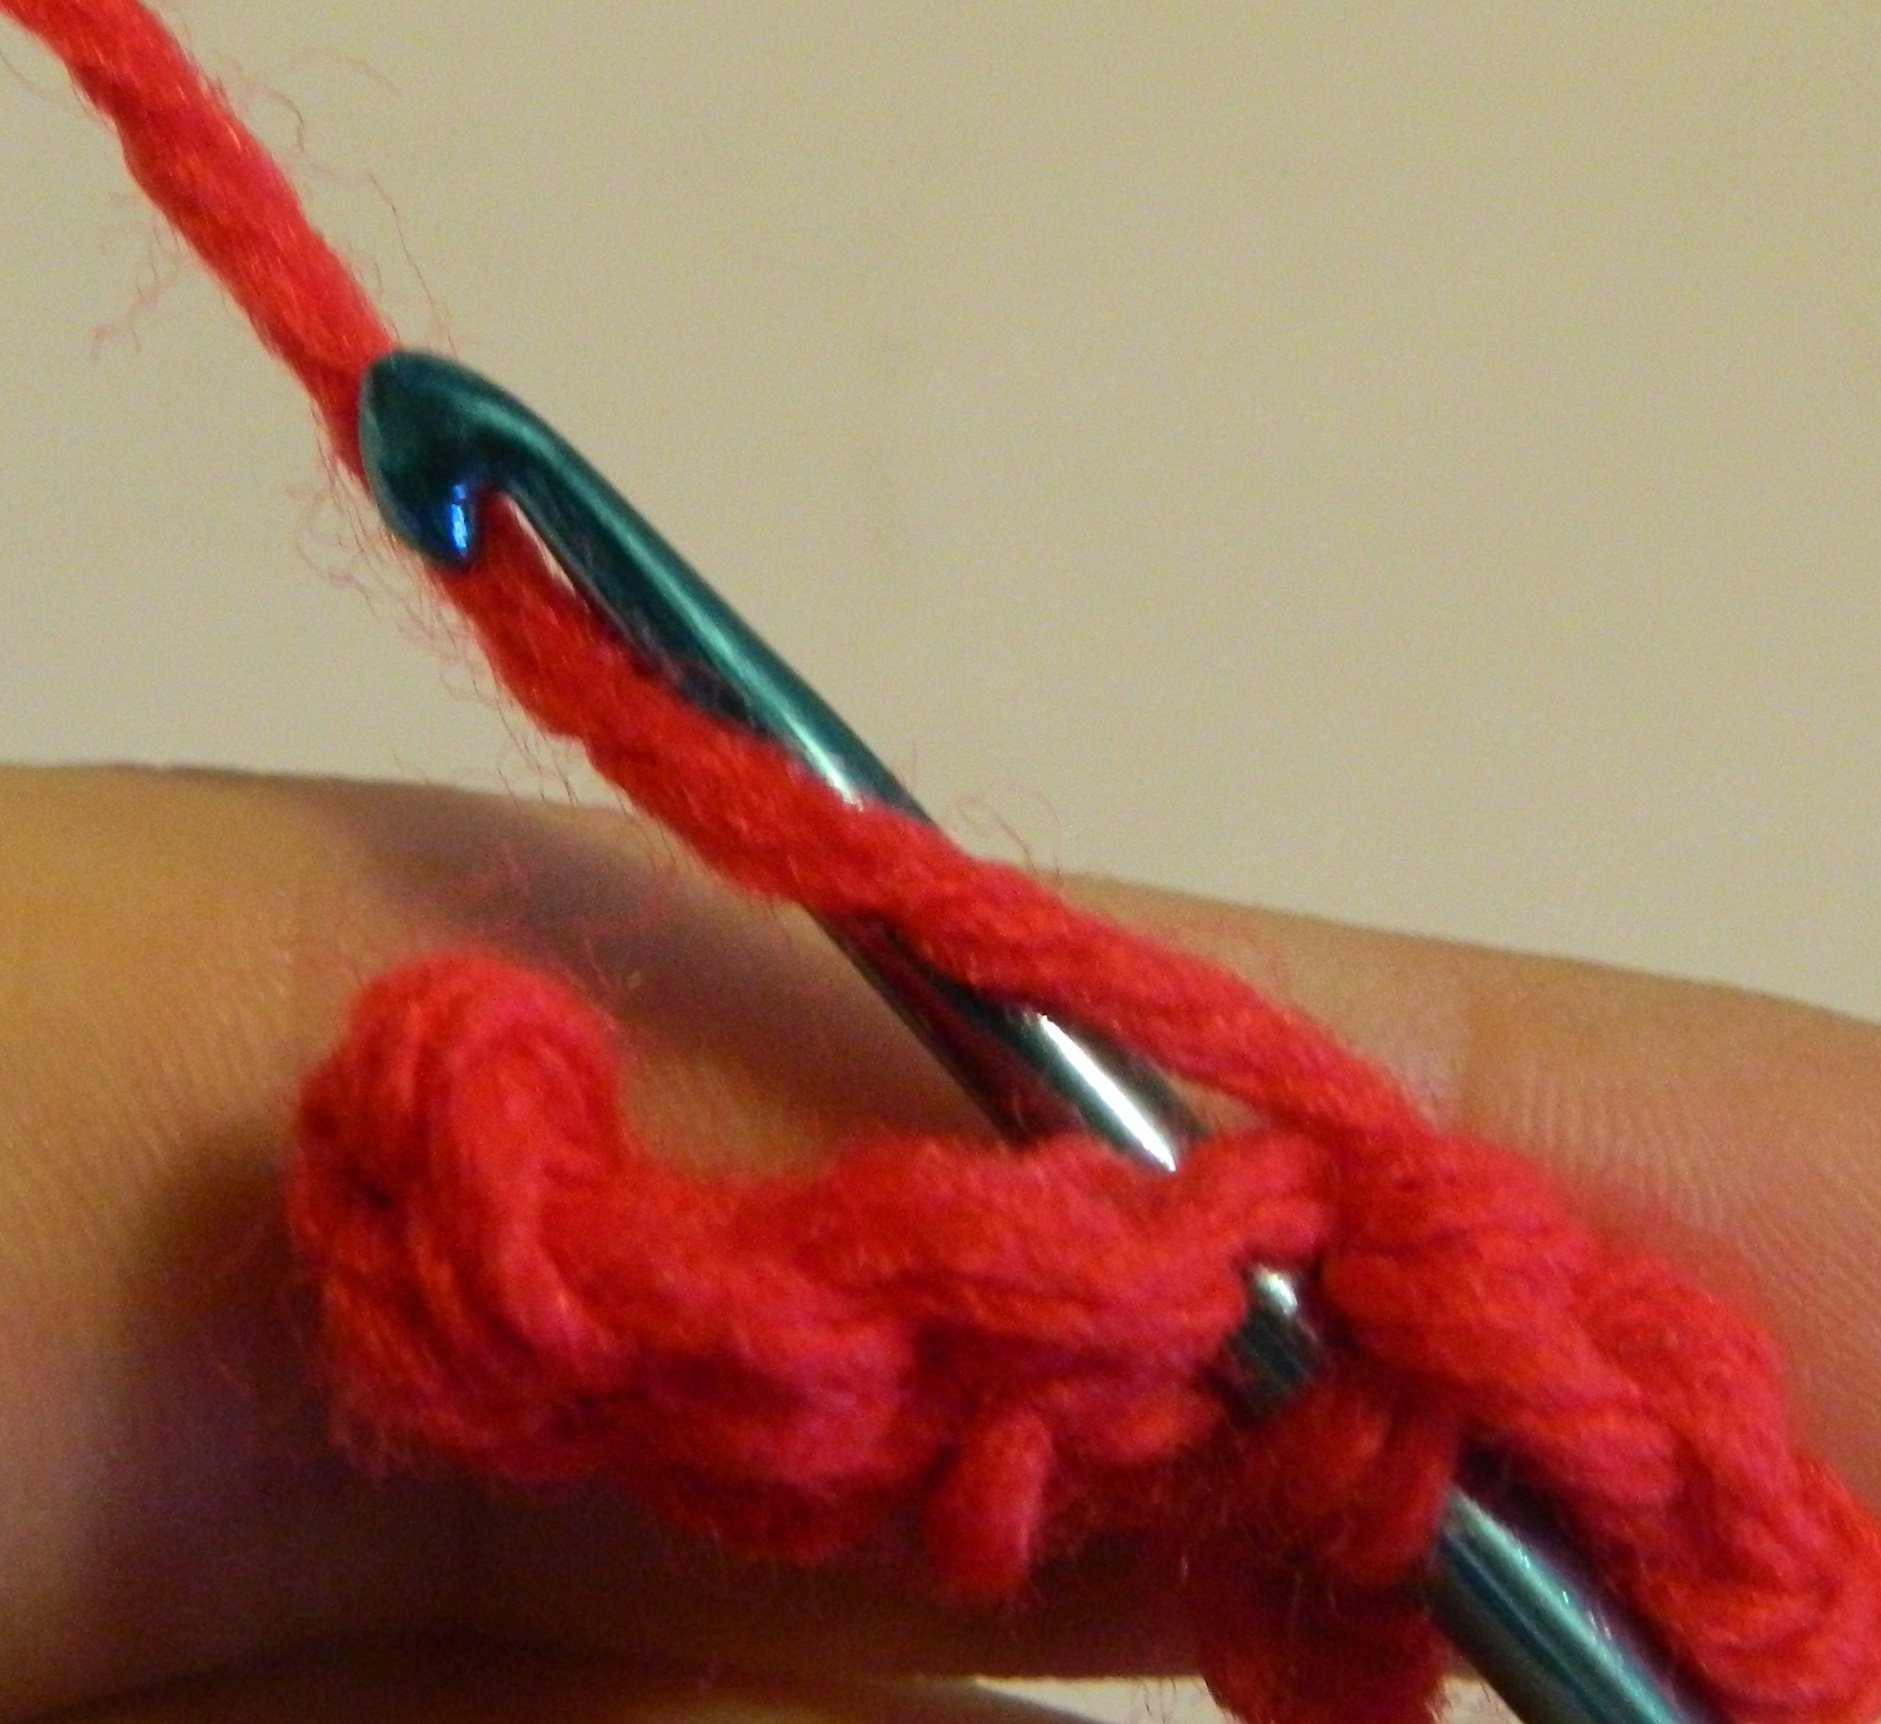
The first type of stitch you will regularly use in crochet is the chain stitch which is generally abbreviated as CH. To begin a chain stitch you start with a yarn over (YO). Once you have yarn over, pull the yarn through the loop that your crochet hook is currently in. You have completed your first chain stitch.
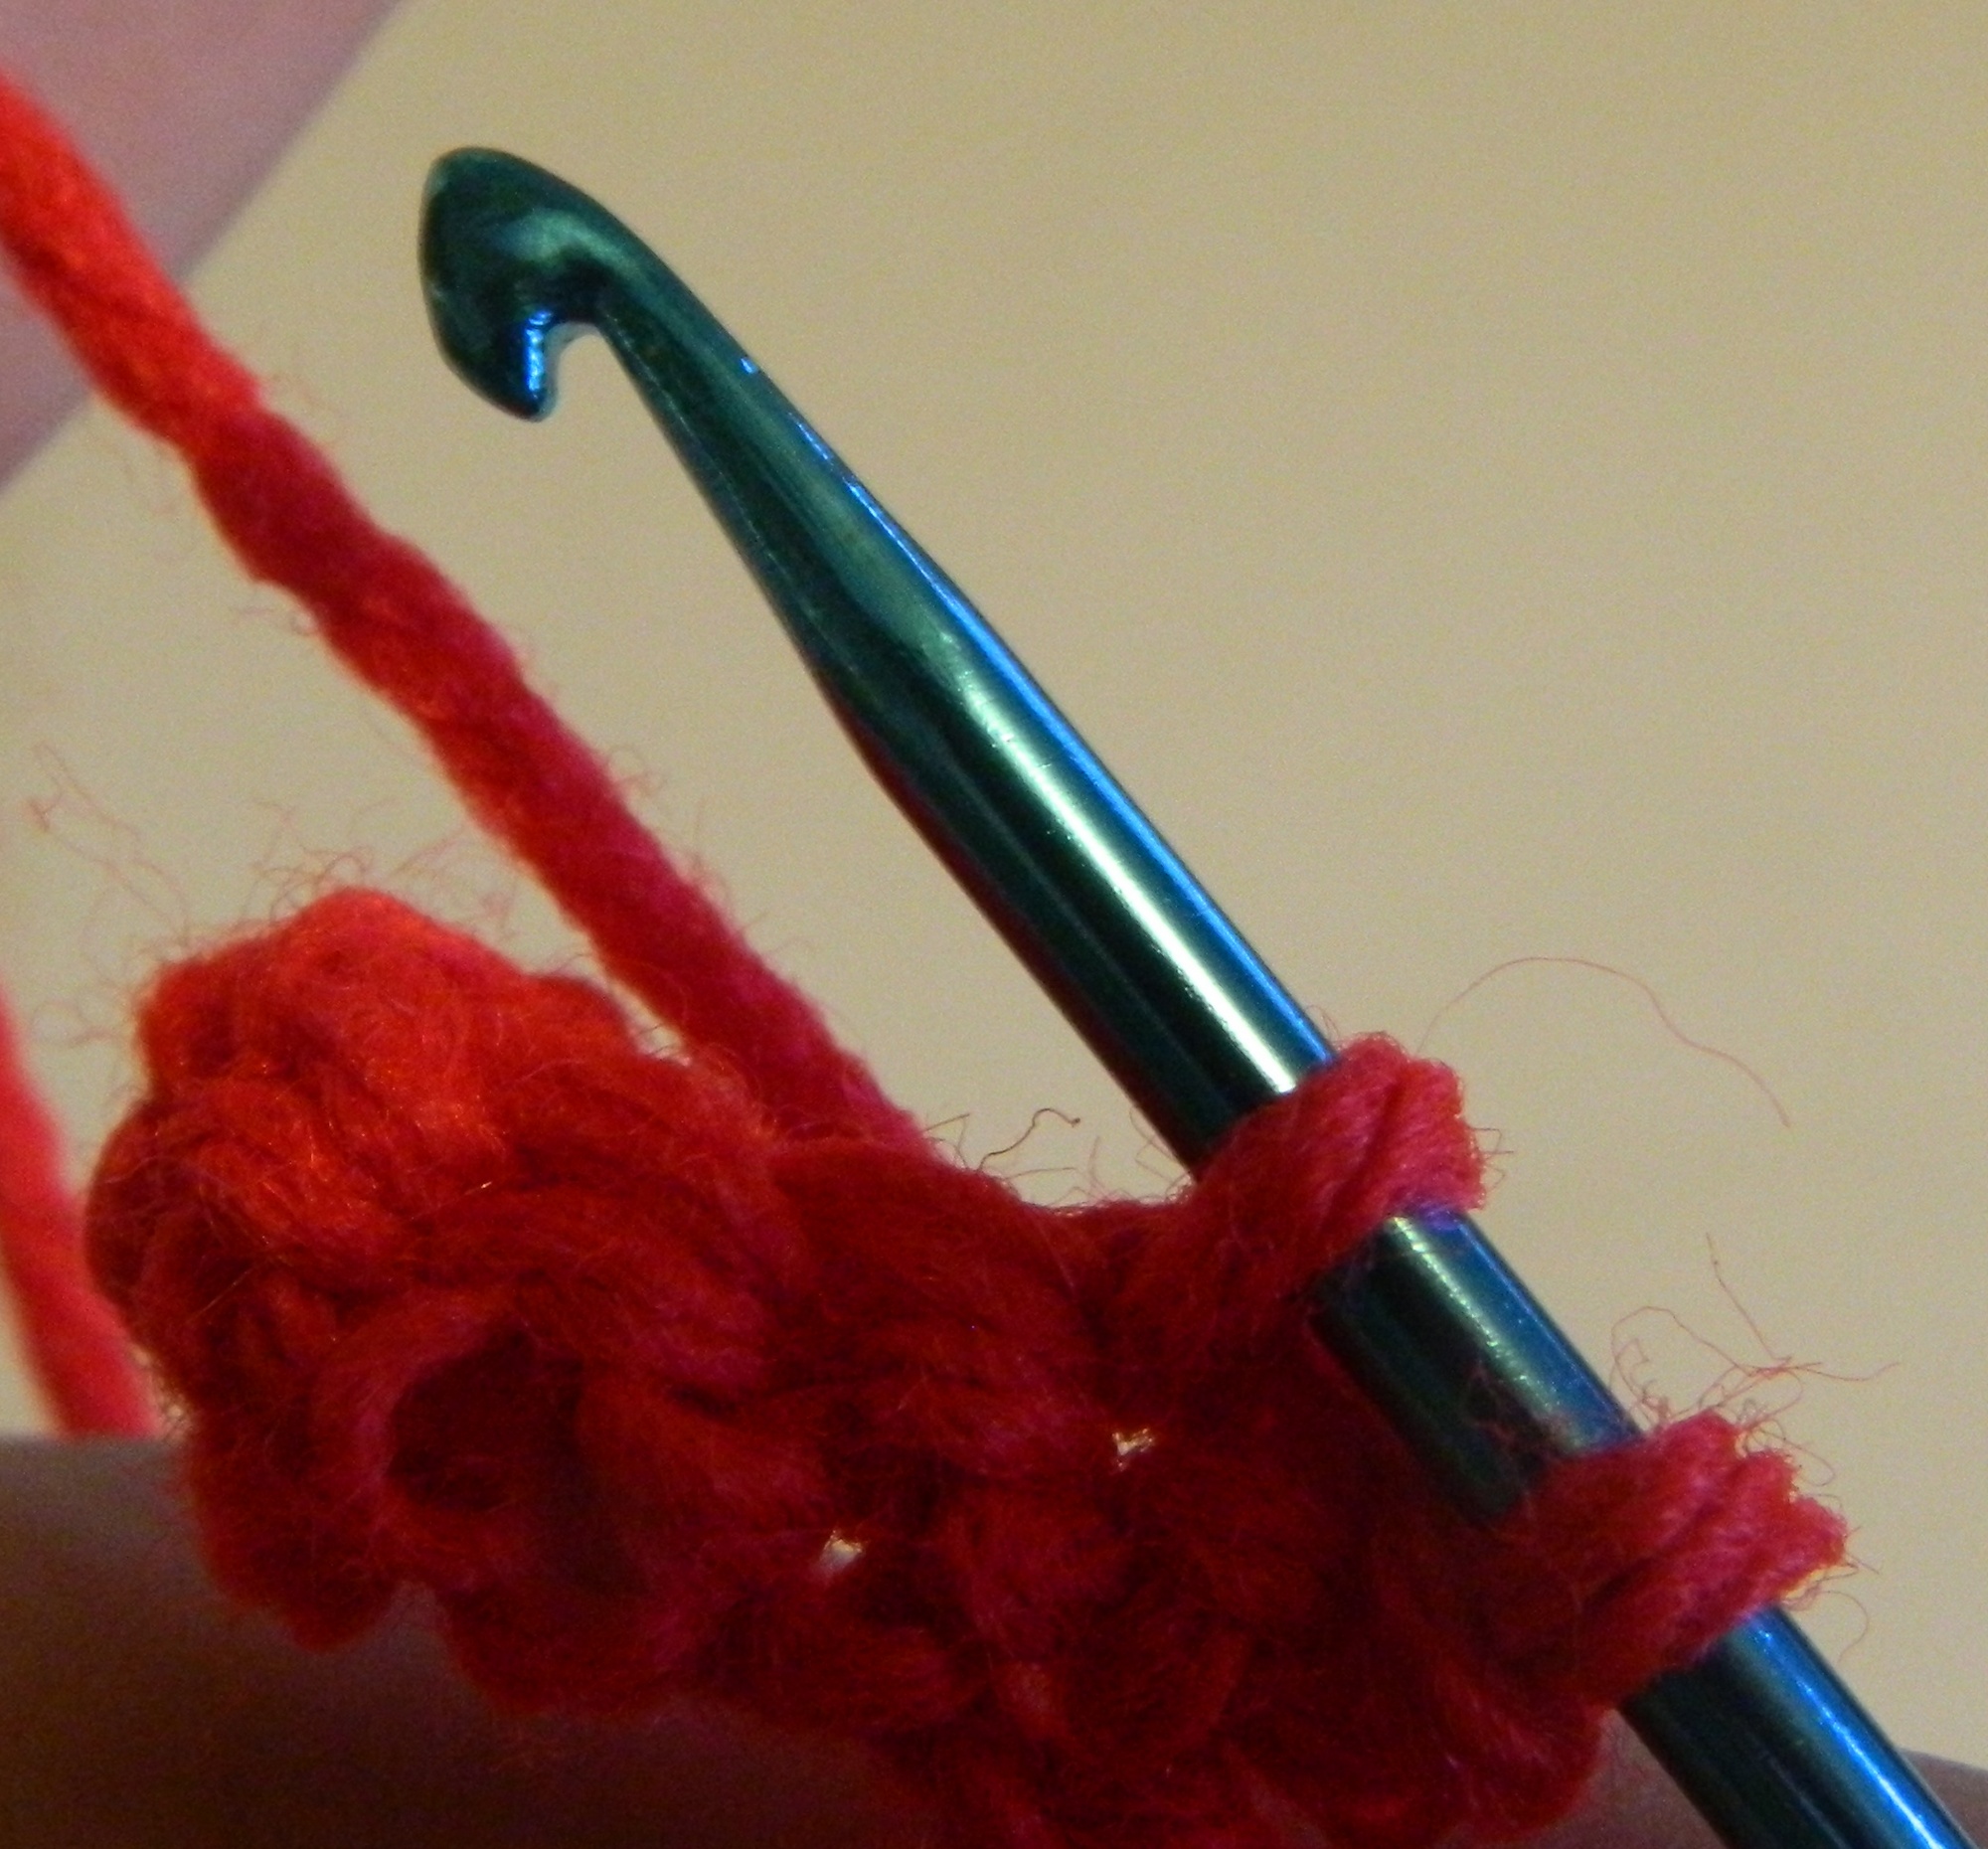
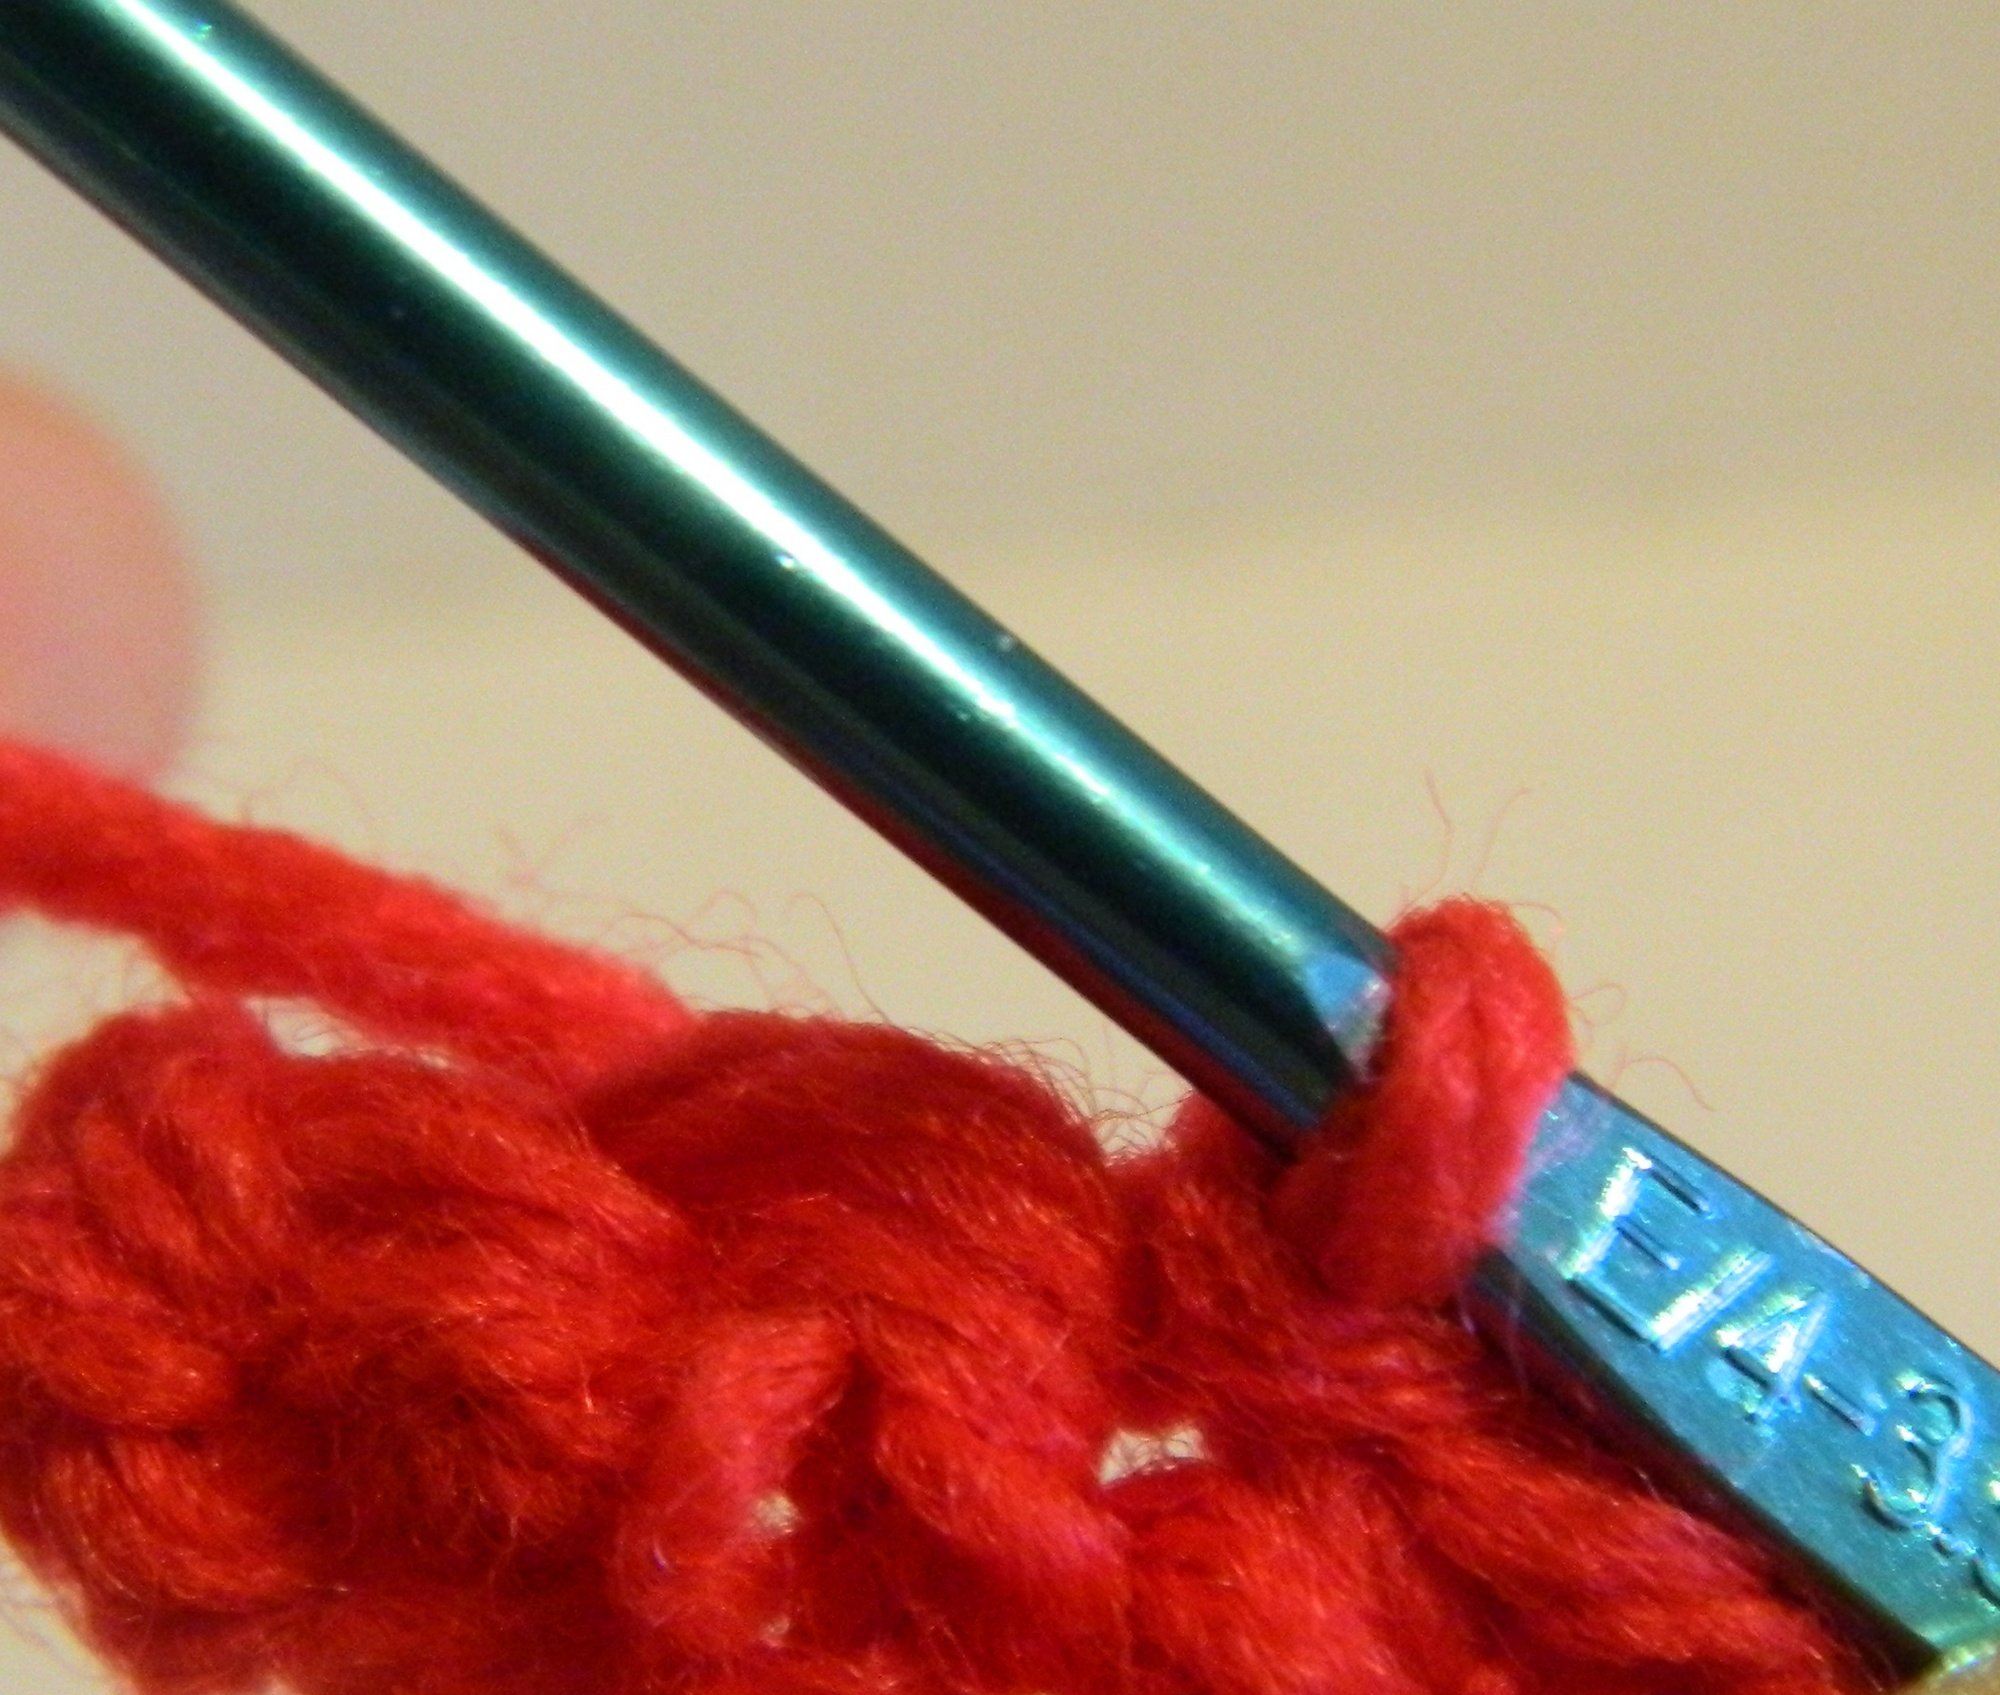
The second stitch you need to learn is the single crochet stitch (SC) since it is the most commonly used stitch in crochet/amigurumi. To begin a single crochet stitch insert your crochet hook into the next stitch.
Then perform a yarn over.
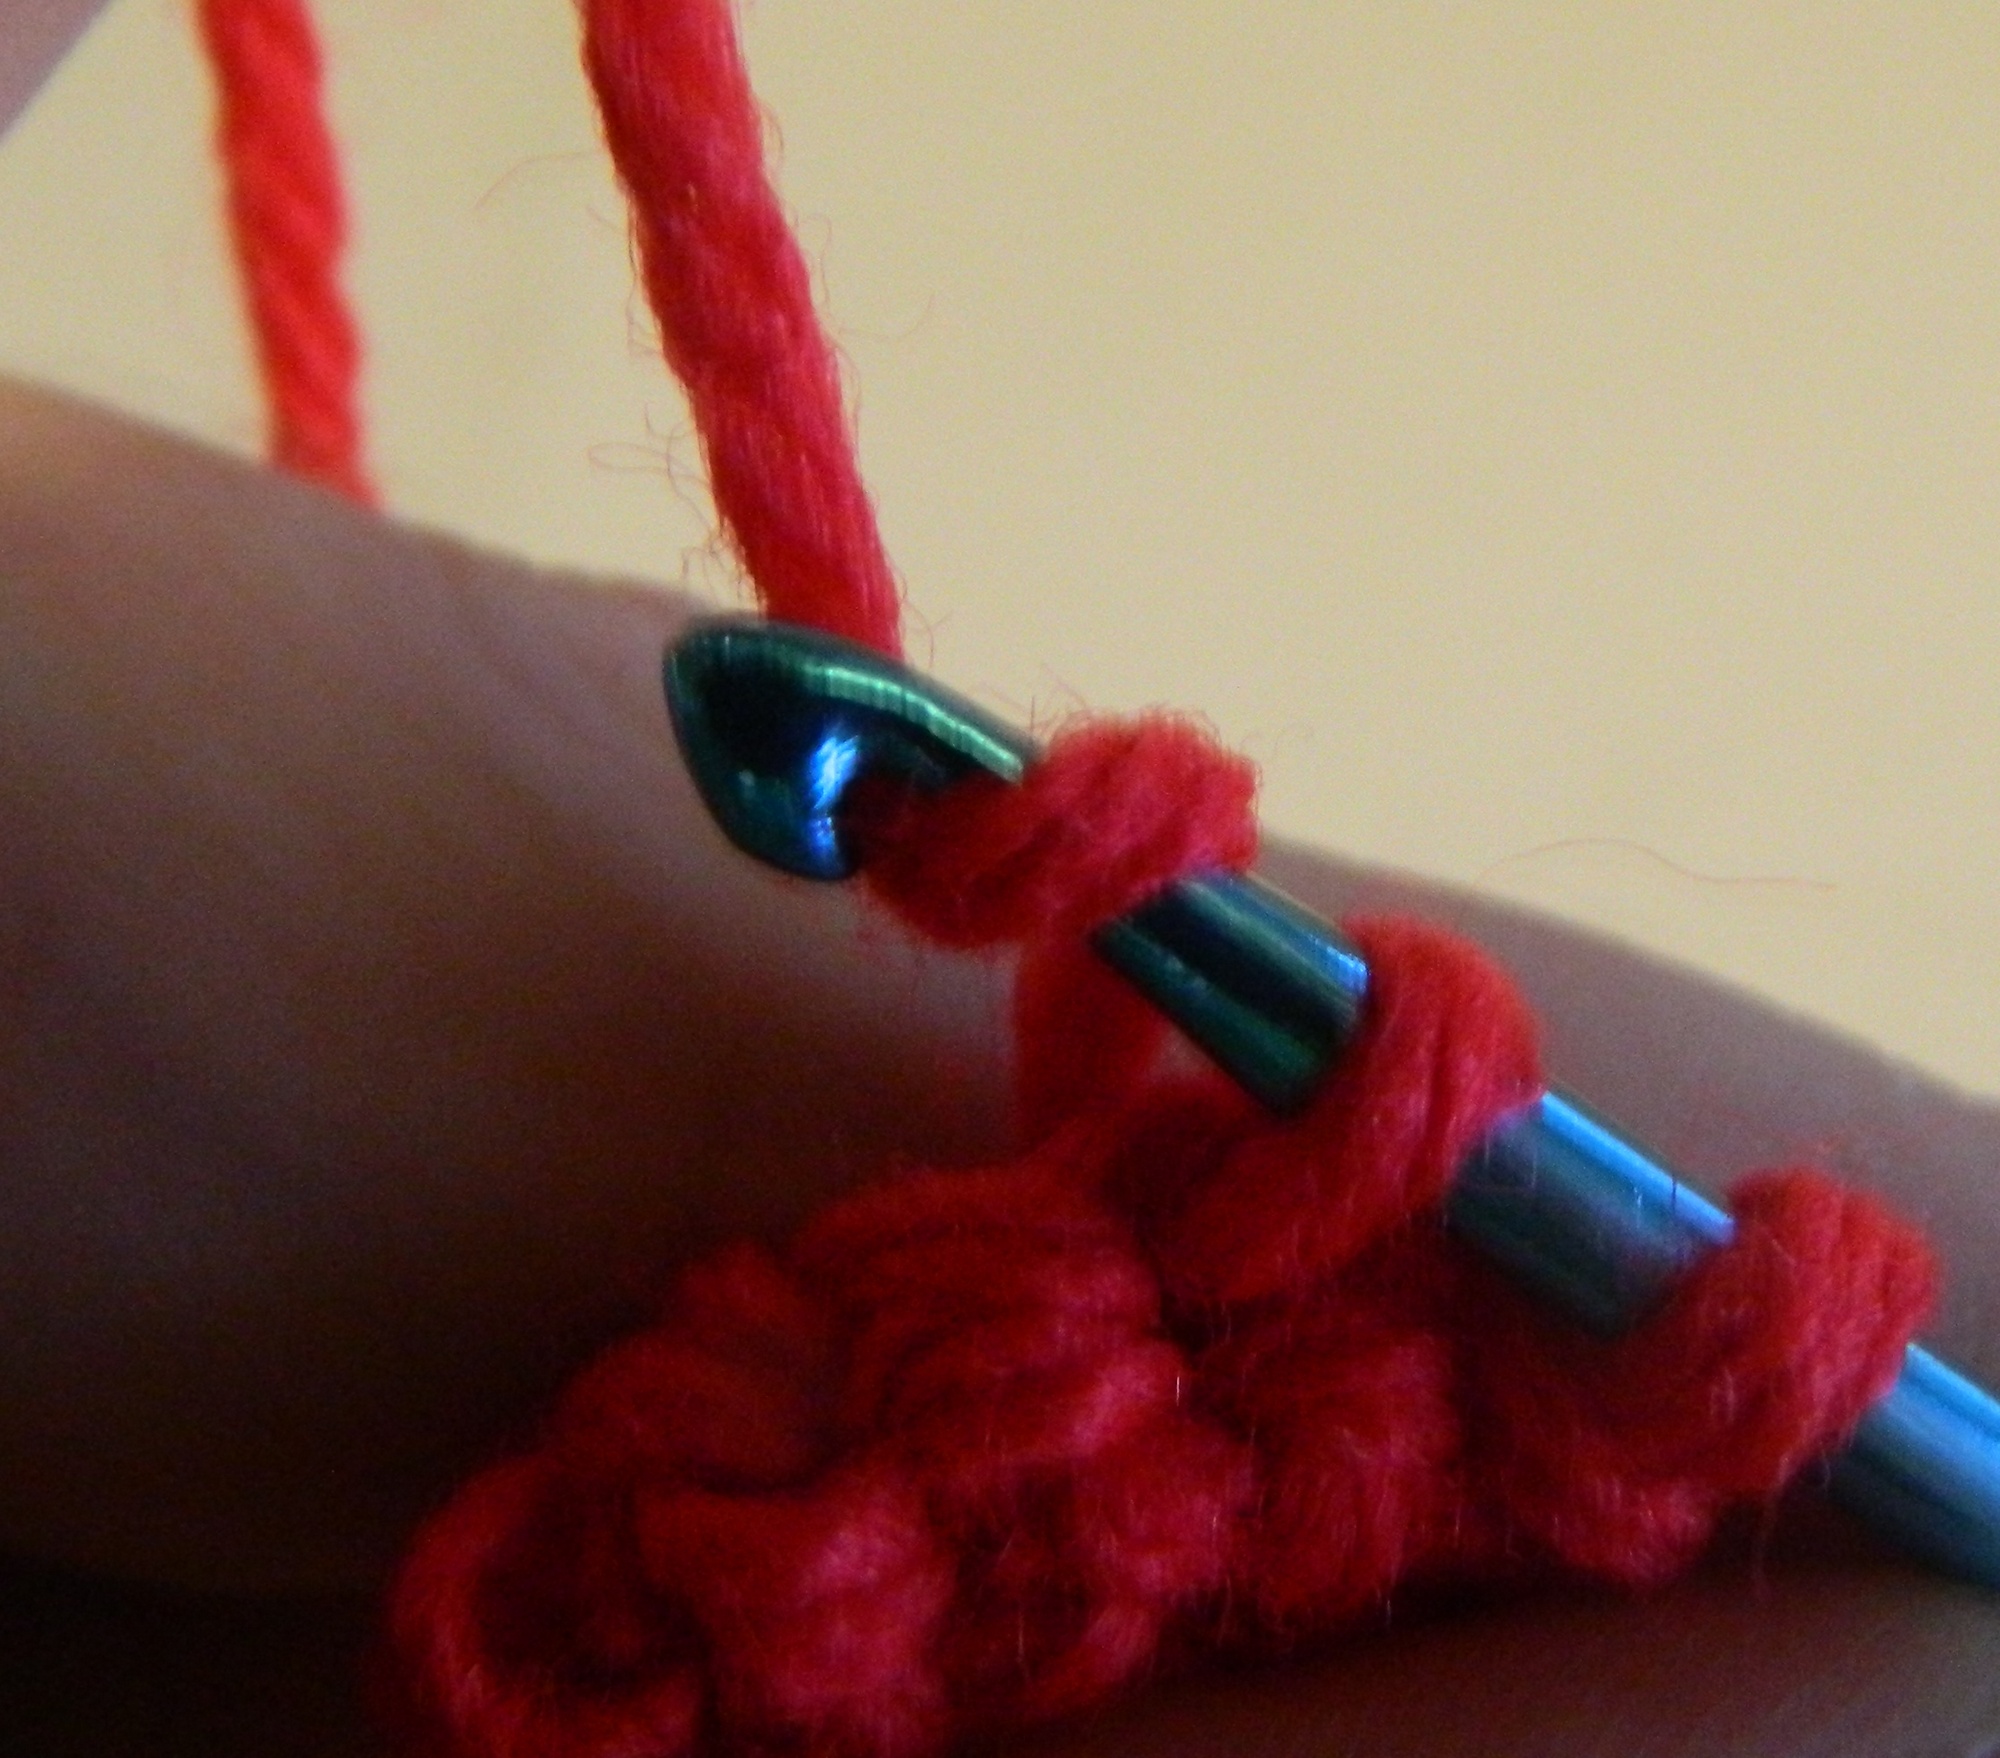
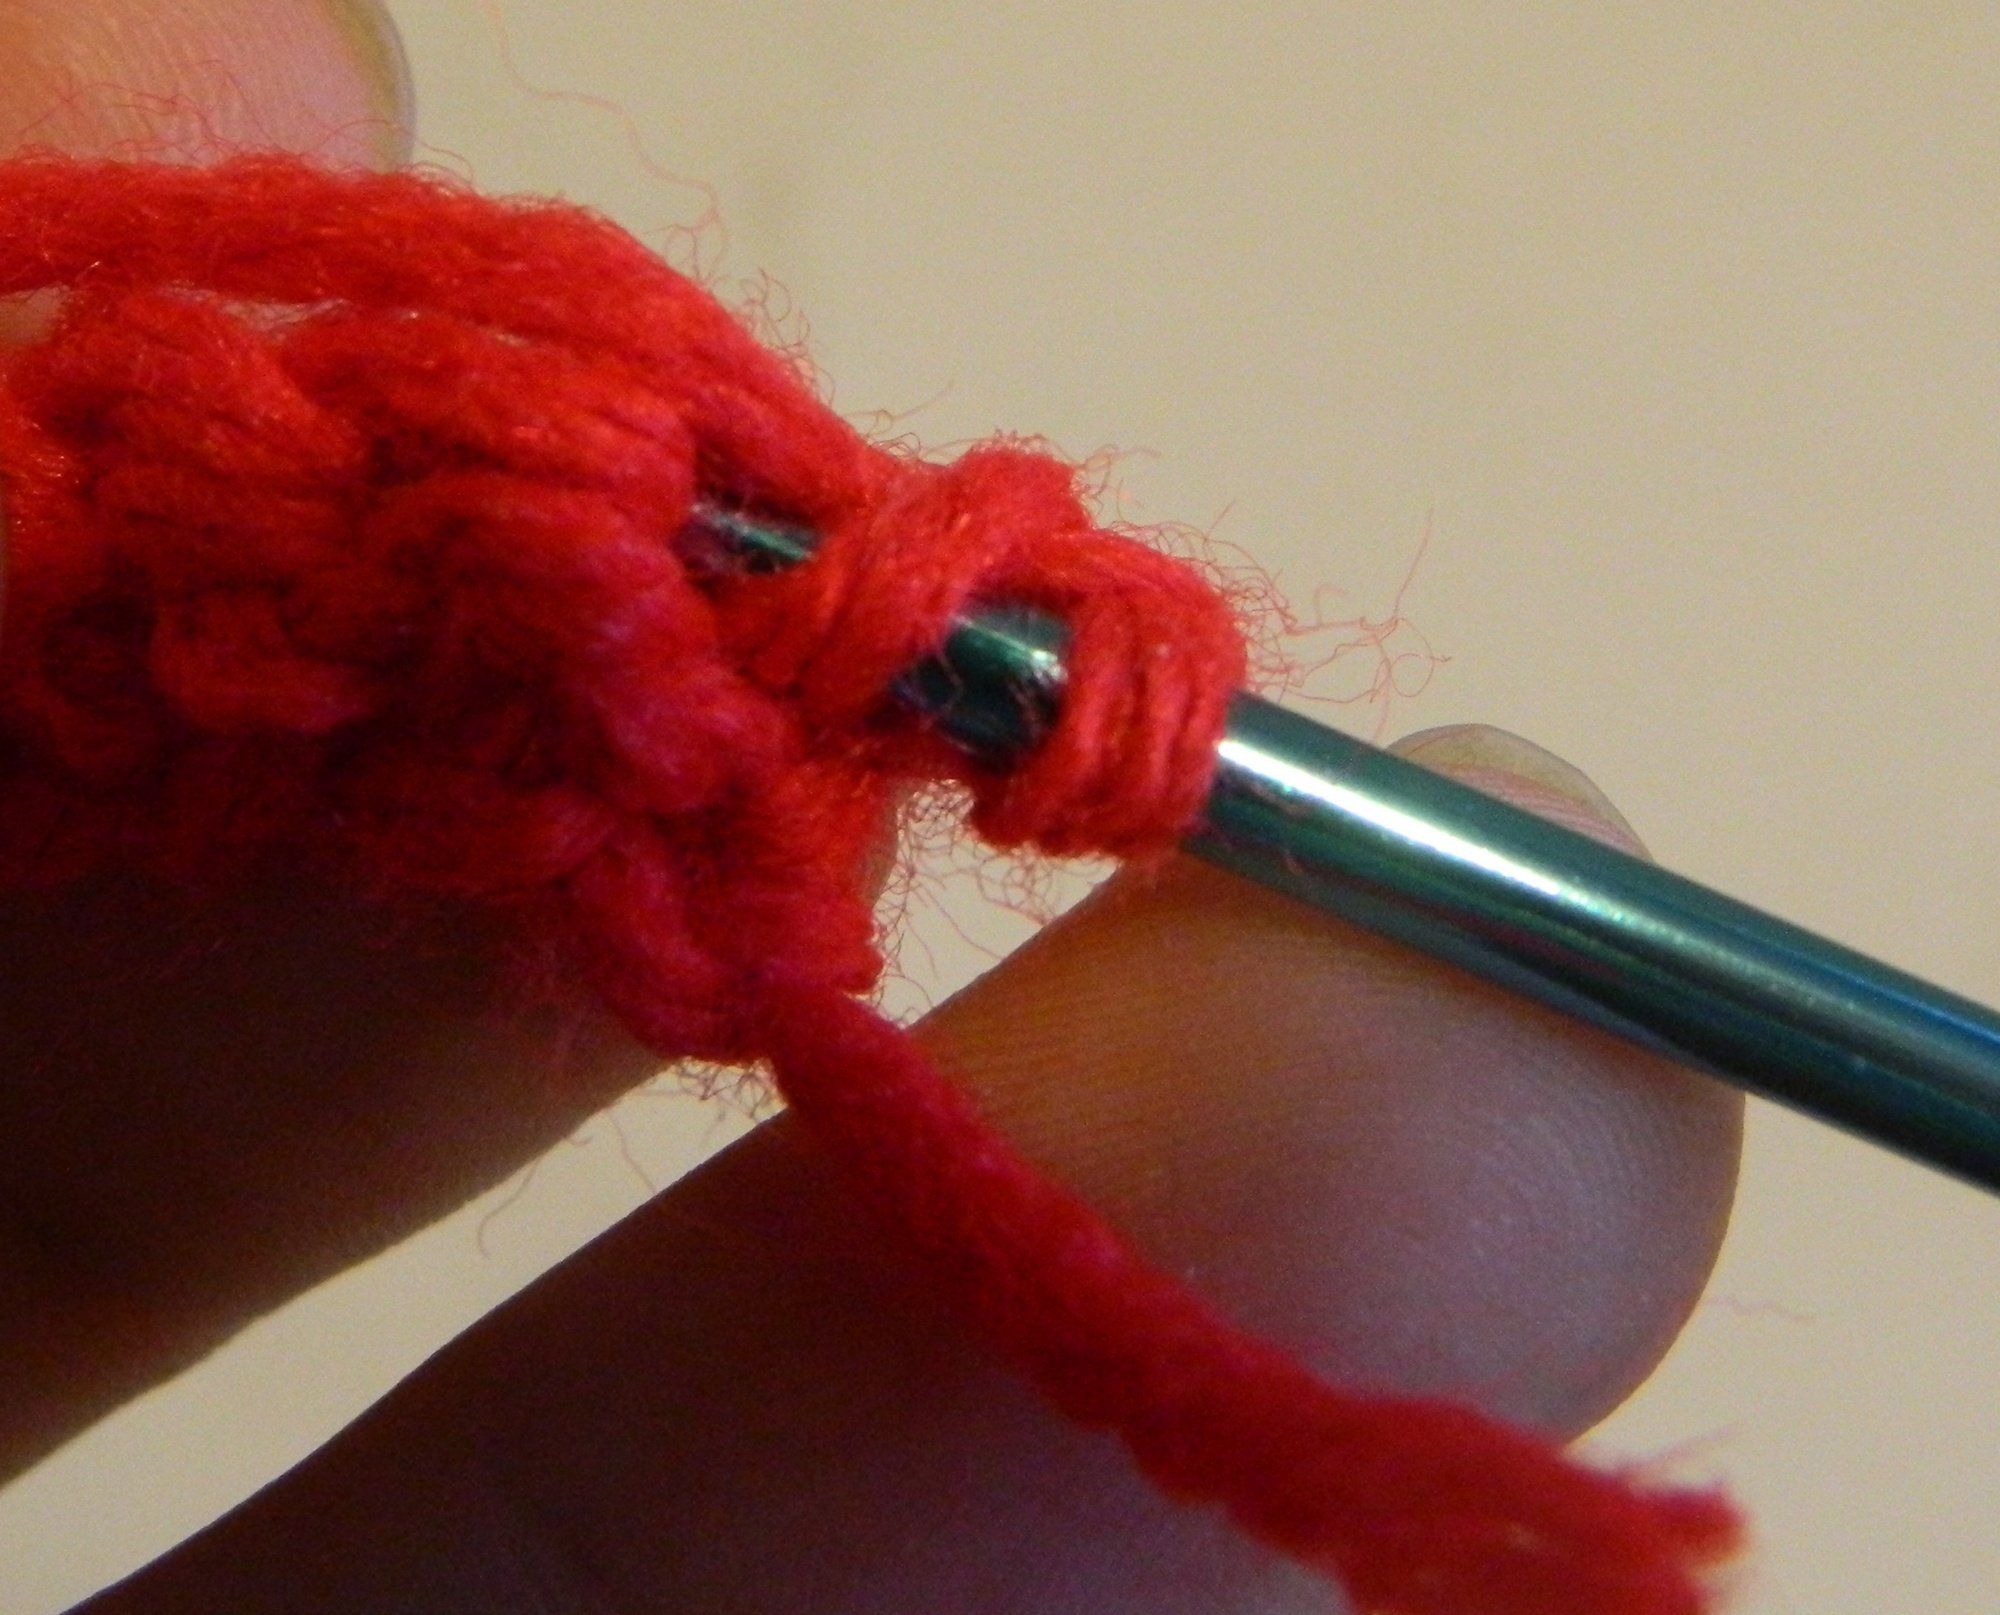
Once you have the yarn over the hook pull the hook through the stitch that you just placed your hook into. You should now have two loops on the crochet hook.
Perform another yarn over.
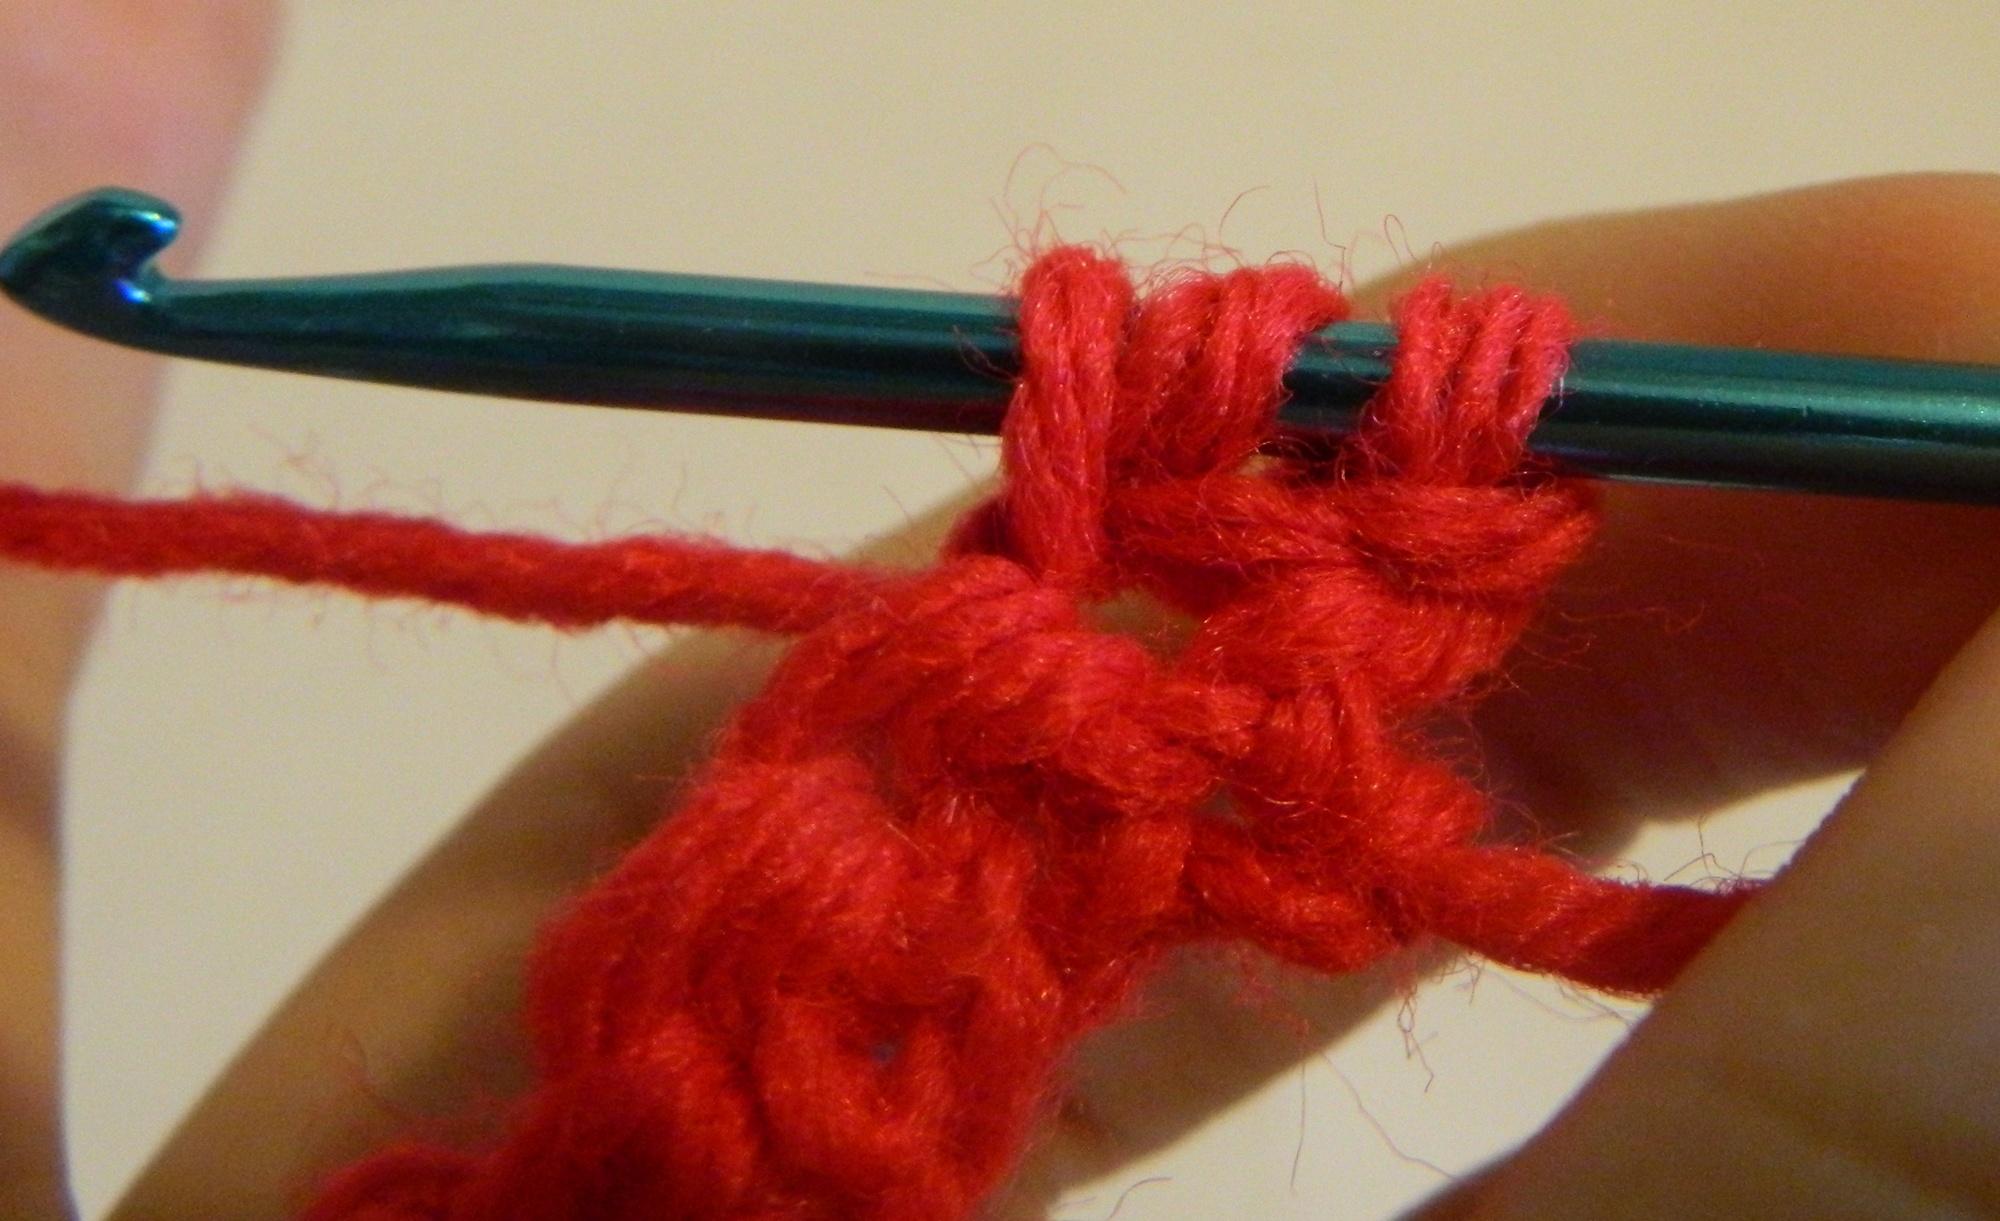
Finally pull the yarn through the two loops on your hook. You have now completed your first single crochet stitch.

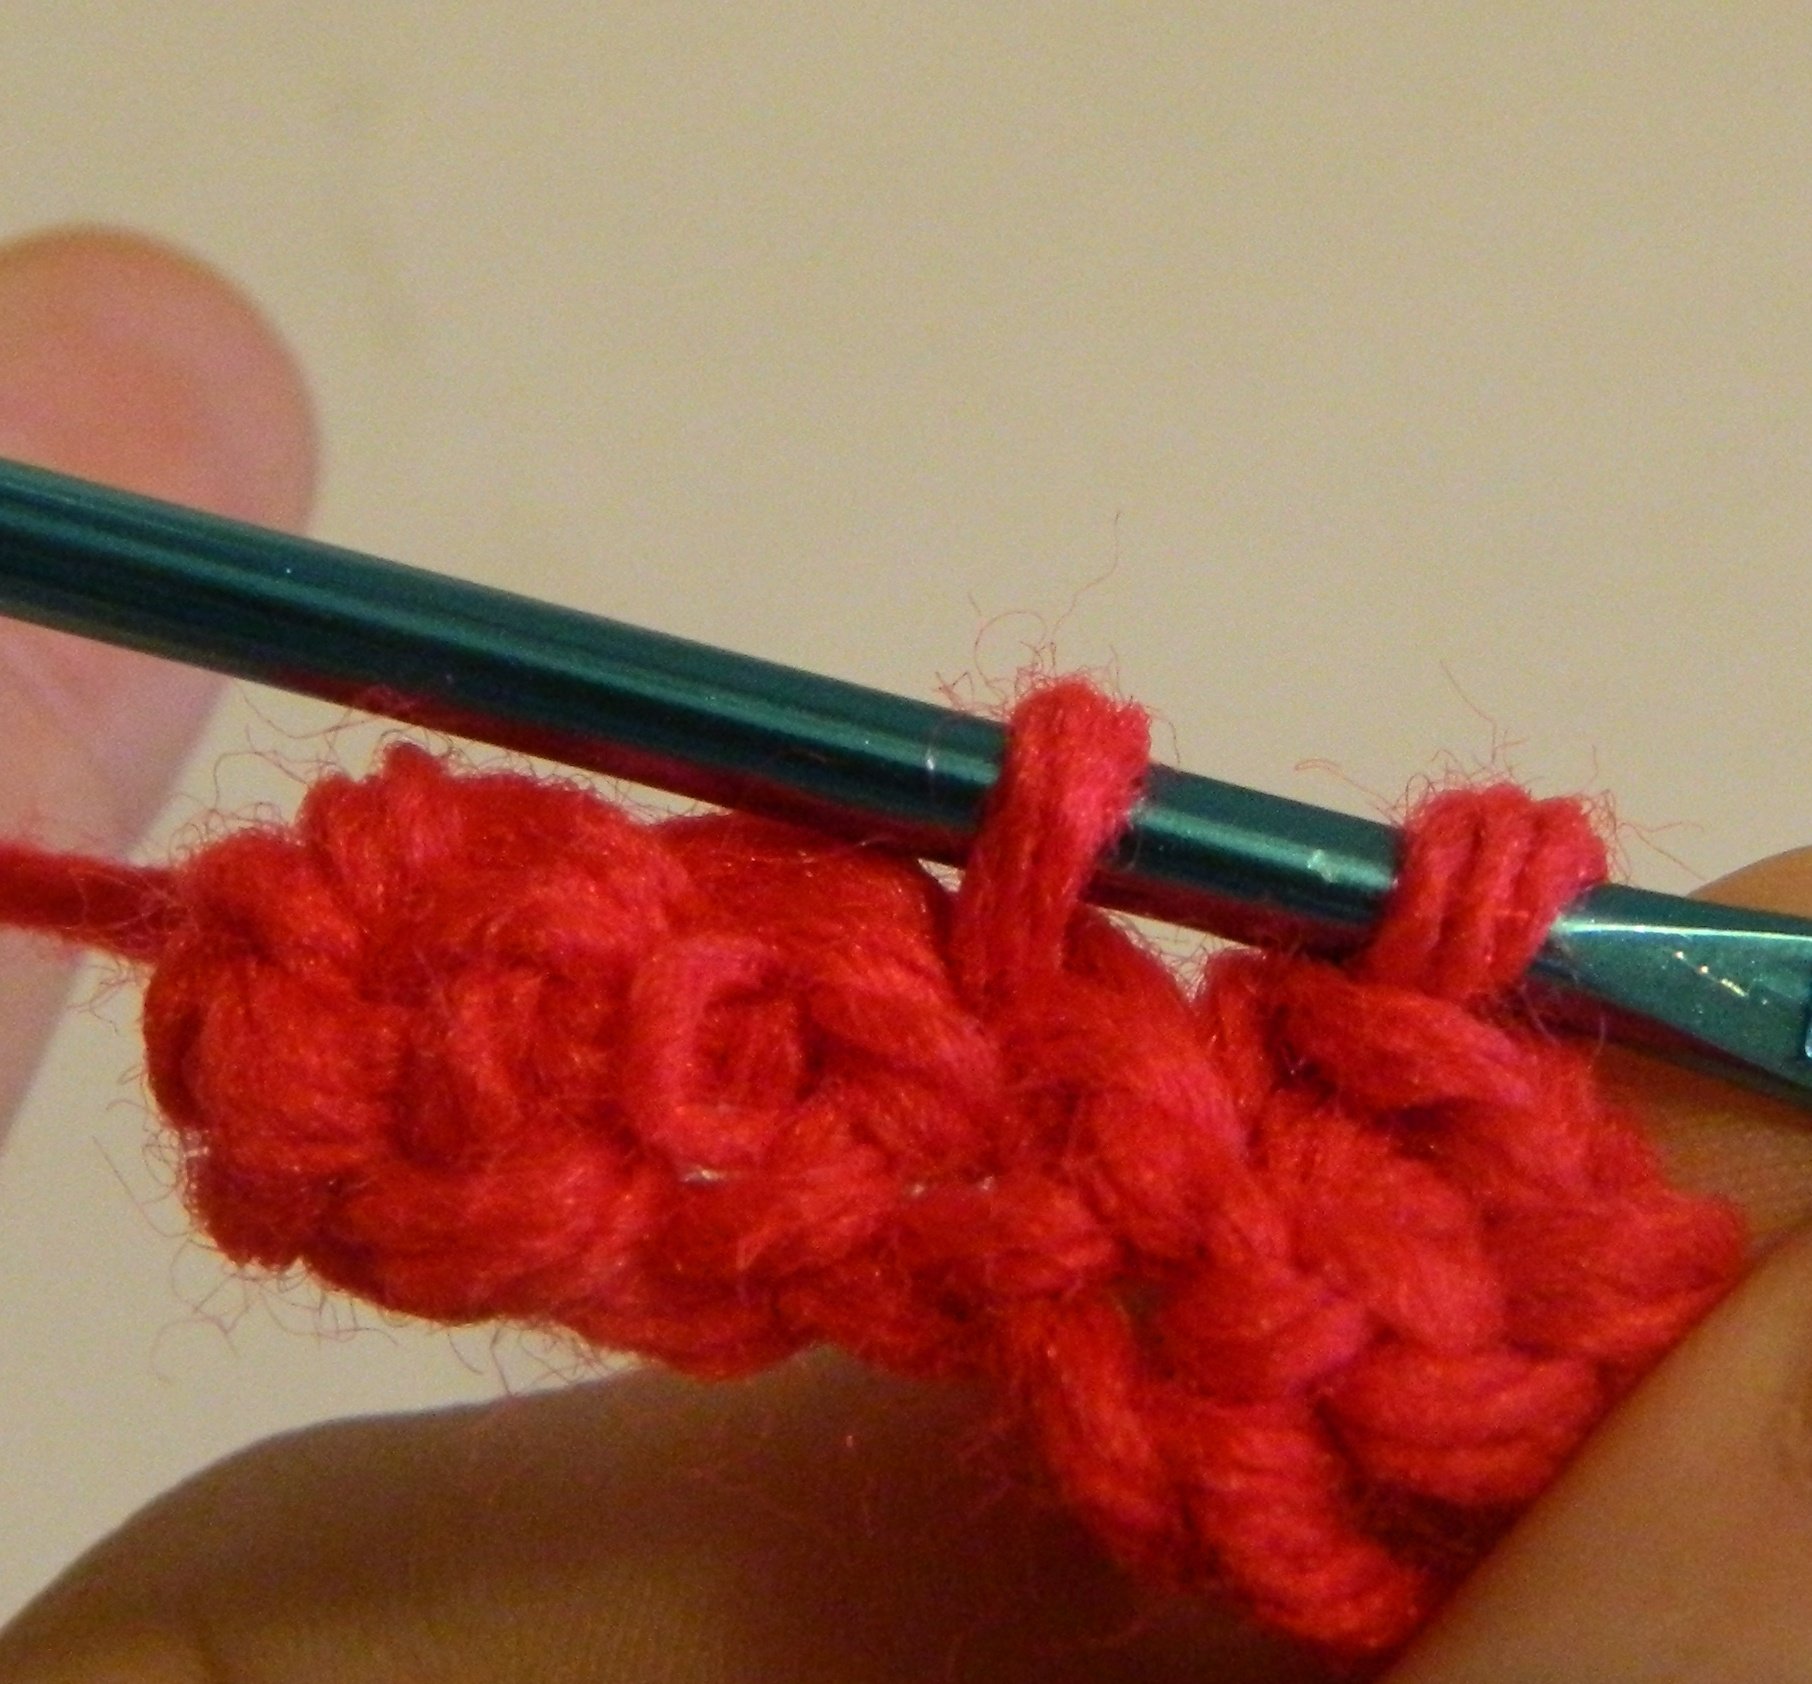
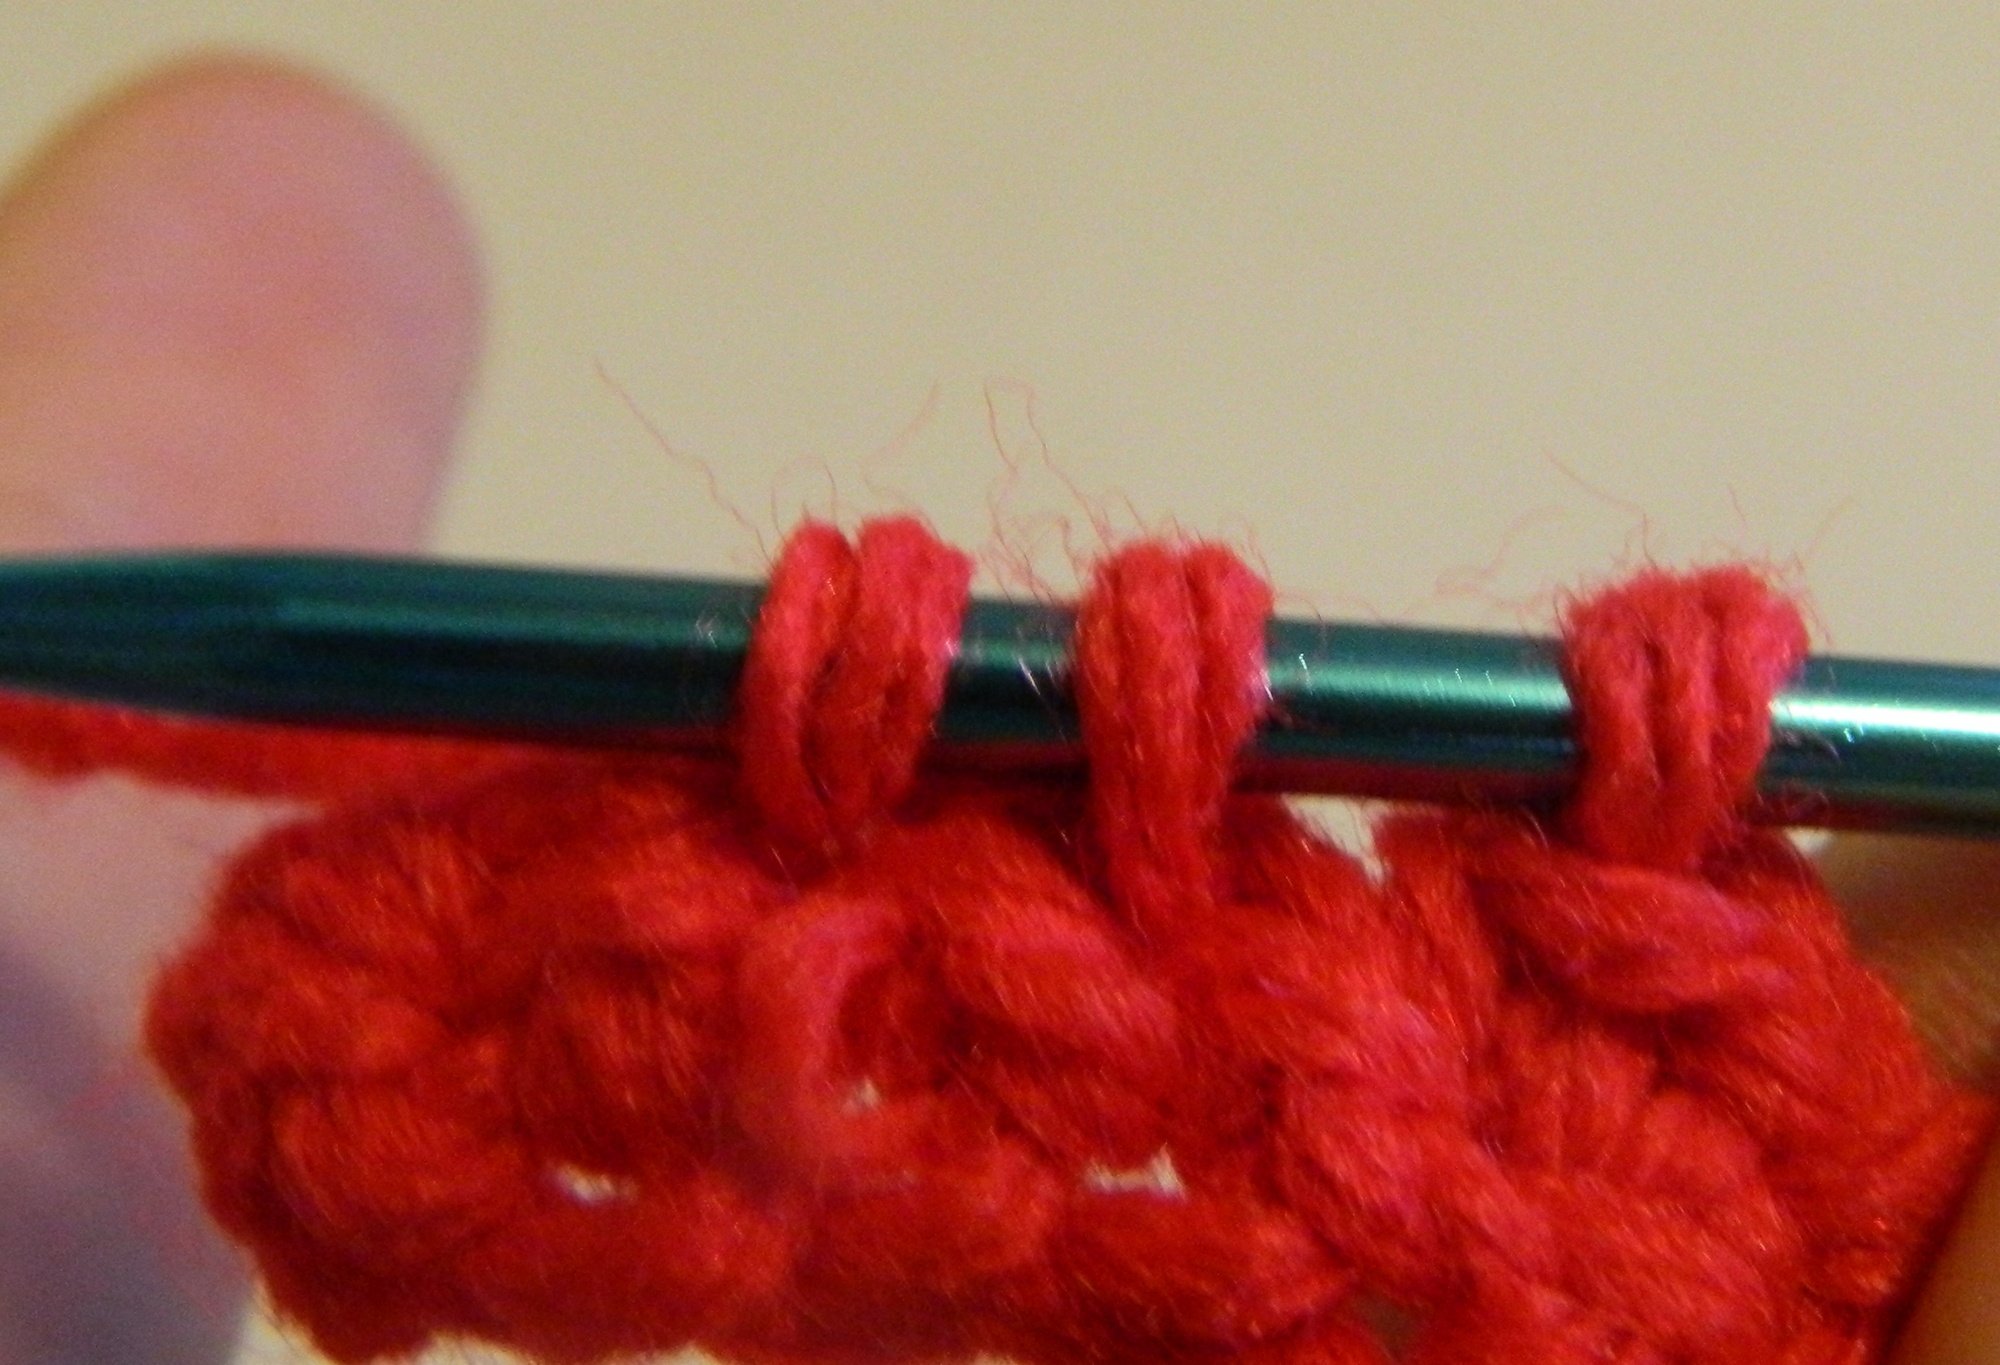
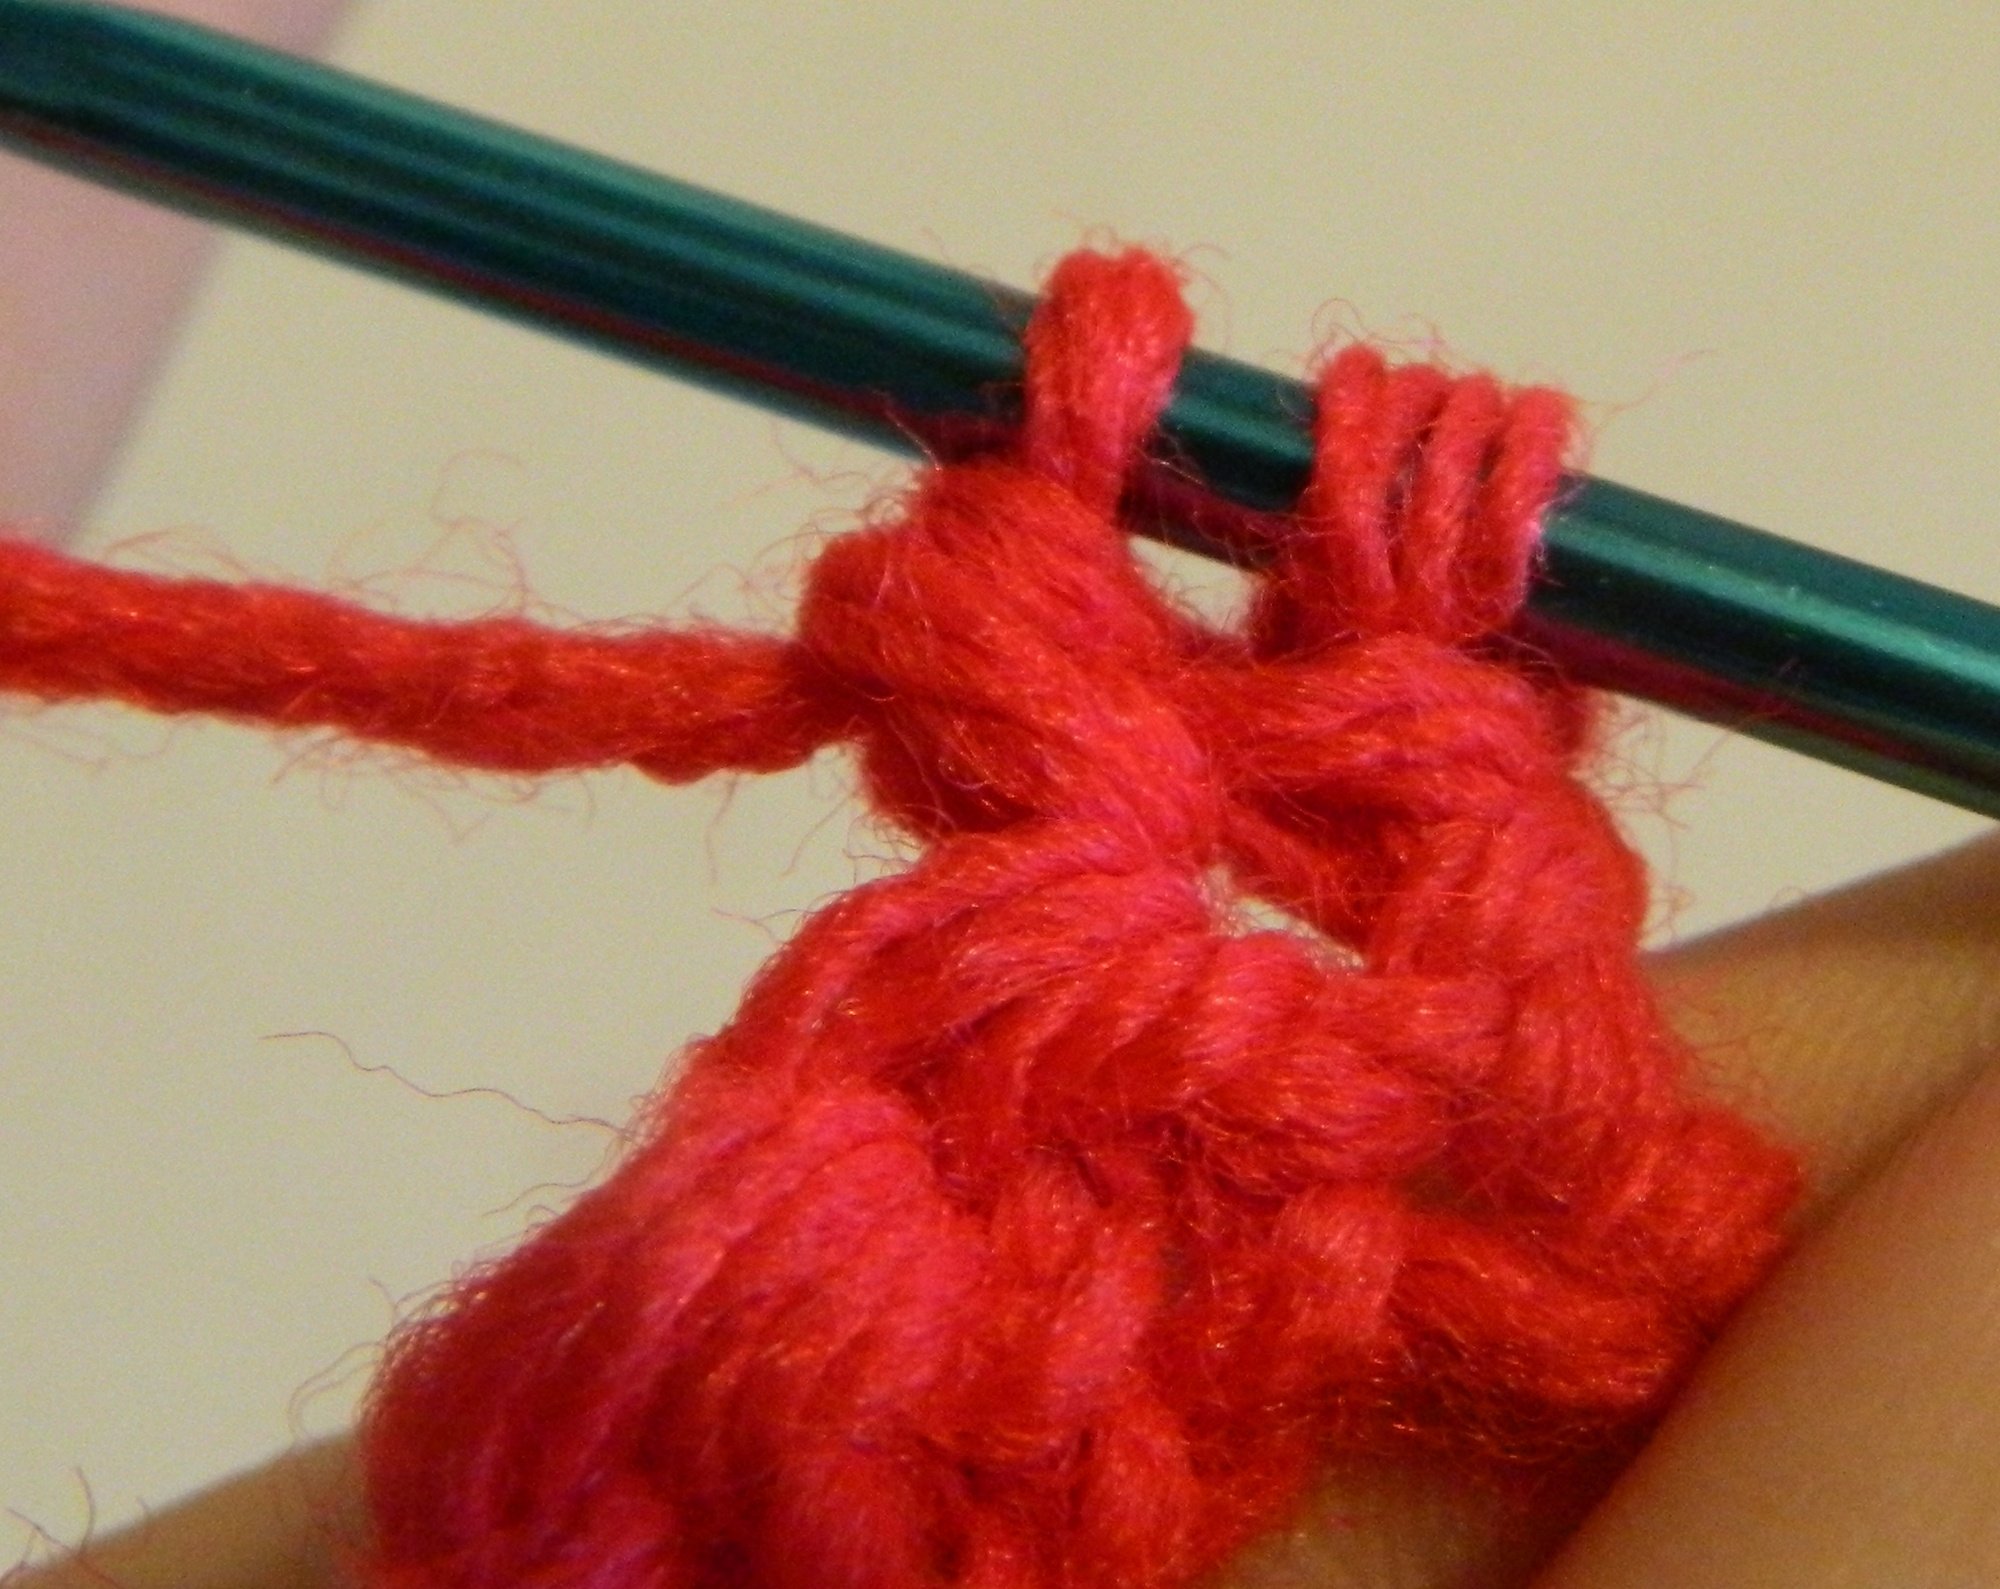
After you have created some SC stitches, the stitches that you made will look like this:
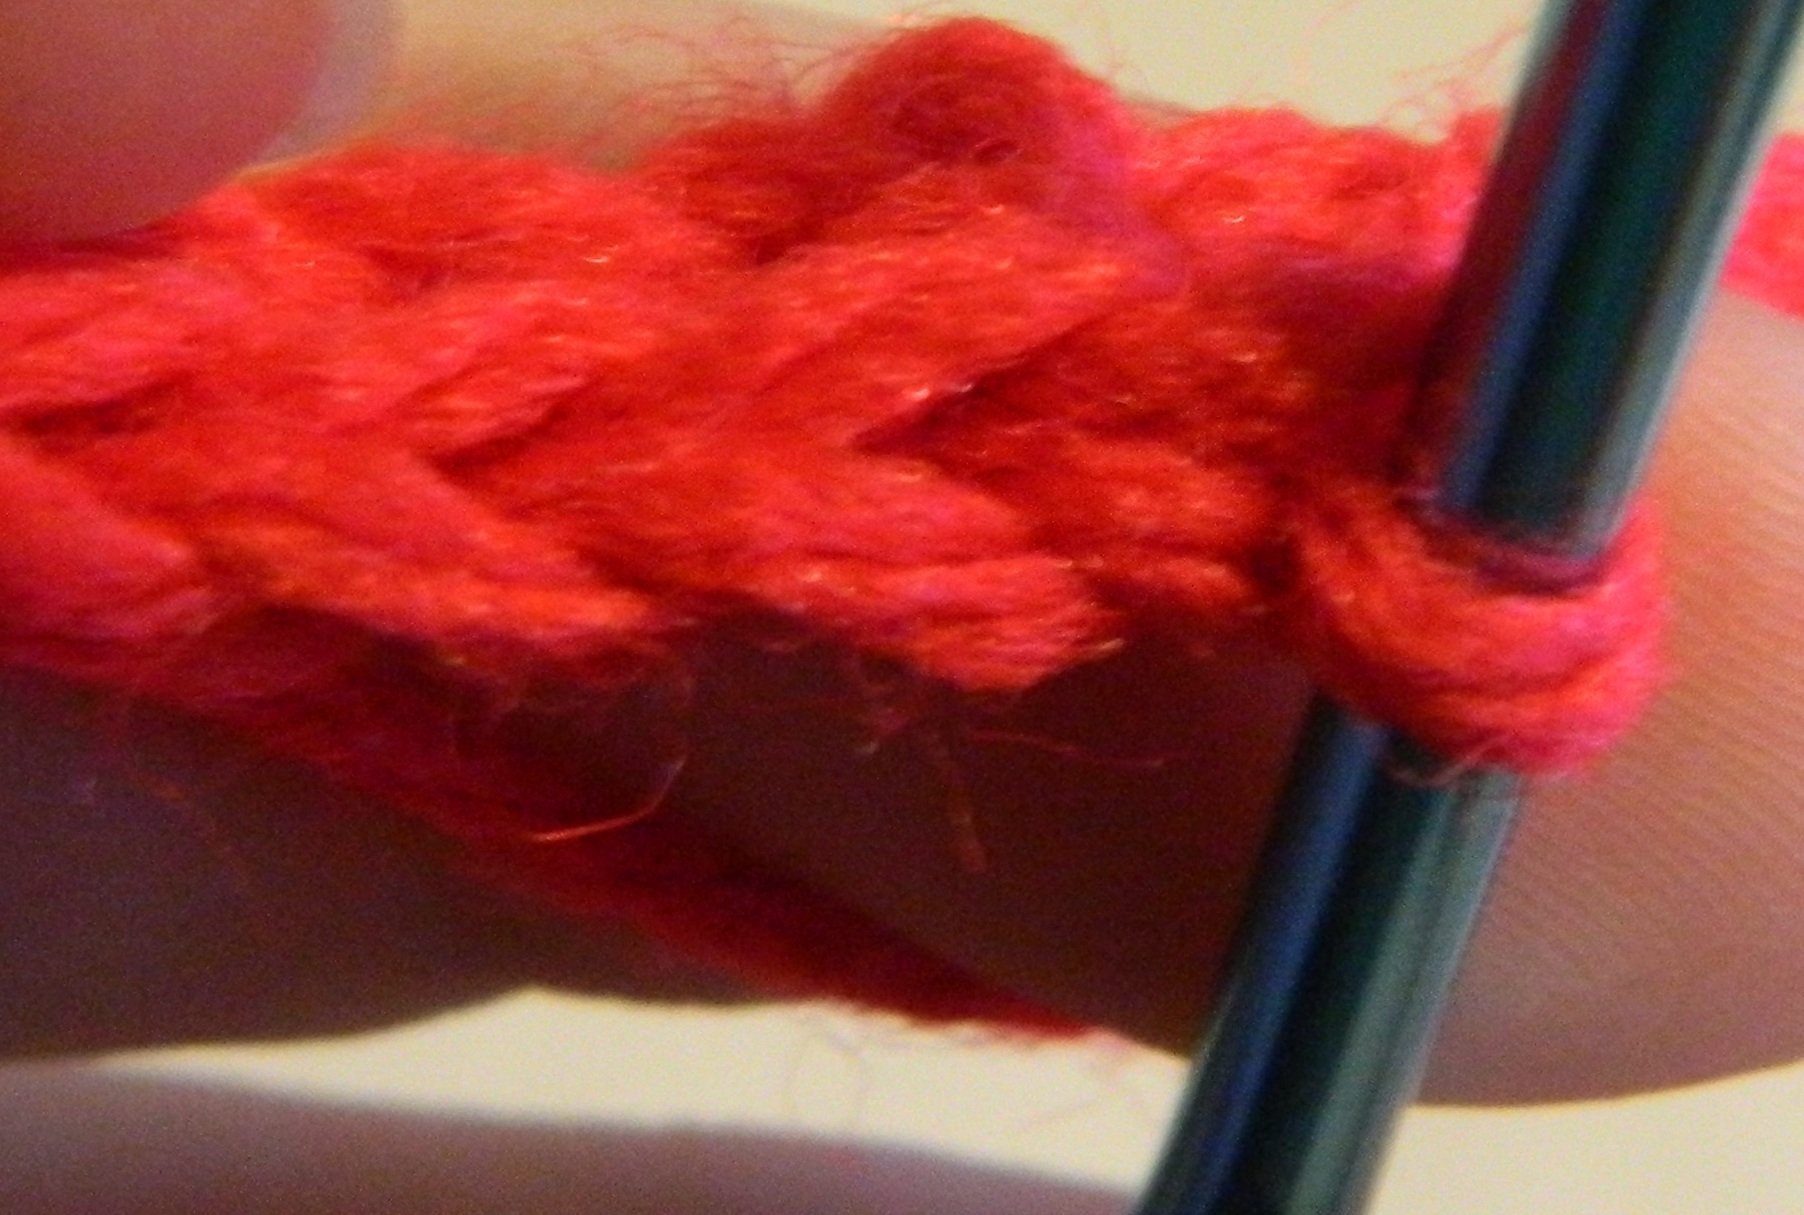
Stitches in crochet generally have what are referred to as the front and back loop. The front loop is the loop that is closest to you (the bottom loop in the picture). The back loop is the loop that is further away from you (the top loop in the picture). The main reason to know the difference between the front and back loop is that some stitches look better if you use just the front or back loop instead of using both loops like you usually do. An example is that decreases (see below) generally look better if you use just the front loop.
A key concept in amigurumi is that you are eventually going to want to increase the size of the object you are crocheting. In crochet the only way to increase size is to insert more stitches into each round (row/time around the shape). In order to get more stitches into a round you need to insert multiple stitches into a single stitch from the previous round. Generally you increase by inserting two stitches into one stitch but you can insert as many stitches as you want into a stitch. The more stitches you add the faster the object will increase in size.
To begin insert your hook into the next stitch and do a single crochet stitch. Then to increase the size of the object, insert your hook again into the same stitch that you used for the previous single crochet stitch. Then create another single crochet stitch.

Eventually you are going to have to decrease the size of your object. While you can decrease using both the front and back loop, it generally looks better if you just use the front loop while decreasing. In order to decrease the size of an object you start by inserting your hook into the next stitch. You yarn over and pull through the stitch that you inserted your hook into.
Instead of continuing with a normal single crochet stitch, you will insert your hook into the next stitch. You will then yarn over and pull through the stitch that you inserted your hook into. You should now have three loops on your crochet hook.
To finish the decrease you will yarn over and pull the yarn through the three loops on your hook.

If you want to decrease the size quicker you could insert your hook into the next stitch, yarn over, and add more loops to your hook before finishing the stitch.
The slip stitch is usually used to tidy up your work and I have found it to be useful when you are close to finishing up the piece you are working on.
To begin a slip stitch you insert your hook into the next stitch and yarn over.
You then pull the yarn through the two loops on the crochet hook.
The half-double crochet stitch is similar to the single crochet stitch but is slightly taller.
Start with a yarn over and then insert your crochet hook through the next stitch.
Yarn over again and pull through the stitch you inserted your hook into. You should have three loops on the hook.
Once again yarn over and pull the yarn through all three loops on the hook. You have completed the half-double crochet stitch.
The double crochet is useful because it is taller than a normal SC stitch. To create a double crochet stitch you begin with a yarn over. After the yarn over you insert your hook into the next stitch.
Yarn over again and pull the yarn through the stitch that you inserted the hook into. You should know have three loops on the hook.
Perform another yarn over and pull through the first two loops on your hook.
Perform one final yarn over and pull through the final two loops on your hook.
When you have finished a piece of crochet, you are generally going to want to fasten off the yarn. You first need to cut the yarn leaving enough to close up the hole at the bottom of the piece or enough to sew the piece to another piece that you have created. After you have cut the yarn, yarn over and pull the yarn through the loop on your hook.
Possibly the most complicated basic crochet skill is changing the yarn color. Unless you are making an object that never changes colors, this skill will become important. To change colors you begin creating a single crochet stitch. You insert your hook into the stitch, yarn over, and pull the yarn through the stitch. At this point you should have two loops on your hook. Grab the color yarn you are switching to and wrap it around the hook at the end of the crochet hook. You then pull the hook through both loops. You have now changed the color to the new yarn color.

If you are no longer going to be using the original color or won’t be using it for a long time, cut that yarn leaving a little that you will hide in the next couple stitches. If you will be switching back to the original color pretty soon, do not cut the yarn. With the new color do your stitches like normal while holding the original yarn color on top of the stitches you are inserting your hook into. This is done to hide the yarn from the previous color.
“Right Side” vs “Wrong Side”
I will admit that this is a concept that at first I didn’t really grasp as you will see that I created my first amigurumi creatures with the wrong side facing out. Basically the difference between the “right side” and the “wrong side” is how the stitches look. The “right” side of a stitch generally looks smoother and thus many people prefer it to the “wrong” side of stitches. Some people prefer the wrong side though so if that is your preference you can create amigurumi with the wrong side out. This might make some patterns look not quite right if the original designer planned the design with the right side out and you make the amigurumi with the wrong side out. The easiest way to determine the right side is look for the side that has more distinguishable horizontal rows. When you are crocheting the right side generally wants to curl inwards leaving the wrong side on the outside. If the yarn begins curling this way you can easily flip the curl of the yarn so the right side is on the outside.
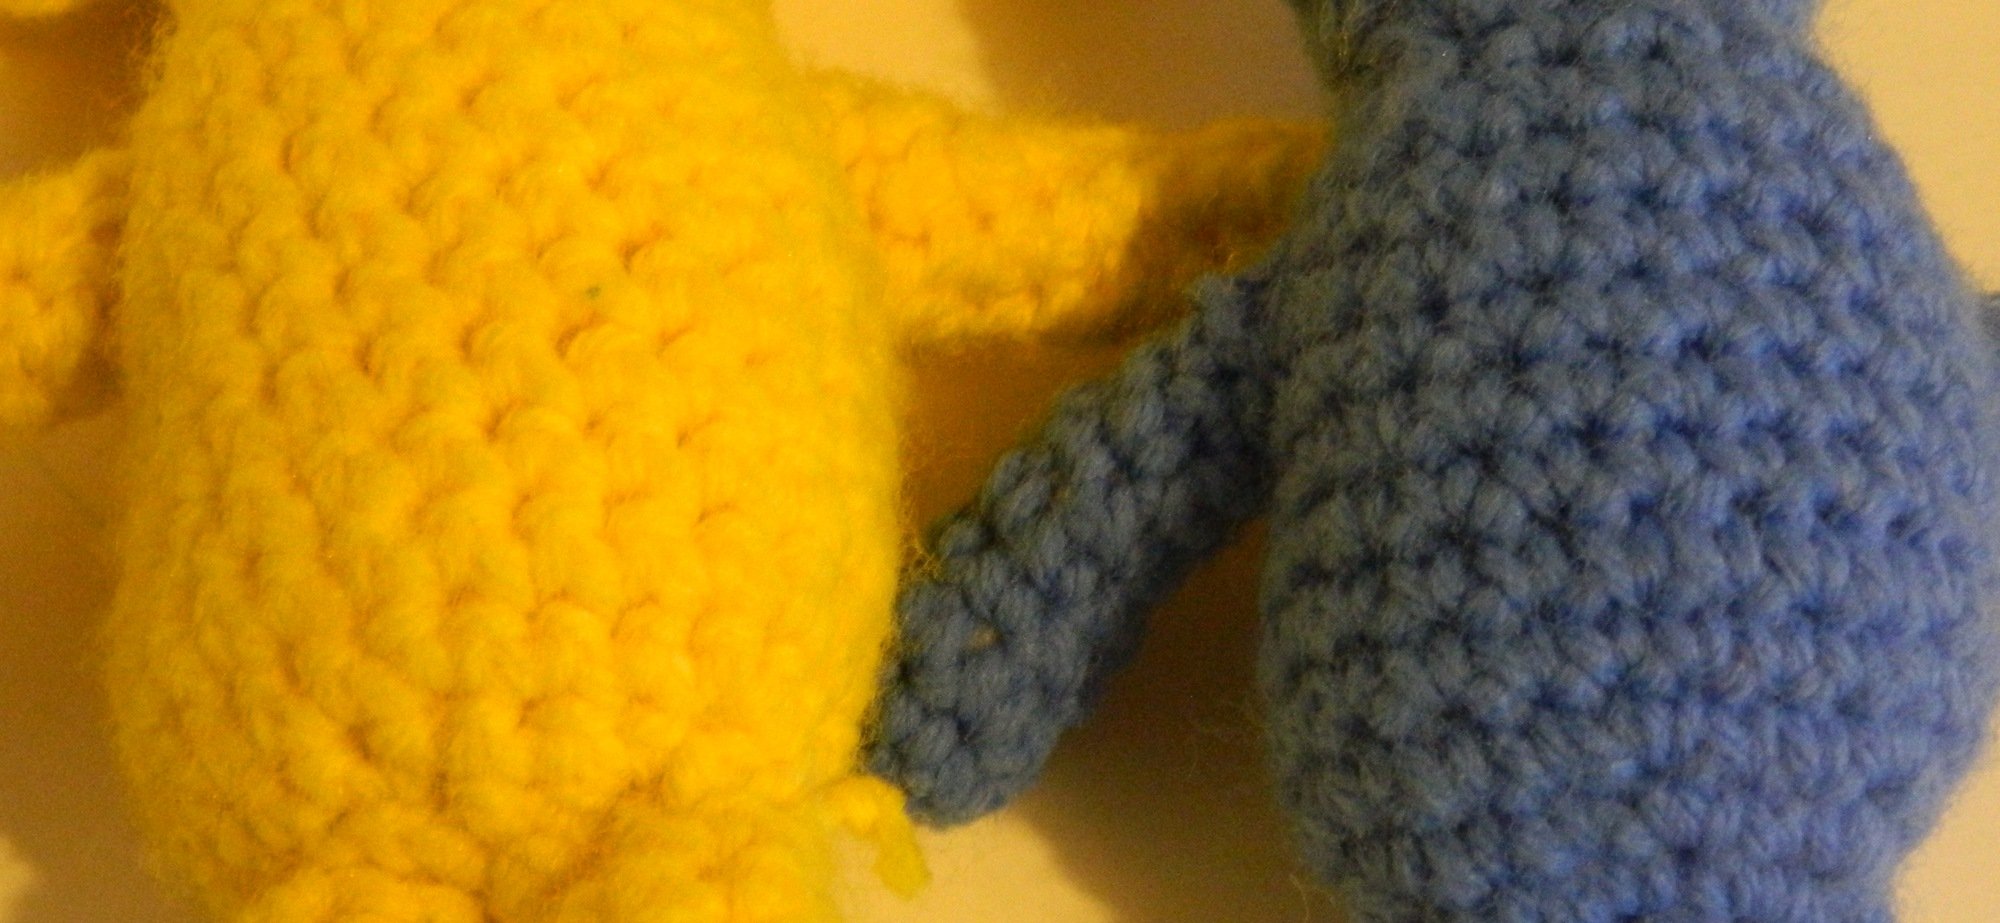
The yellow Pikmin on the left has the “wrong” side of the stitches facing outward. The blue Pikmin on the right has the “right” side of the stitches facing outward.
Is Crochet for Me?
When most people think of crochet they think of it as a hobby for older people. That is kind of disappointing because I think a lot of people could enjoy crocheting if they would give it a chance. While it is not going to be for everyone, I think it is a hobby that you should consider trying for a couple reasons.
First crochet/amigurumi is a pretty cheap hobby. You only need a couple things in order to try crochet. You need a crochet hook which is generally costs only a couple dollars or you can get a large set of crochet hooks on Amazon for around $10-15. Other than the crochet hook you just need a needle, some yarn, stuffing, and any other little extras you want to add to your creations. With crochet being quite affordable, if you don’t like it you aren’t out a lot of money.
Second crocheting is quite laid back/relaxing which is probably one of the reasons that it is associated with older people. If you want a hobby that you can sit back and do while relaxing, crocheting might be the hobby you are looking for. Once you get a hang of the different stitches you can even crochet while watching television or a movie.Crocheting is also a mobile hobby since you just need to bring your yarn and hook with you and you can crochet while you are waiting for an appointment, the bus, or any other time you have a little time to kill.
Finally I think the best reason to consider trying crochet is that it is a satisfying hobby. At first it might seem intimidating but once you get a hang of the different stitches, it is not that difficult. Your first couple of creations might have some issues but it is satisfying when you complete a little amigurumi figure that you can display in your house. It is always satisfying learning something new and you don’t have to put a lot of time into crochet to gain a passable level of skill and be able to make things for yourself.


lola
Tuesday 26th of September 2017
hello....I cannot figure out this direction.......sc x 4 (sc x 8, inc) x 7, sc x 4 I hope you can help me. thanks, lola
Eric Mortensen
Tuesday 26th of September 2017
Hello.
Were these directions from one of the patterns on this website and if so can you tell me which pattern? I ask because if it is from one of my patterns I would like to alter that pattern to make the directions more clear.
If this is from one of my patterns what I would have meant was make four SC stitches; then SC x 8, INC seven times; and then do four more SC stitches. If this is from someone else's pattern I am guessing they meant the same thing.
I hope this was helpful.